Mend SAST, SCA, and container security
This document is for Invicti Platform
The Invicti partnership with Mend allows you to retrieve Mend SAST, SCA, and Container Security scan results and view them in Invicti Platform alongside the DAST scan results for your targets.
To achieve this, you need to integrate Invicti and Mend by mapping targets to Mend projects, then configure the scan settings/scan profile in Invicti for each connected target to retrieve Mend SAST, SCA, and Container Security scan results.
The integration between Invicti and Mend doesn't initiate a Mend scan. Invicti Enterprise pulls the latest SAST, SCA, and Container Security scan results from Mend for a mapped target and displays the information in Invicti alongside the DAST scan results.
This document explains how to set up an integration between Invicti Platform and Mend.
To integrate Invicti with Mend, first, ensure you have established the prerequisites in the following section.
Prerequisites
- A Mend account with read access to your organization's Mend projects and findings
- Know which of your targets in Invicti align with your Mend projects
Step 1: Get the Mend user key
-
Log in to mend.io.
-
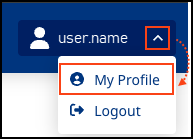
Click on your user name and choose My profile.
-
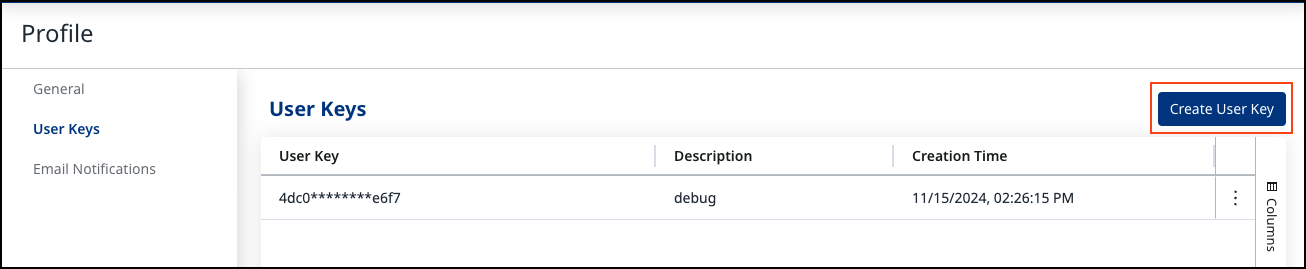
Select Create user key and follow the on screen instructions.
-
Copy the User key for use in the following Step 2.
Step 2: Configure Invicti and map applications and projects
-
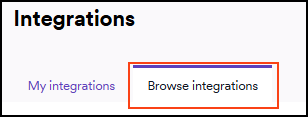
In Invicti, choose Integrations from the left-side menu.
-
Switch to the Browse integrations tab.
-
In the AST connections, choose Configure in the Mend tile.

-
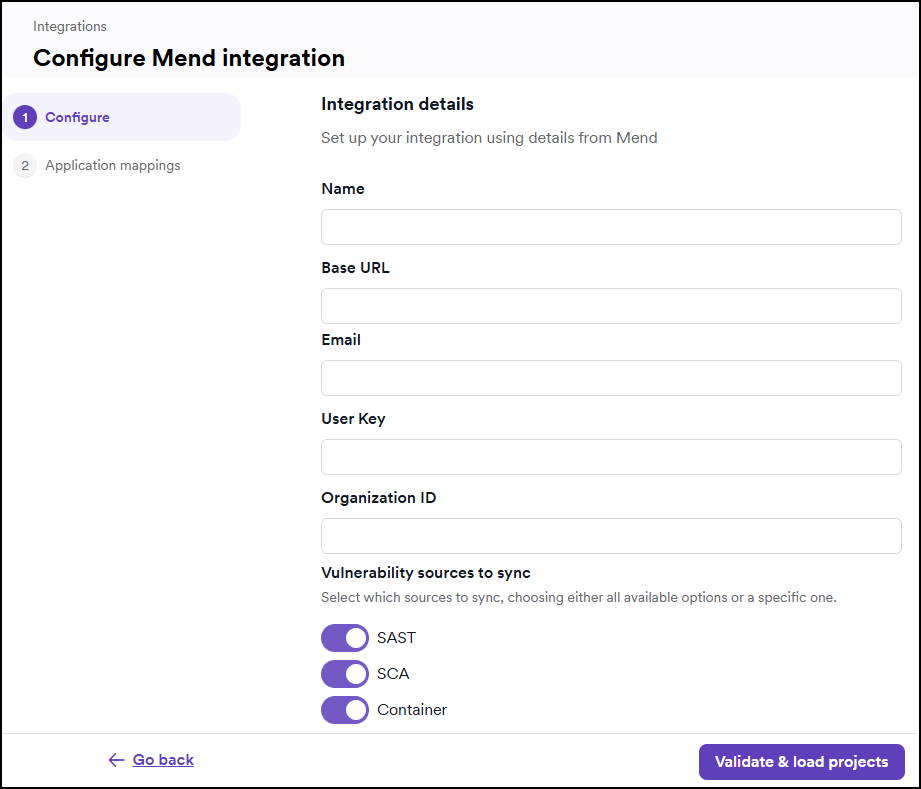
In the Configure section of the Mend integration, complete the following required fields:
- Name—Enter a descriptive name for the Mend connection. This name appears on the All Integrations page. If you plan to set up multiple Mend integrations, choose names that clearly distinguish each one.
- Base URL—Enter the base URL for your Mend environment. Potential base URL: https://api-saas.mend.io/api
- email—Provide the email address associated with your Mend account.
- User Key—Paste the User key you previously copied from Mend.
- Organization ID—Enter your Mend organization's unique identifier.
- Vulnerability Sources—Choose which vulnerability sources to sync. You can choose either all available sources or specify individual ones.
-
Click Validate & load projects.
-
In the Application mappings section, use the drop-down lists to map your Mend applications with Invicti applications.
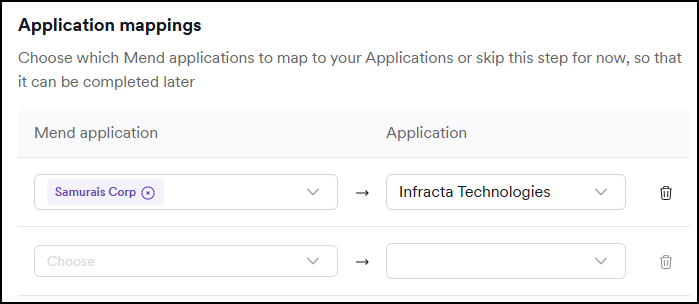
-
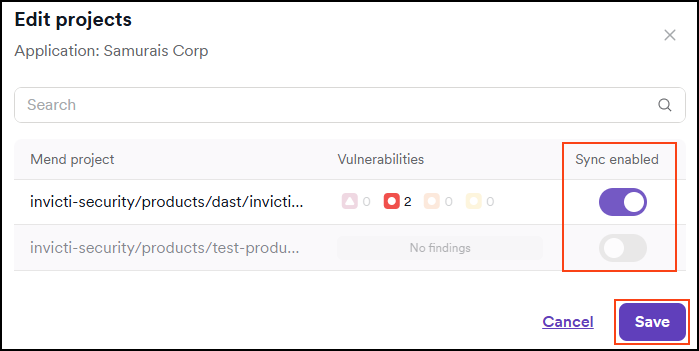
The Available projects section is added and allows you to specify what projects to include in the integration.
- Use the pencil tool to make amendments.

- Using the toggle, choose which projects you want to sync.
 warning
Invicti Platform doesn't verify the mapping between targets and Mend projects. Ensure you are mapping your Mend projects to the correct target. Accurate mapping ensures that SAST results are related to the right target.
-
Select Yes to Automatically sync projects. Keeping this enabled ensures applications stay up to date with new projects.

-
When you have finished mapping targets, click Save & create.
The Invicti Platform and Mend accounts are now integrated, and the newly created integration is listed on the Integrations page.

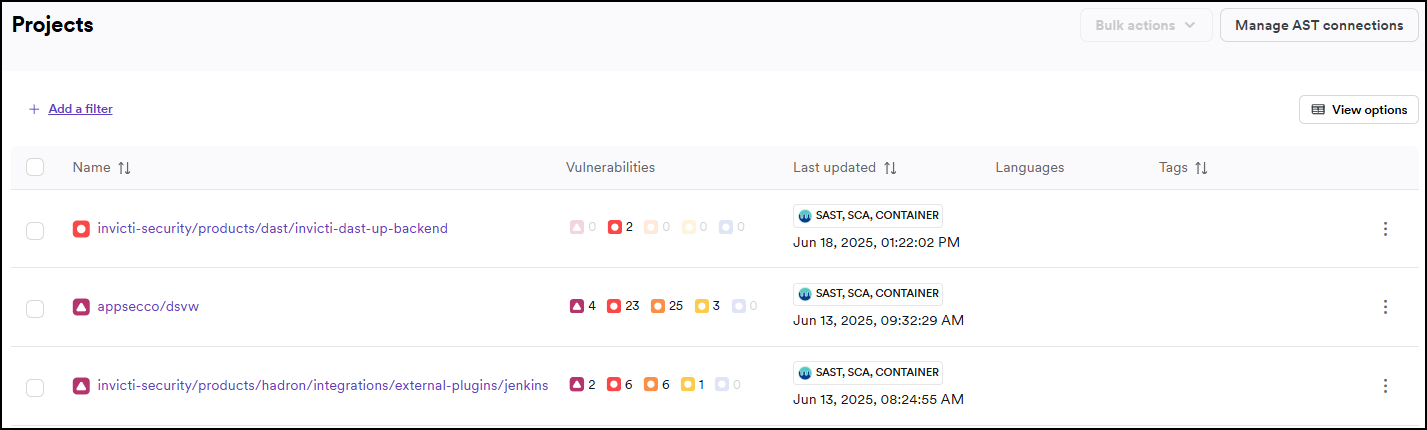
Once configured, you can view Mend SAST, SCA, and Container Security results under the Projects and Vulnerabilities page by setting up the Mend integration and mapping the Mend applications to the corresponding Invicti applications.
This setup is sufficient—there is no need to modify or configure DAST scan settings or profiles.
Need help?
Invicti Support team is ready to provide you with technical help. Go to Help Center