Package: Invicti AppSec Enterprise (on-premise, on-demand)
Armo Security
Armo (ARMO Security) provides Kubernetes security scanning through its managed Kubescape platform. In Invicti AppSec, the integration connects to your self-hosted or managed Armo instance to import container security findings from your Kubernetes clusters.
Prerequisites
| Field | Description |
|---|---|
| Client ID | OAuth2 Client ID generated in the Armo platform |
| Secret Key | OAuth2 Secret Key paired with the Client ID |
| URL | The base URL of your Armo instance (e.g., https://api.armo.cloud) |
Get a Client ID and Secret Key (on Armo Side)
- Log in to the Armo Security platform.
- Navigate to Settings > Access Control > API Tokens (or similar, depending on your Armo version).
- Create a new API token.
- Copy the Client ID and Secret Key immediately — the secret is shown only once.
Step 1: Navigate to Integrations
From the left sidebar menu, click on Integrations.
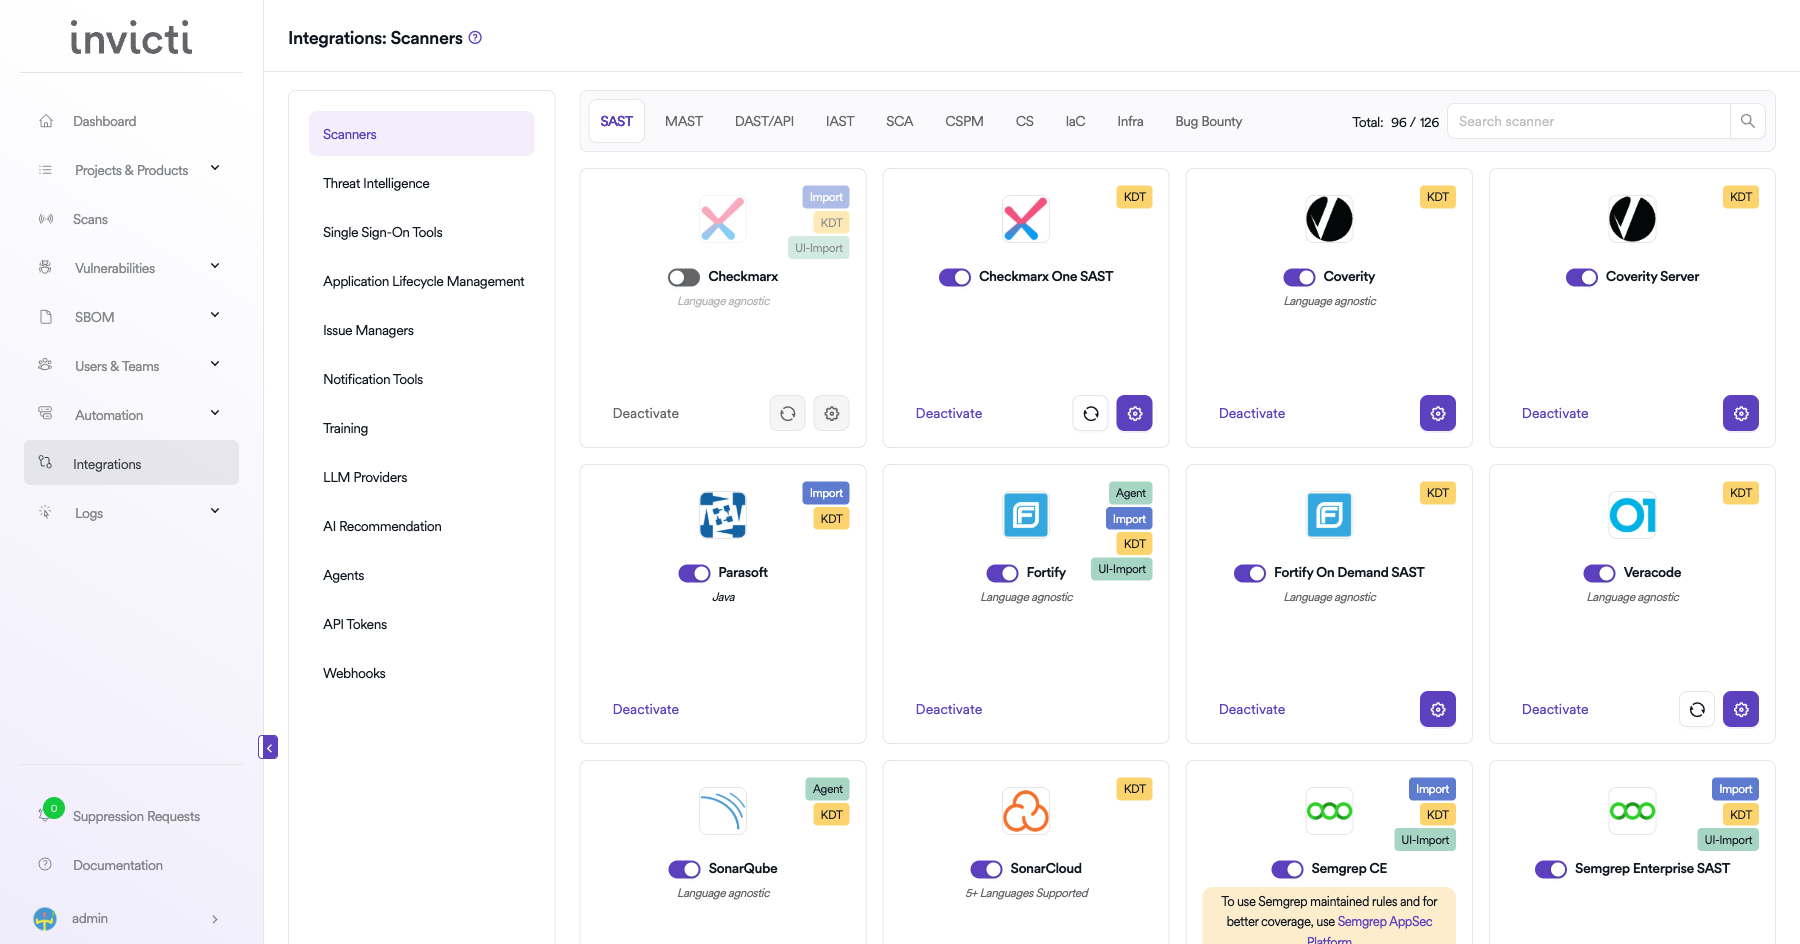
Step 2: Select the CS Tab
On the Integrations > Scanners page, click on the CS tab.
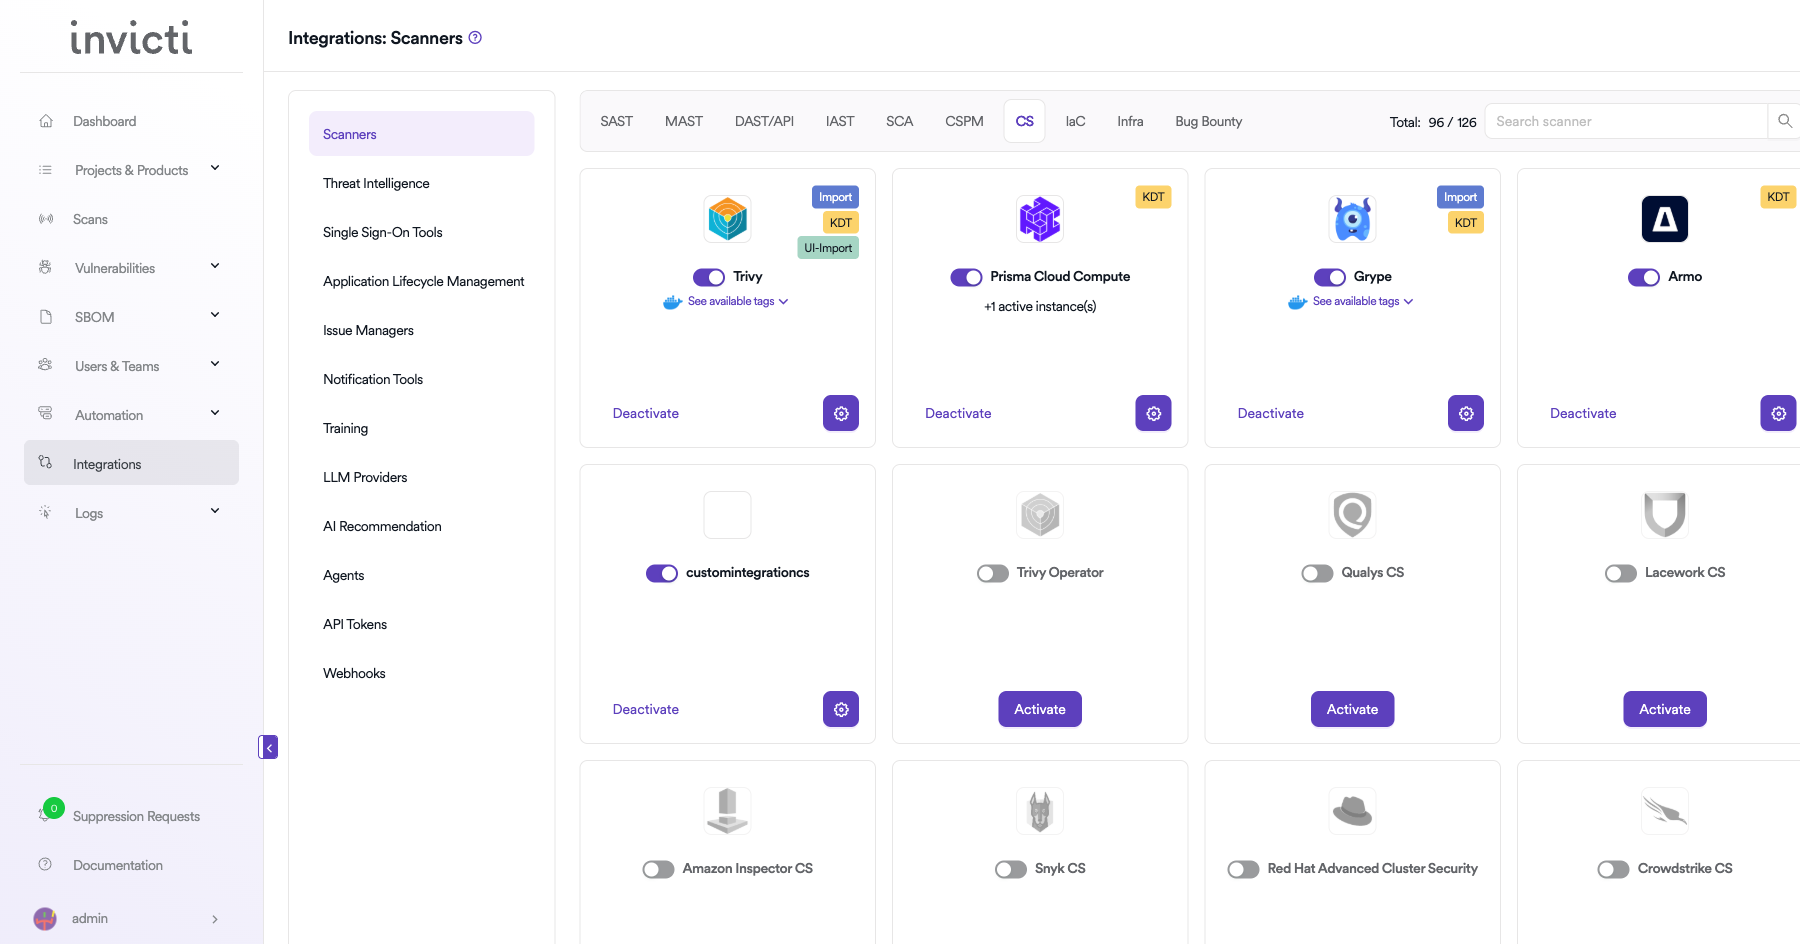
Step 3: Find and Activate Armo
Scroll through the list of CS scanners to find Armo.
- If Armo is not activated, click the Activate button to enable the integration.
Step 4: Configure Connection Settings
Click the gear icon on the Armo card to open the settings panel. Fill in the required fields:
| Field | Description | Required |
|---|---|---|
| Client ID | OAuth2 Client ID from the Armo platform | Yes |
| Secret Key | OAuth2 Secret Key paired with the Client ID | Yes |
| URL | Base URL of your Armo instance | Yes |
| Insecure | Skip TLS certificate verification (use only for self-signed certificates) | No |
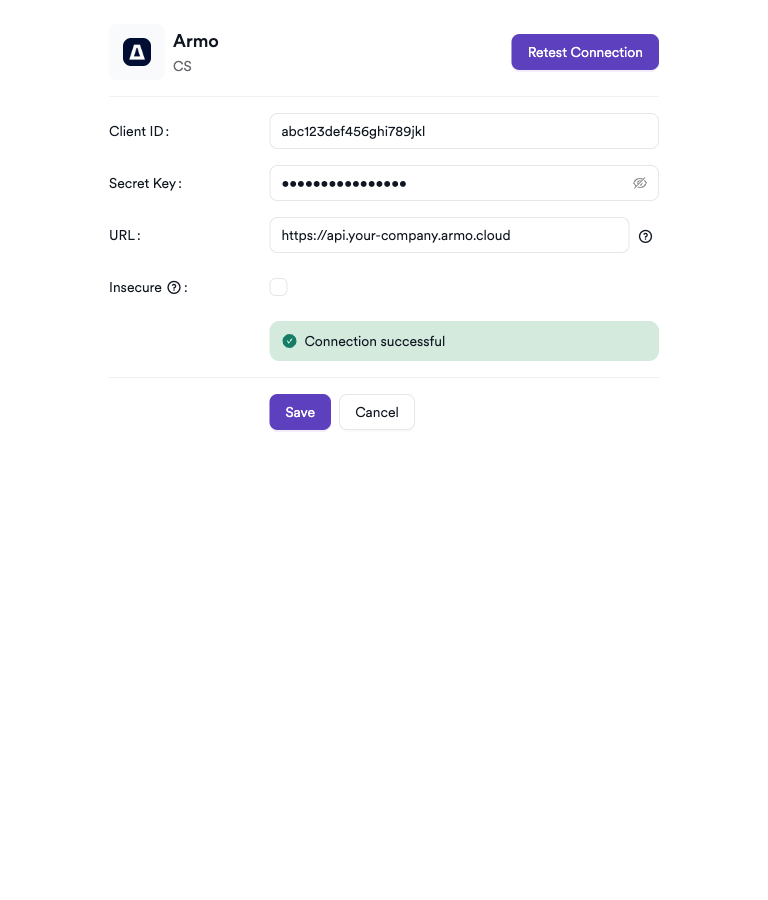
Step 5: Test the Connection
Click Test Connection. A green Connection successful message confirms that Invicti AppSec can authenticate with the Armo API.
Summary
| Step | Action |
|---|---|
| 1 | Navigate to Integrations from the sidebar |
| 2 | Select the CS tab |
| 3 | Activate Armo |
| 4 | Enter Client ID, Secret Key, and URL |
| 5 | Test the connection |
Create a Scan
Navigate to Project Scanners
- Open a project in Invicti AppSec.
- Go to Settings > Scanners.
- Click Add Scanner.
Add Armo Scanner
- Select CS as the scanner type.
- Choose Armo from the scanner list.
- Click Add to open the scan configuration drawer.
Scan Configuration Fields
| Field | Description | Required |
|---|---|---|
| Environment | The deployment environment (e.g., feature, production) | No |
| Clusters | Select one or more Kubernetes clusters to scan | Yes |
| Namespaces | Filter scan to specific namespaces within the selected clusters (appears after selecting clusters) | No |
| Workloads | Filter scan to specific workloads within the selected namespaces (appears after selecting namespaces) | No |
| Branch | Source code branch for this scan | Yes |
| Meta Data | Additional metadata to tag the scan | No |
| Scan Tag | Free-text tag to identify or group scans | No |
| Fork Default Branch / Fork Source Branch | Enable to fork scan results from the default or source branch | No |
Clusters is a required multi-select field. Namespaces and Workloads are optional multi-select fields that appear conditionally after cluster selection, allowing you to narrow the scan scope to specific parts of your cluster.

Scheduler
Enable the Scheduler toggle to automatically run Armo scans on a recurring schedule.
Webhook (Optional)
Add a webhook URL to receive scan completion notifications.
KDT Command
kdt scan -p <project_name> -t armoseccs -b <branch_name>
Troubleshooting
Connection Fails
| Issue | Resolution |
|---|---|
| Invalid Client ID or Secret Key | Verify the credentials in the Armo platform under API Tokens. Regenerate if needed. |
| URL unreachable | Confirm the Armo instance URL is reachable from the Invicti AppSec server. Check firewall and network rules. |
| TLS certificate error | If using a self-signed certificate, enable the Insecure option in the connection settings. |
| Secret Key not available | The secret is shown only at creation — create a new API token if the original was not saved. |
Scan Issues
| Issue | Resolution |
|---|---|
| No clusters available | Ensure at least one cluster is connected to Armo and visible via the API credentials provided. |
| Namespaces or Workloads not appearing | Select at least one cluster first. Namespaces and Workloads fields are conditionally shown after cluster selection. |
| Scan shows no findings | The selected cluster, namespace, or workload may have no security issues, or scans may not have completed in Armo yet. |
| Scan not starting | Verify the scanner is activated and the connection test passes in the integration settings. |
Best Practices
- Use a dedicated API token for Invicti AppSec with the minimum required permissions rather than reusing credentials shared with other tools.
- Rotate the Secret Key periodically and update the integration settings in Invicti AppSec accordingly.
- Use namespace and workload filters to scope scans to specific application components rather than scanning the entire cluster.
- Use the Scheduler to align scans with your Kubernetes deployment cadence so findings always reflect the current cluster state.
Limitations
- Armo CS in Invicti AppSec imports security findings from existing Armo scans — it does not trigger new Armo cluster scans directly.
- Only clusters already connected and visible within the Armo platform are available for selection.
- Runtime behavioral signals are not surfaced in Invicti AppSec findings; only vulnerability and misconfiguration data is imported.
Need help?
Invicti Support team is ready to provide you with technical help. Go to Help Center