Deployment: Invicti Platform on-demand, Invicti Platform on-premises
Additional requirements for on-premises:
- Your Invicti on-premises instance must be accessible via a public HTTPS URL
- Localhost and HTTP connections are not supported by Jira webhooks
- A valid SSL/TLS certificate signed by a globally trusted certificate authority is required
See Prerequisites for detailed requirements.
Jira using OAuth
Integrating Invicti Platform with Jira automates vulnerability tracking. Instead of manually creating tickets, Invicti automatically generates Jira issues for detected vulnerabilities, streamlining your software development and bug-fixing process, and allowing you to prioritize and remediate issues. This integration ensures security is built into your development workflow.
This integration works with both Invicti Platform on-demand (SaaS) and on-premises deployments.
Additional requirements for on-premises:
- Your Invicti on-premises instance must be accessible via a public HTTPS URL
- Localhost and HTTP connections are not supported by Jira webhooks
- A valid SSL/TLS certificate signed by a globally trusted certificate authority is required
See Prerequisites for detailed requirements.
This document explains how to integrate Invicti with Jira in 3 steps:
- Step 1: Configure Invicti
- Step 2: Submit vulnerabilities to Jira
- Step 3: Jira integration Webhook
Prerequisites
SSL certificate requirements
For Invicti on-premises: Your instance must be publicly accessible via HTTPS. Jira webhooks do not support localhost or HTTP connections.
While using self-signed certificates with Invicti On-Premises and/or Jira On-Premises is possible, it is not supported for setups that involve integrating Invicti with Jira:
- If you are using Invicti On-Premises, the Invicti configuration must have a valid SSL/TLS certificate, signed by a globally trusted certificate authority, and must be accessible via a public HTTPS URL (not localhost).
- If you are using Jira On-Premises, the Jira configuration must have a valid SSL/TLS certificate, signed by a globally trusted certificate authority. Note: The configuration of SSL/TLS certificates on your Jira server is outside the scope of Invicti support.
Be aware that Jira requires this configuration, particularly for webhooks.
Other requirements
Before integrating Invicti with Jira, ensure you meet the following requirements:
-
You have a valid Jira account.
-
You have created a Jira project where Invicti is going to send all the found vulnerabilities.
-
You have configured Jira work item types to align with Invicti severity levels.
-
Your Jira system allows incoming API requests. Follow the appropriate trustlist instructions:
Step 1: Configure Invicti
-
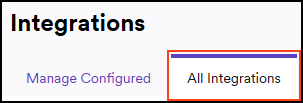
In Invicti, choose Integrations from the left-side menu.
-
Switch to the All integrations tab.
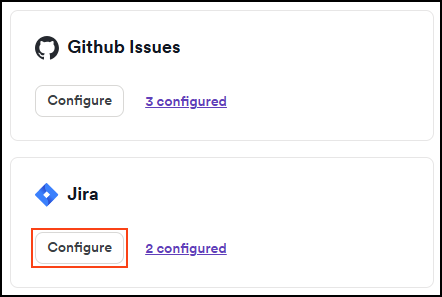
-
Scroll down to the Issues trackers and click Configure in the Jira tile.
-
In the Configure and authorize section:
a. Enter a name for your integration. This document uses Invicti & Jira OAuth as an example.
b. Fill in the Jira base URL.
Invicti Platform on-premisesThe URL must be an HTTPS URL for the webhooks to work. Additionally, for on-premises deployments, the URL must be publicly accessible (not localhost).

c. Choose the OAuth 2 Authentication type.
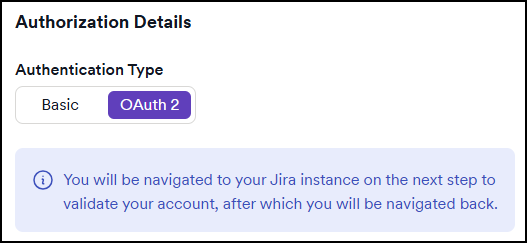
d. Click Validate & load projects to load your project and issue details.
e. On the new window, use Accept to allow Invicti Platform to access your Atlassian account.
-
In the Project configuration section, provide the following details:
a. Choose a Project from the drop-down list. This is where Invicti is going to send the found vulnerabilities.
b. Specify the Issue type as Vulnerability.
c. In the Issue title formatting field, choose the format for the work item title.
d. For the Included details field, use the drop-down menu to specify the information to include in the work item details.
e. Optionally, pick Yes to include a link to the report and attach a PDF report.
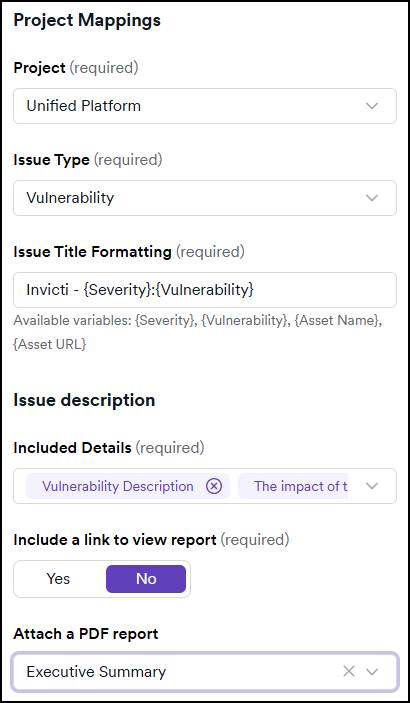
f. Click Next.
-
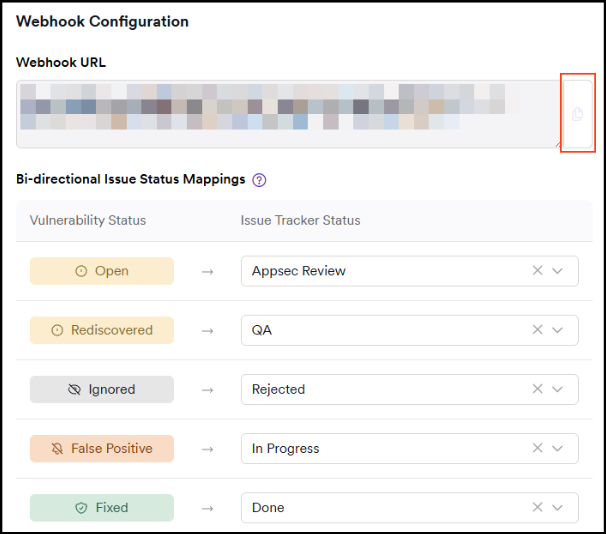
In the Issue mappings section:
a. Copy and save the Webhook URL value for later use in the Jira configuration.
b. Set your Bi-directional issue status mappings - you can choose any status from your Jira configuration.
-
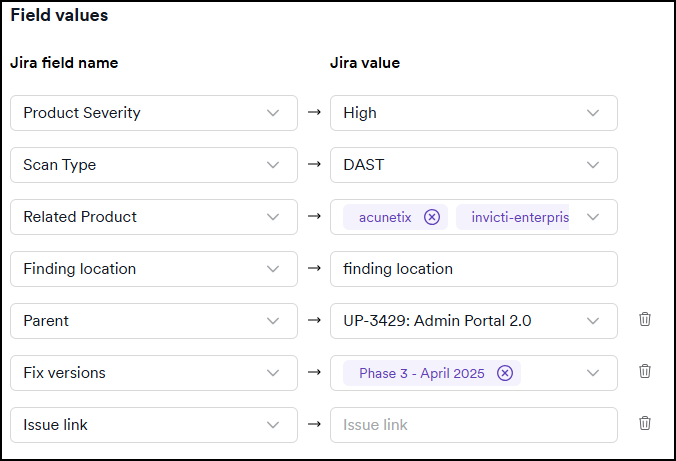
Next, assign field values. These items change based on the selected Project and Work item type.
-
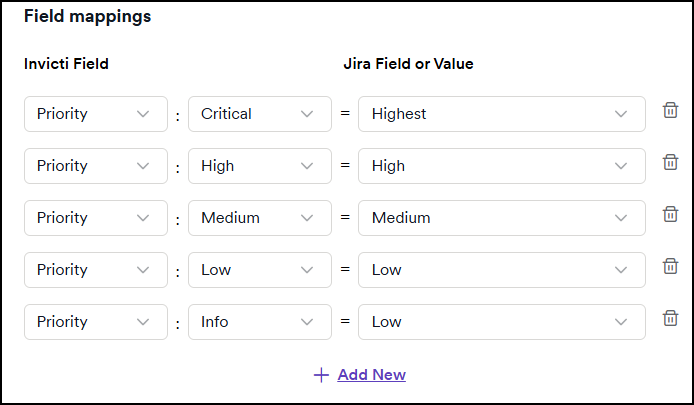
Assign Field mappings: Map Invicti Vulnerability severity levels to Jira severity values.
-
In the Field mappings panel assign Invicti fields to Jira fields or values. You have the option to add more field values. Use the Add New button to do so.
-
Use the Create sample issue to test the configuration. Then, use Save and Finish to complete the setup.
-
The vulnerability is now created and visible in your Work items list in the selected Jira project.
Step 2: Submit vulnerabilities to Jira
After identifying vulnerabilities, you can forward them to the designated issue tracker. The process is consistent across all supported issue trackers. For detailed instructions, refer to the linked documents.
Step 3: Jira integration Webhook
For Jira integration using OAuth, the webhooks are configured automatically. There is no need to configure these.
While webhooks are automatically configured for OAuth integrations, remember that for Invicti on-premises deployments, your instance must be publicly accessible via HTTPS for webhooks to function properly.
Troubleshooting authentication issues
Atlassian may globally revoke OAuth tokens when it detects suspicious activity, such as token reuse or recent client secret changes. This can result in 403 errors or messages like "refresh_token is invalid" or "Token was globally revoked." If you encounter these errors, you will need to manually re-authenticate by editing the integration and going through the OAuth authorization process again.
Need help?
Invicti Support team is ready to provide you with technical help. Go to Help Center