Send vulnerability to issue tracker
Once you have configured your issue-tracking system, the next crucial step is to transmit the identified vulnerabilities for proper management and resolution. Follow the steps detailed following to seamlessly integrate vulnerability data into your established workflow.
Vulnerabilities can be sent to your chosen issue tracker using one of two methods:
- Option A: manually via the Vulnerabilities page: This method is for reporting vulnerabilities that have already been discovered.
- Option B: automatically via Automations: This allows for the automatic transmission of newly found vulnerabilities to your issue tracker.
This document explains both methods for sending identified vulnerabilities to configured issue trackers. For demonstration purposes, GitHub Issues is used, but the process is the same for GitLab Issues, Azure Boards, and Jira.
You can send each vulnerability to only one issue tracker. After you send a vulnerability to a specific issue tracker, you can't send it to a different tracker.
Option A: Manual submission (Vulnerabilities page)
Use this method to manually send already discovered vulnerabilities to your issue tracker after a scan is complete.
- Select Vulnerabilities from the left-side menu.
- Mark the checkboxes next to the vulnerabilities you want to send to your issue tracker.
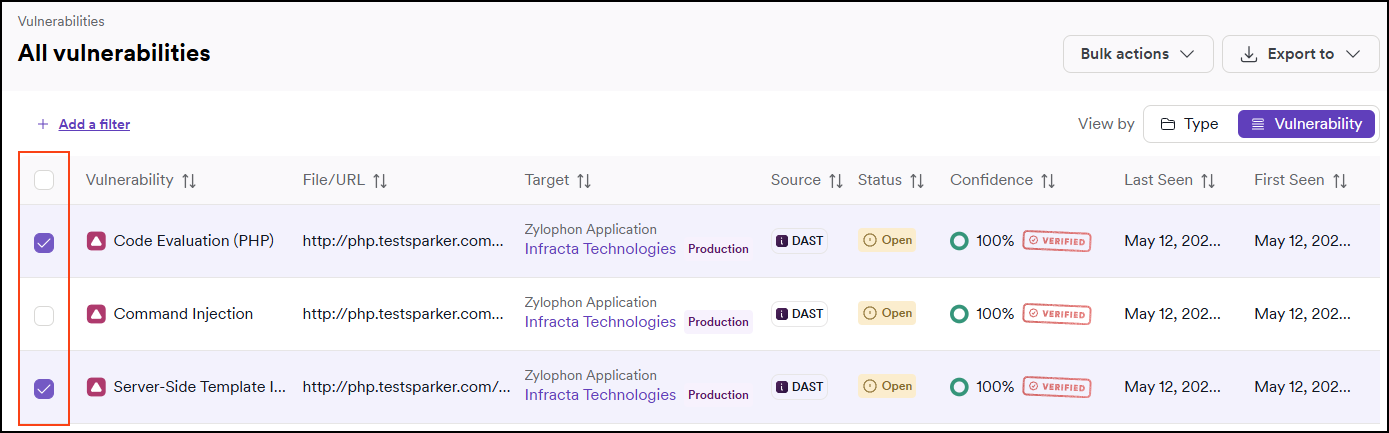
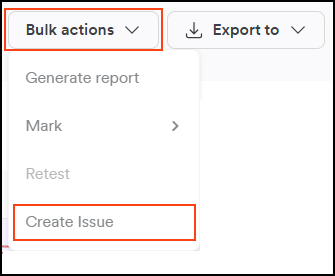
- Use the Bulk actions button to Create issue.
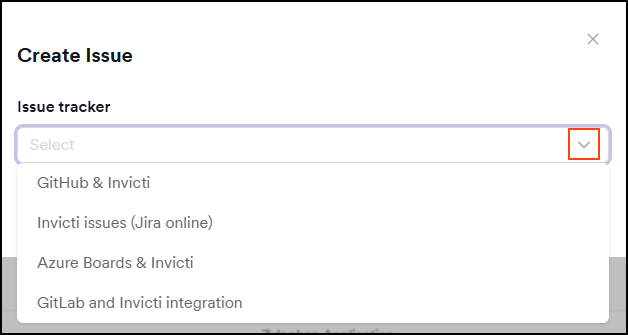
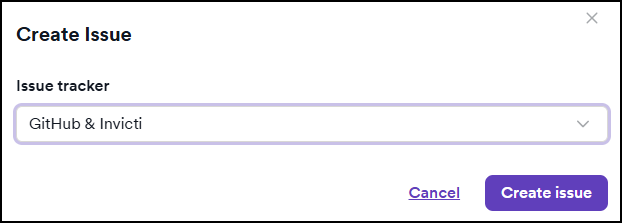
- In the Create issue dialog, use the drop-down arrow to select one of the integrated issue trackers.
- Confirm your selection by clicking Create issue.
Option B: Automated submission (Automations page)
Use this method to automatically send newly discovered vulnerabilities to your issue tracker in real time during or immediately after scans—without manual intervention.
The automated submission is a 2-step process:
- Step 1: Specify scope and targets
- Step 2: Add event and action
Step 1: Specify scope and targets
This is where you enter a name for the automation and specify the targets or collections.
- Select Automations from the left-side menu.
- Click Add new automation.

- Complete the following fields:
- Name: Enter a meaningful name for the automation.
- Description: Briefly describe what the automation is for.
- Scope: Choose where the automation should apply:
- All targets - Applies to all targets.
- Specific collections - Select from existing collections.
- Specific targets - Choose individual targets.
- Targets / Collections drop-down: This field updates based on your Scope selection. Use it to choose the relevant targets or collections the automation applies to.
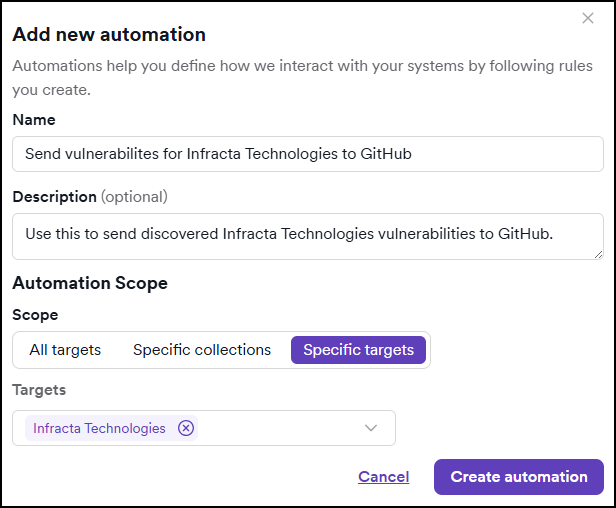
- Click Create automation to confirm this. You are taken to the automation configuration page. Continue with step 2.
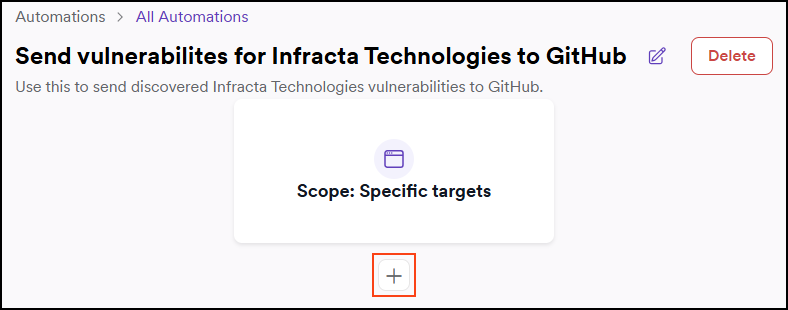
Step 2: Add event and action
This is where you add an event and action to the automation.
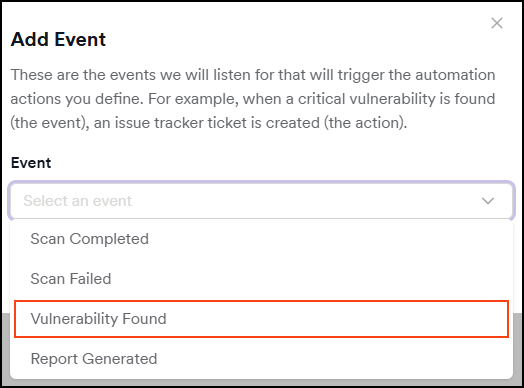
- Use the plus button to add an event:
- On the Add event dialog, use the drop-down to select Vulnerability Found.
- Configure the additional fields
- Vulnerability severity: Send only vulnerabilities that match the selected severity level.
- Vulnerability confidence: Send only vulnerabilities with the selected confidence level or higher.
- Target’s business criticality: Select the business criticality of the target to further filter the results.
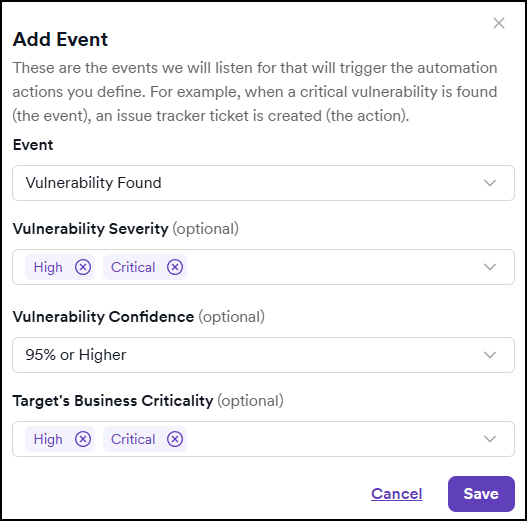
- Click Save to confirm the event configuration.
- Use the plus button below the event to enter an action.
- Use the drop-down to select the Send to Issue Tracker option.
- Specify the integration.
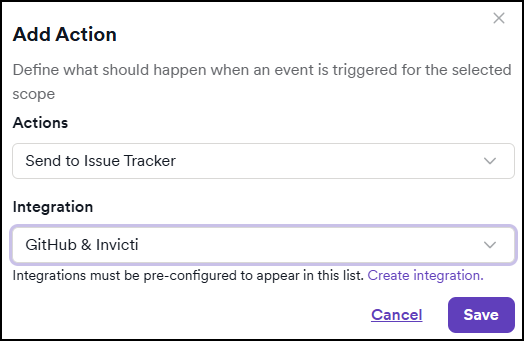
- Save to confirm the action.
- Click Save changes to save the entire automation.
Need help?
Invicti Support team is ready to provide you with technical help. Go to Help Center