Deployment: Invicti Platform on-premises
Set up Jira OAuth 2.0 for Invicti Platform on-premises
When using Invicti Platform on-premises, OAuth 2.0 authentication with Jira requires you to create your own OAuth 2.0 app in the Atlassian Developer Console and obtain a Client ID and Client Secret. This is because on-premises installations are treated as separate applications by Atlassian.
Once you have your Client ID and Client Secret, enter them in Invicti Platform when configuring the Jira OAuth 2.0 integration.
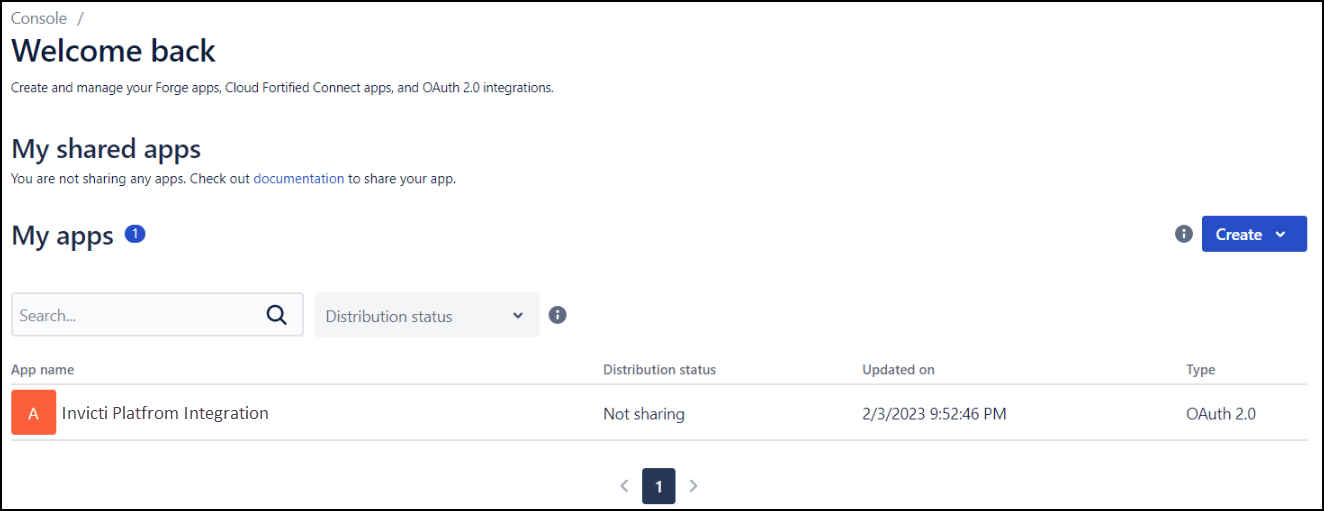
Step 1: Create an OAuth 2.0 app
- Go to the Atlassian Developer Console at https://developer.atlassian.com/console. You may need to register your Atlassian account if you haven't done so before.
- Click Create and select OAuth 2.0 integration.
- Give your app a name, for example Invicti Platform.
- Click Create.
Step 2: Set distribution to Private
In the Distribution tab, set the distribution to Private.
This is required because you are not distributing this app to third-party users — it is used exclusively for your own Invicti Platform on-premises installation.
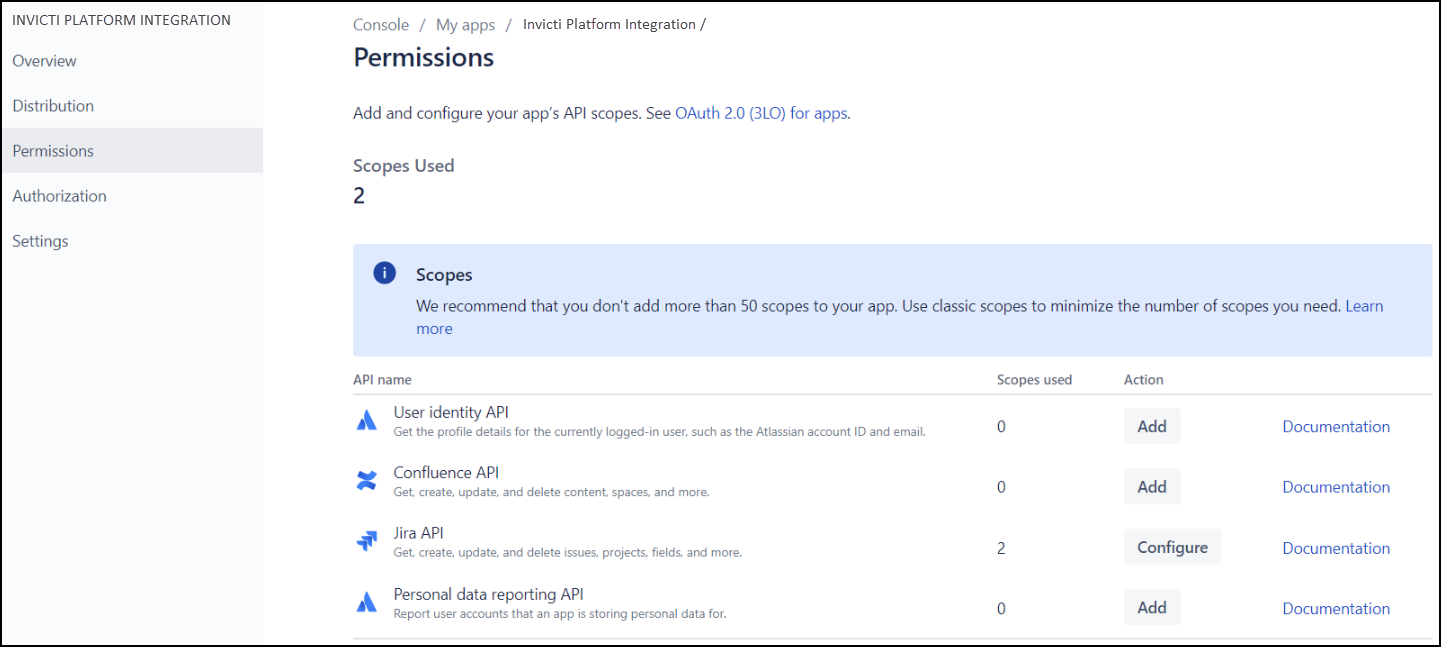
Step 3: Configure required scopes
In the Permissions tab, add the scopes that Invicti Platform requires:
-
Next to Jira API, click Add.
-
Select the Classic Scopes tab.
-
Next to Jira Platform REST API, click Edit Scopes.
-
Enable the following scopes:
Scope Permission read:jira-workView Jira issue data read:jira-userView user profiles write:jira-workCreate and manage issues manage:jira-webhookManage Jira webhooks -
Click Save.
The scopes are also limited by the actual permissions of the user logging in. Make sure your users have permission to create tickets in Jira.
Step 4: Configure the callback URL
-
In the Authorization tab, click Configure next to OAuth 2.0 (3LO).
-
Add the callback URL. This is the URL Jira redirects the user to after successful authentication. It must match your Invicti Platform on-premises front-end domain:
https://<your-on-premises-domain>/app/integrations/callback -
Click Save changes.
The callback URL does not need to be publicly accessible on the internet. Internal or intranet URLs are supported.
Step 5: Obtain your Client ID and Client Secret
Go to the Settings tab. Your Client ID and Client Secret are listed here.
Copy both values — you will need to enter them in Invicti Platform when configuring the Jira OAuth 2.0 integration.
See also
- Jira using OAuth for instructions on configuring the integration in Invicti Platform.
Need help?
Invicti Support team is ready to provide you with technical help. Go to Help Center