Apigee API hub
This feature is available with Invicti API Security Standalone or Bundle.
Integrating Apigee API hub with Invicti Platform allows you to fetch Swagger2 and OpenAPI3 specification files from Apigee API hub and provide them as inputs to DAST scanners. The imported specification files are used to build an inventory of API endpoints that can be scanned for vulnerabilities.
Apigee API proxy is not supported in Invicti API Security.
This document explains how to set up an integration between Apigee API hub and Invicti Platform.
Prerequisites
- A Google Cloud Platform account with a project resource that you want to integrate with Invicti Platform.
- The necessary permissions to configure OAuth settings for your project.
- A basic understanding of OAuth 2.0 and its flow.
- An Apigee API hub account with access to the credentials section.
Before configuring the Apigee API hub integration in Invicti Platform, you need to set up OAuth 2.0 in the Google Cloud Platform Console to authenticate and authorize apps securely and configure access to your Apigee API hub endpoints. Follow the steps below in each section to prepare your Apigee API hub for integration with Invicti.
Only Swagger2 and OpenAPI3 specification files are imported.
Step 1: Create the OAuth consent screen
- Log in to the Google Cloud Platform Console.
- Select the project resource that you want to integrate with Invicti.

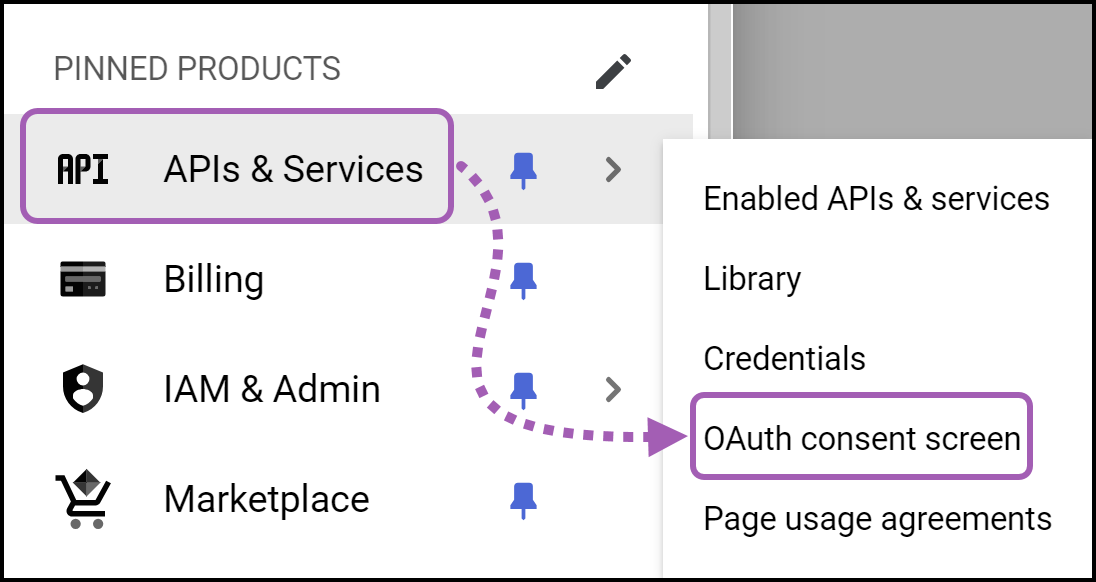
- Click the Navigation Menu on the left and select APIs & Services > OAuth consent screen.
- Configure the OAuth consent screen: a. Select Internal or External for the User Type based on your requirements. b. Click Create.

-
Enter the information that appears on the consent screen: a. Fill out the required fields App name, User support email, and Developer contact information. b. Optionally, upload a logo file, and provide an app homepage link, privacy policy link, and terms of service link. c. Click Save and Continue.
-
Define scopes and test users: a. Click Add or Remove Scopes to define the scopes your app requests. Common scopes include email and profile. b. Add test users if you selected Internal as the user type. c. When you have finished, click Save and Continue.
-
Review your settings on the summary page. If all details are correct, click Back to Dashboard at the bottom of the page.
The OAuth consent screen for your project is now set up. Continue with the instructions in the next section to create OAuth 2.0 credentials for your project.
Step 2: Create OAuth 2.0 credentials
- Select Credentials from the left sidebar.
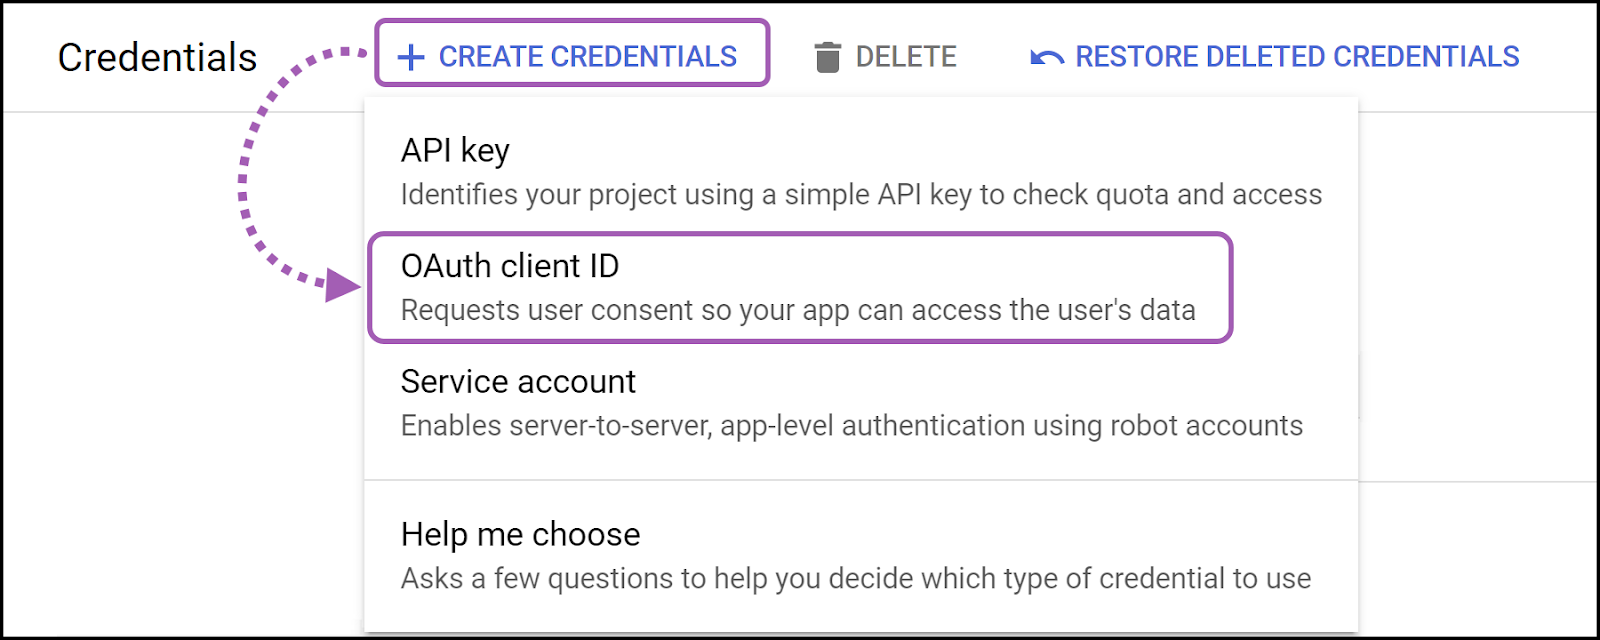
- Click + Create Credentials, then select OAuth client ID.
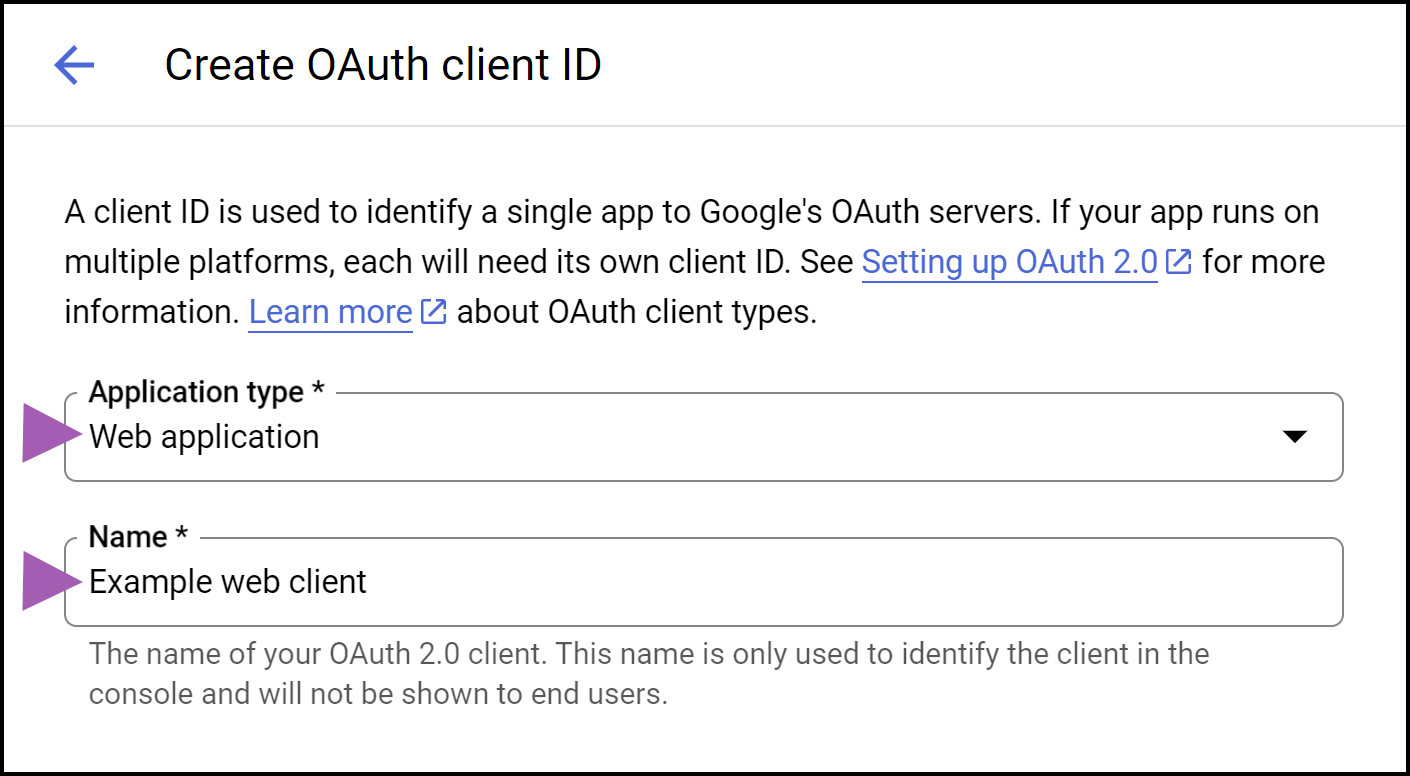
- Set the App type and enter a Name for your OAuth 2.0 client.
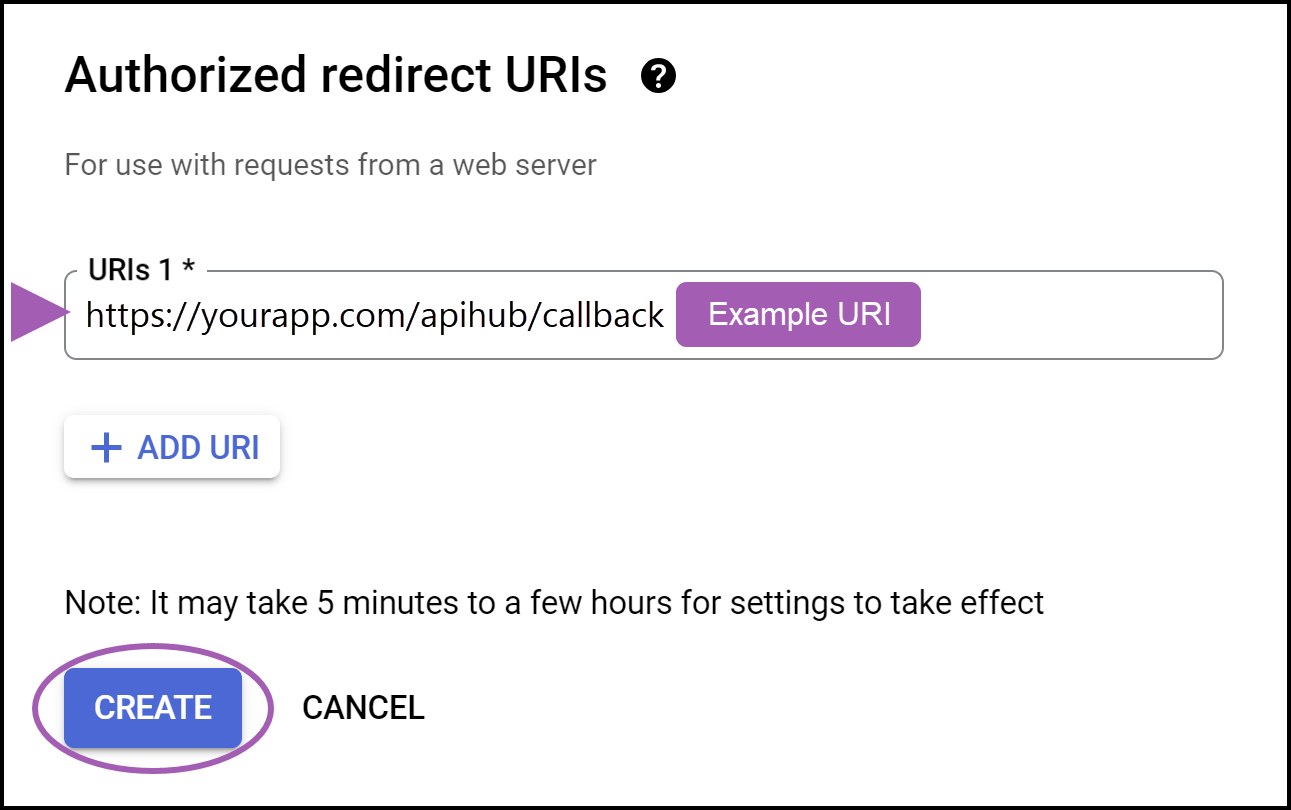
- In the Authorized redirect URIs section, click + Add URI.
- Enter the URI of your Invicti instance that your app uses for OAuth 2.0 redirection. In the example below, https://yourapp.com/apihub/callback is used (this is only an example!).
- Click Create.
- Copy the Client ID and Client secret. Paste these to a location where you can access them later when configuring the Apigee API hub import in Invicti.
- Click OK.

A notification confirms OAuth client created. Continue with the instructions in the next section.
Step 3: Enable required APIs in Google Cloud Platform
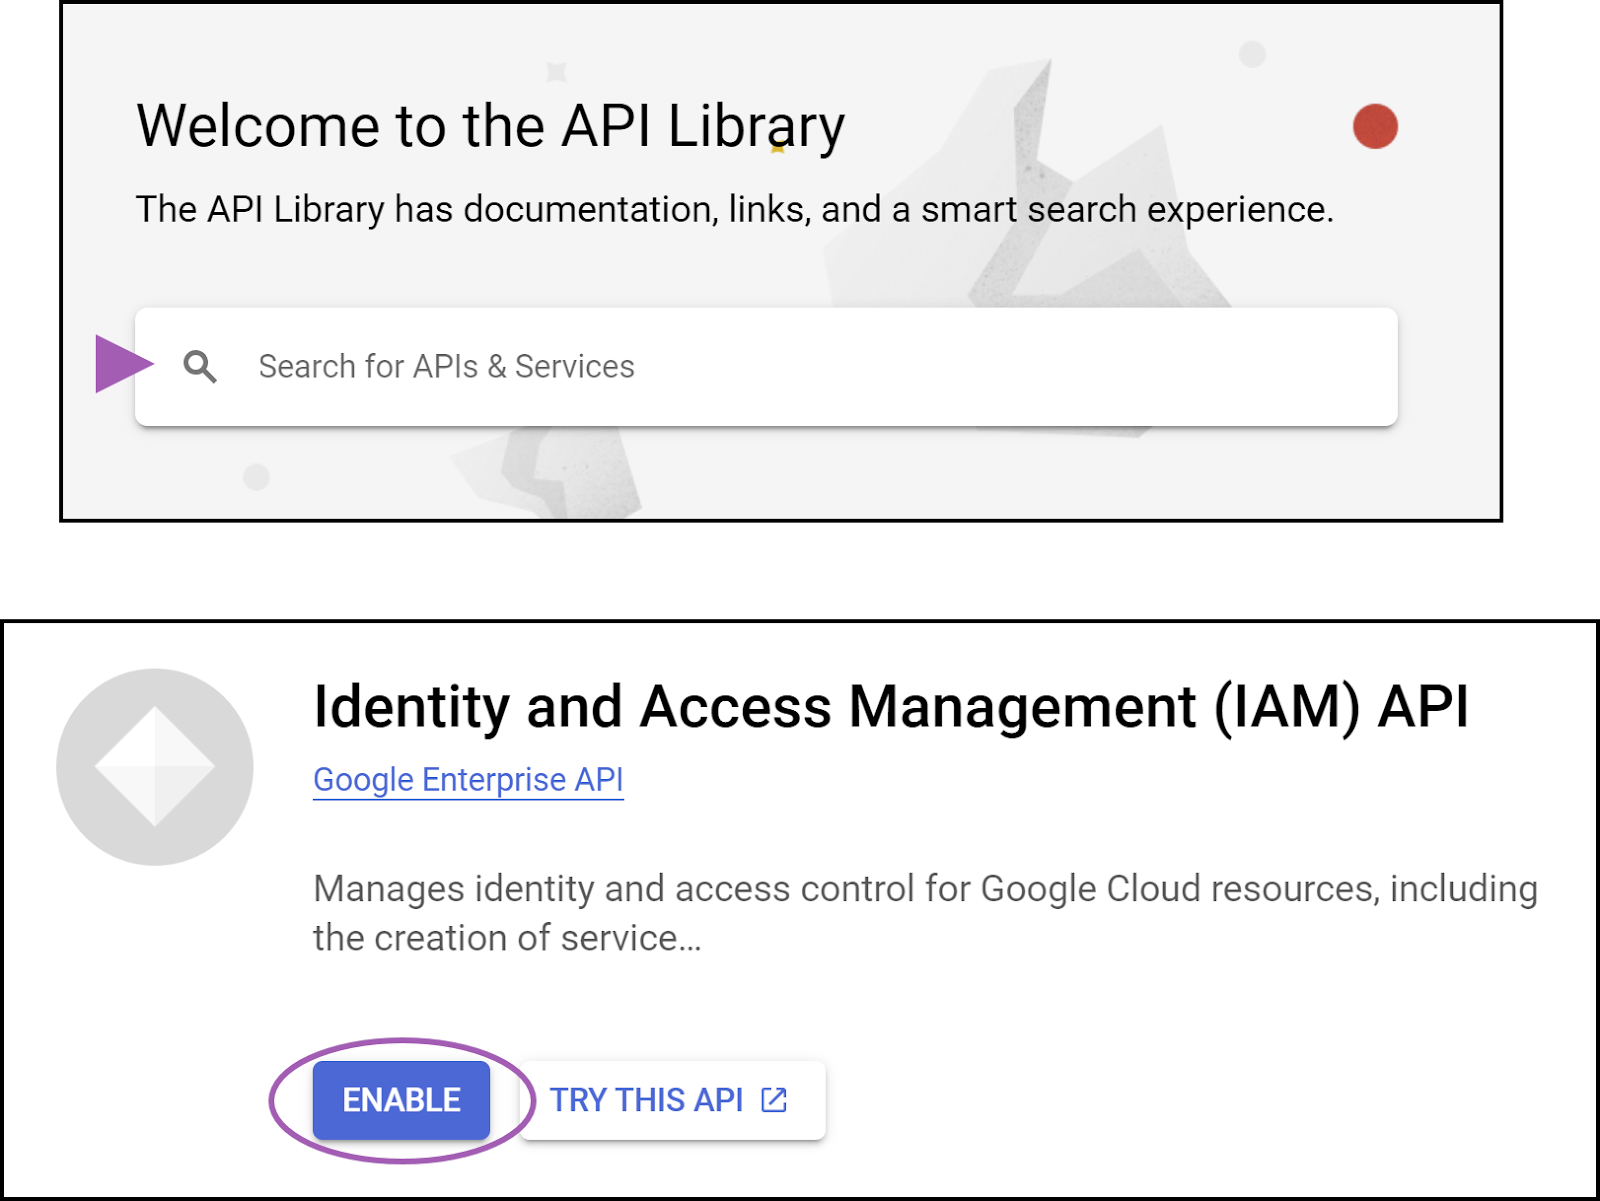
- In the Google Cloud Platform navigation menu, select APIs & Services > Library.
- Search for, select, and enable the following APIs:
- Google Cloud Platform Identity and Access Management (IAM) API
- Google Cloud Platform Resource Manager API
- Apigee API (if not already enabled)
Step 4: Get the necessary Apigee credentials
Before configuring the Apigee API hub import in Invicti, you need to ensure you have the following credentials from the Apigee API hub:
- Client ID
- Client Secret
- Project ID
Client ID and client secret
These were previously copied in the OAuth 2.0 credentials section. If you need to obtain them again:
- Log in to the Apigee API hub for your project.
- Click the Navigation Menu on the left and select APIs & Services > Credentials.
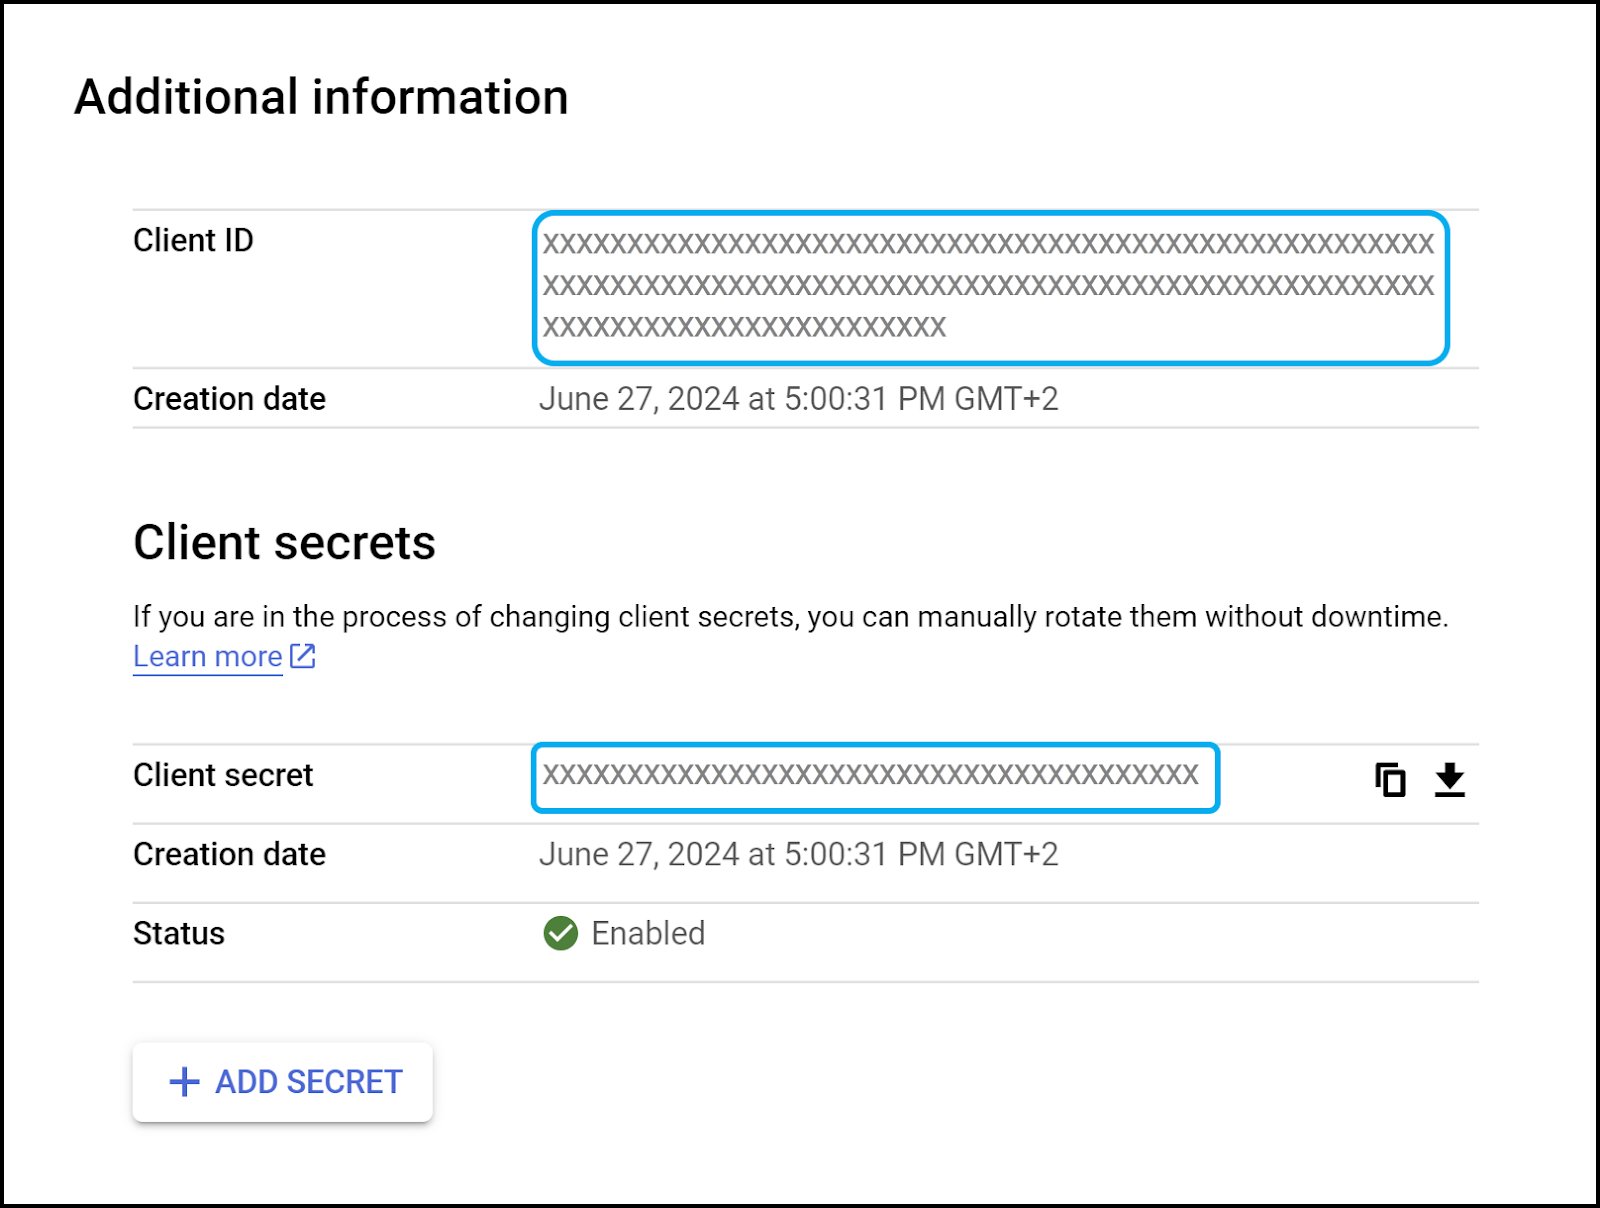
- In the OAuth 2.0 Client IDs section, click the Edit icon for the credentials you set up in Step 2 of this document.

- Copy the Client ID and Client secret from the Additional information section on the right-hand side.
Project ID
- Log in to the Apigee API hub for your project.
- Click the project selector drop-down to open the Select a resource window.
- Copy the ID for your project.

Step 5: Configure the Apigee API hub import in Invicti
- Select Discovery > Configuration from the left-side menu.
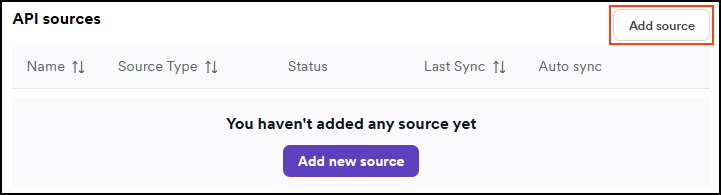
- Further down, select API sources.
- Click Add source.
- Leave the Import type as External platform.
- Enter a name for the source configuration. This helps you identify it later in your list of API sources.
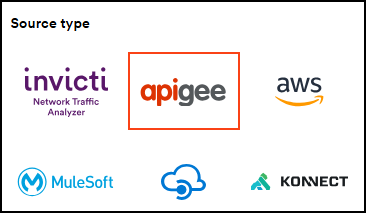
- Select apigee as the Source type.
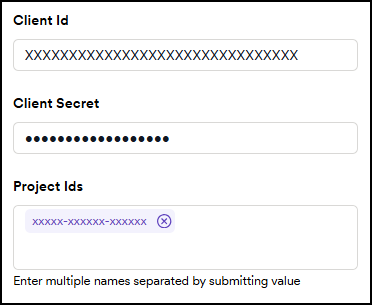
- Enter the following details:
- Client Id: This is the Client ID that you previously copied from Google Cloud Platform when you created OAuth 2.0 credentials.
- Client Secret: This is the Client Secret that you previously copied from Google Cloud Platform when you created OAuth 2.0 credentials.
- Project Ids: Enter your Project IDs that you previously copied from Google Cloud Platform. Submit each one by pressing Enter.
- Click Authenticate and Save.
- You are navigated to your Google Account to authorize the integration.
- Select or confirm your Google Account for the integration.
Once complete, you see a short message displayed in Invicti: Authorization successful. Your Apigee API hub integration now appears on the APIs > Sources page in Invicti. Continue with the final step below to synchronize the API import.
Step 6: Synchronize the API import
- On the APIs > Sources page in Invicti, click the sync icon to start importing your API specification files from Apigee API hub into your Invicti API catalog.

- When the sync is complete, your API specification files are displayed on the API catalog page in Invicti. From this page, you can link your API specification files to targets so they can be scanned for vulnerabilities. For more information, refer to Link discovered APIs to targets.
Apigee API hub is now integrated with Invicti Platform. After the initial synchronization, the integration automatically syncs your API specifications once every 24 hours.
To synchronize API specifications on demand, click the sync icon on the APIs > Sources page. To turn off automatic synchronization, click the toggle in the Sync Automatically column on the APIs > Sources page.
Need help?
Invicti Support team is ready to provide you with technical help. Go to Help Center