Azure API management
This feature is available with Invicti API Security Standalone or Bundle.
Integrating Azure API Management with Invicti Platform allows you to fetch Swagger2 and OpenAPI3 specification files from Azure API Management and provide them as inputs to DAST scanners. The imported specification files are used to build an inventory of API endpoints that can be scanned for vulnerabilities.
Prerequisites
To integrate Azure API Management with Invicti Platform, you need a Microsoft Azure account with the right to set up credentials/permissions.
Before setting up the Azure API Management integration in Invicti, you need to register Invicti as an app in Microsoft Azure and add permissions and secrets. Follow the steps below in each section to prepare your Azure app for integration with Invicti.
Only Swagger2 and OpenAPI3 specification files are imported.
Step 1: Register your Invicti app in Azure API management
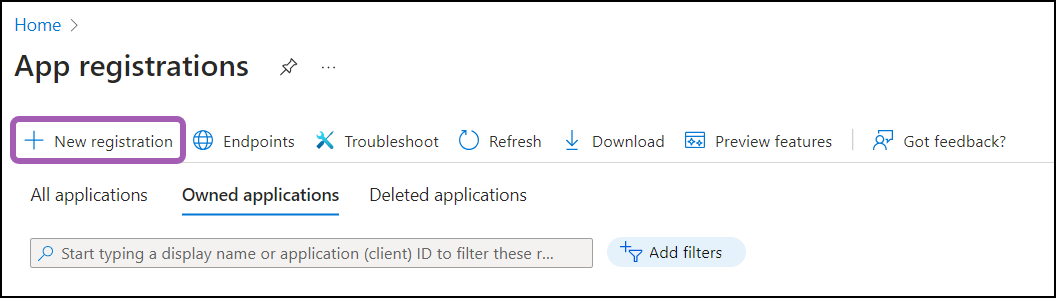
- In Microsoft Azure, select App registrations.

- Select New registration.
- Enter a name for the app and set who can see this app or access this API in the Supported account types section.
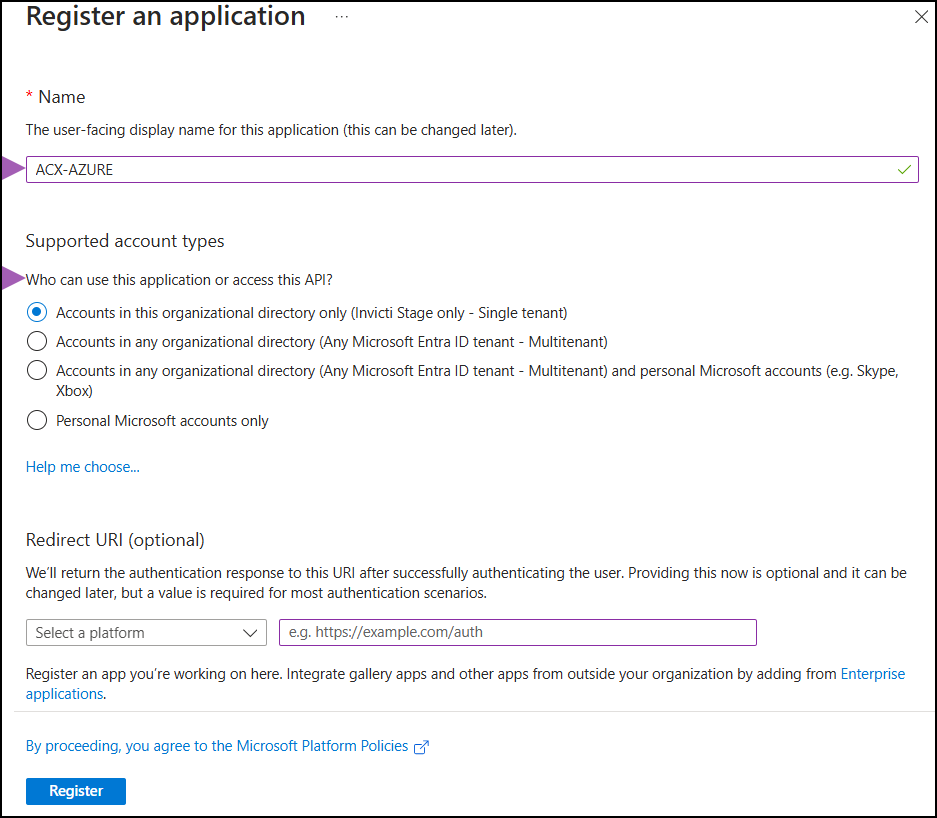
- Select Register to complete the registration.
You have now registered your app. The next step is to add it as a member and assign a role.
Step 2: Add your app as a member and assign a role
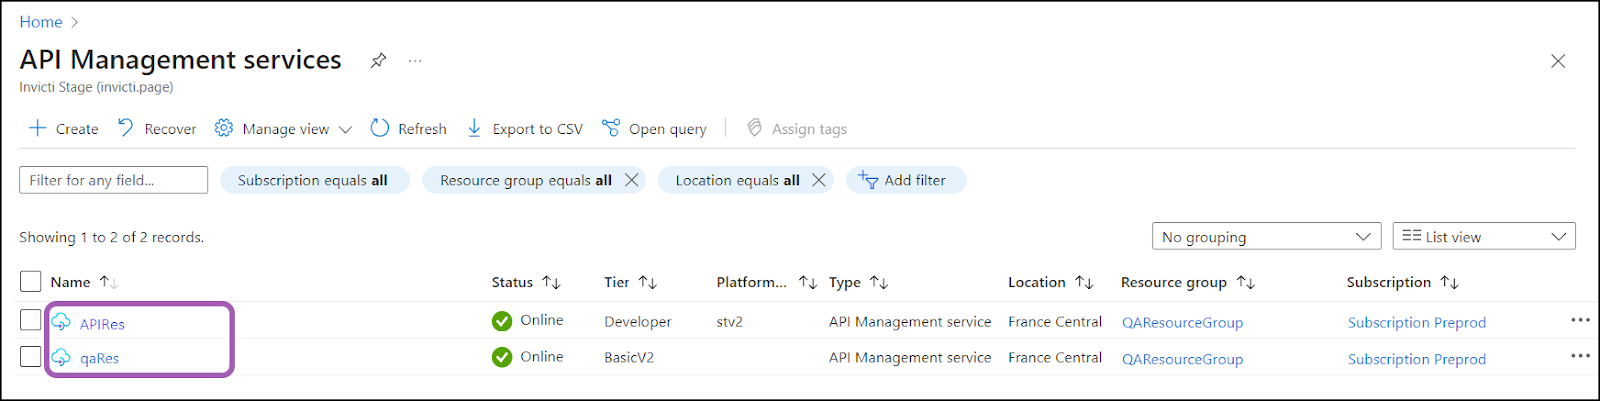
- After app registration is completed, go to the home page and select API Management services.

- Select one item from the list of API Management services.
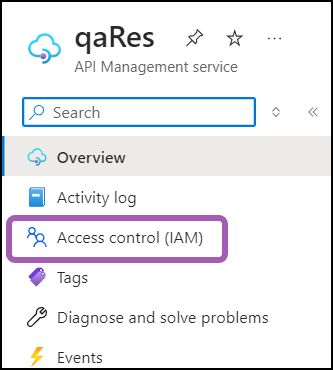
- In the new window, select Access control (IAM).
- Select the Role assignments tab.
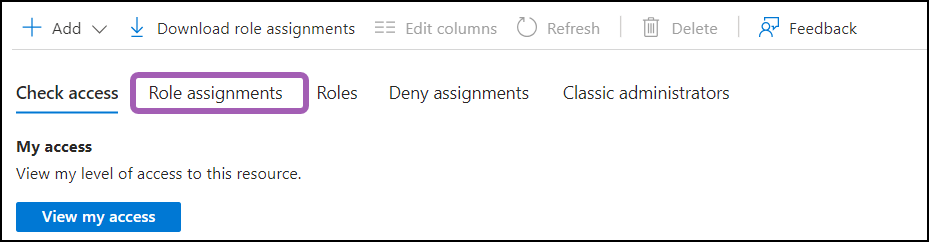
- Use the Add button to add a new role assignment.

- In the Members tab, click Select members.
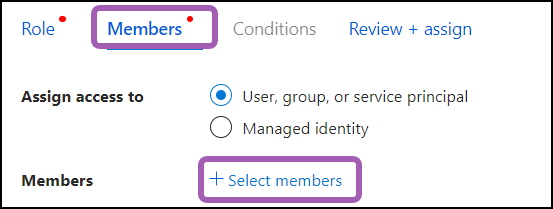
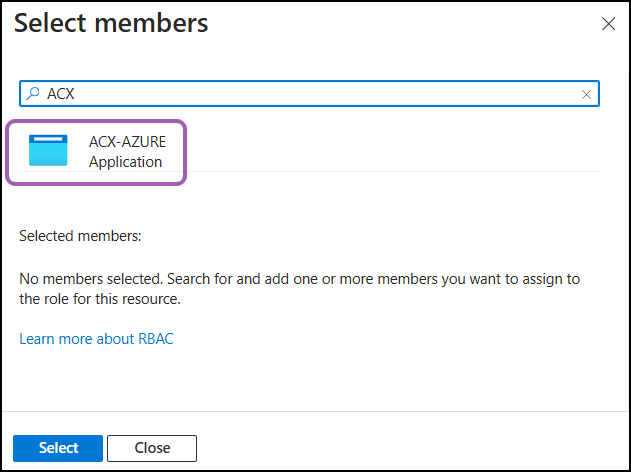
- Search for the app you created earlier, click on it to select it, then click Select at the bottom of the page.
-
Before assigning a role, create a custom role with the minimum required permissions:
a. In Access control (IAM), select Add > Add custom role.
b. Choose Start from scratch. Enter a name for the role, for example
invicti-apim-reader.c. Open the JSON tab and set the
permissionsarray to:"permissions": [
{
"actions": [
"Microsoft.ApiManagement/service/*/read"
],
"notActions": [],
"dataActions": [],
"notDataActions": []
}
]d. Complete the wizard to save the custom role.
-
On the Role tab, use the search field to search for the custom role you just created.
-
Select the custom role and click Review + assign.

- You are taken to the Review + assign tab, click the Review + assign button.
The app has been added to your API Management Service. Continue with the steps in the next section to set permissions.
Step 3: Add permissions
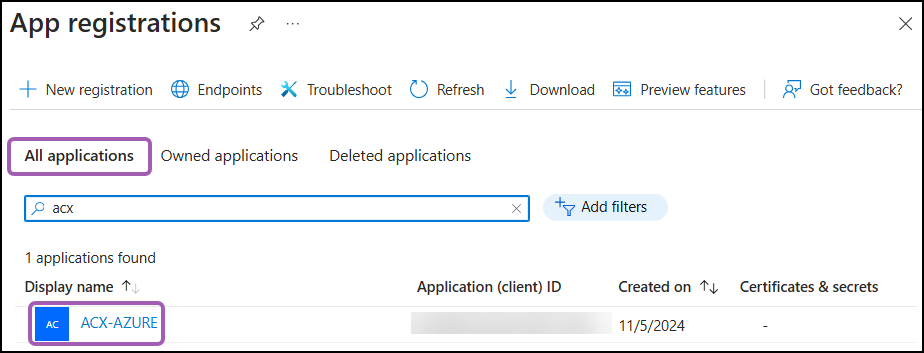
- Return to the home page and select App registrations. Click the All apps tab, then select the app you created earlier.
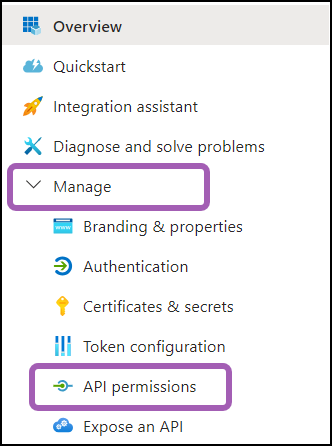
- Select Manage > API permissions from the left-side menu.
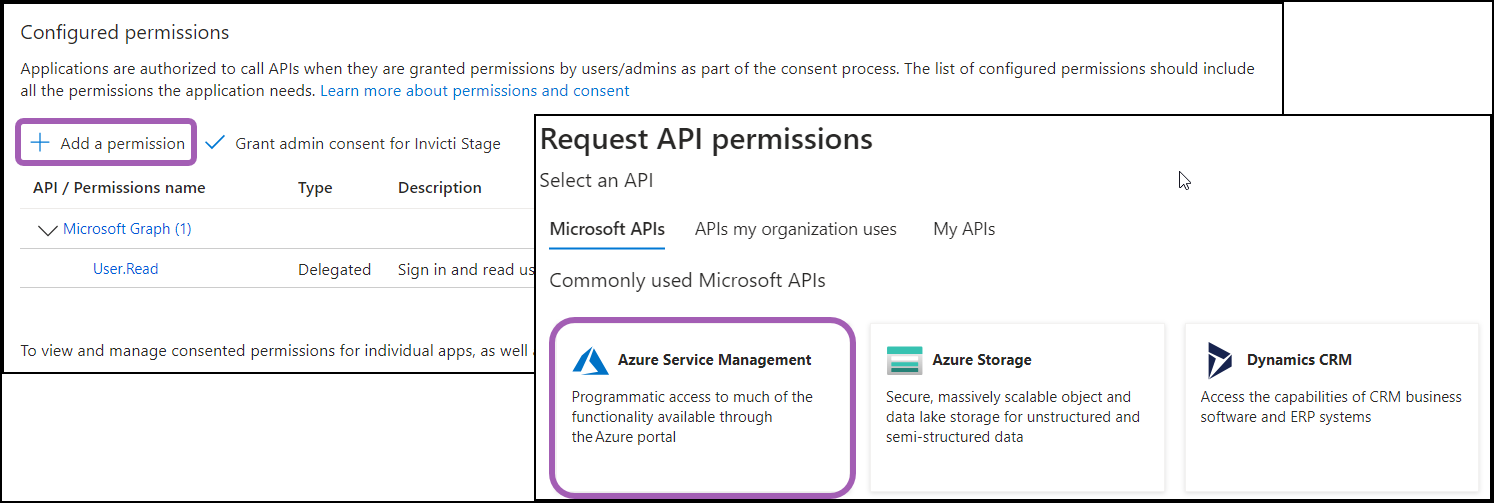
- Click Add a permission and select Azure Service Management.
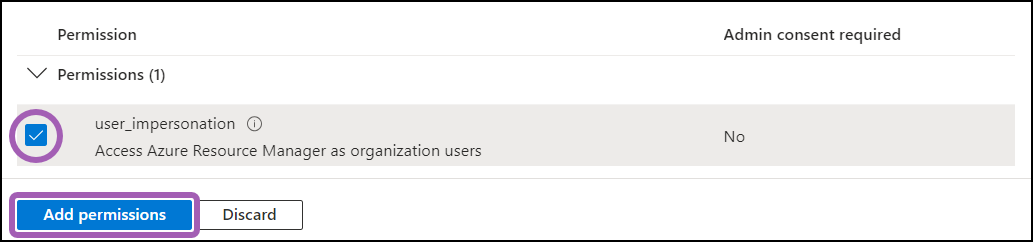
- Under Permissions, select the user_impersonation checkbox, then click Add permissions.
After adding the permissions, you need to create a secret for the app to prove its identity. Continue with the steps listed in the following section.
Step 4: Add a client secret
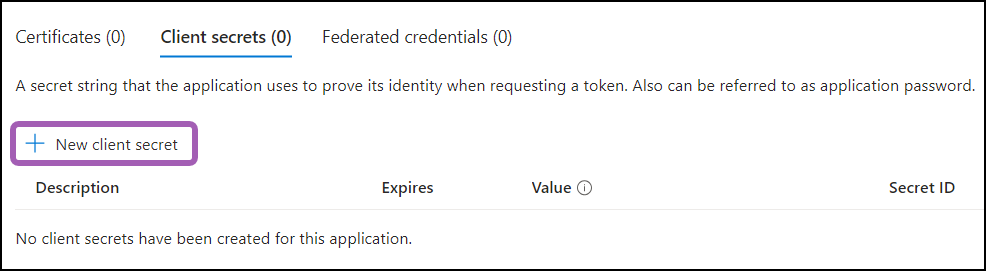
- Staying within the same app you created earlier (App registrations > All apps > click on your app), select Manage > Certificates & secrets from the left-side menu.

- Select New client secret.
- Enter a description and expiry date, then click Add.
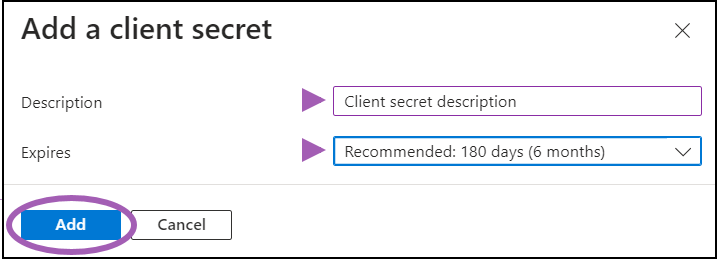
- Use the copy buttons to copy both the Value and the Secret ID of the client secret. Paste the information in a location where you can access them later as you need them in step 5 when configuring the import source in Invicti. Copying this information now is important, as it can only be viewed at this step.

The App (client) ID and Directory (tenant) ID can later be found under App registrations > All apps tab > select your app > Overview.

You now have the necessary information to set up the API integration in Invicti. Continue with the instructions in the next section.
Step 5: Configure the API import source in Invicti Platform
- Select Discovery > Configuration from the left-side menu.
- Further down, select API sources.
- Click Add source.
- Leave the Import type as External platform.
- Enter a name for the source configuration. This helps you identify it later in your list of API sources.
- The Client Id, Client Secret, and Tenant Id can be found in Azure Service Management in App registrations > Overview.
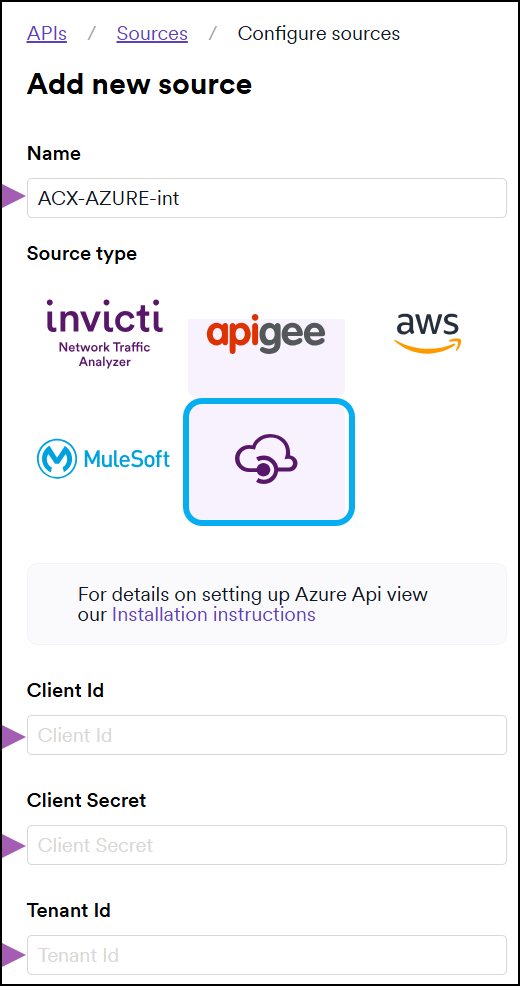
- Click Authenticate and Save.
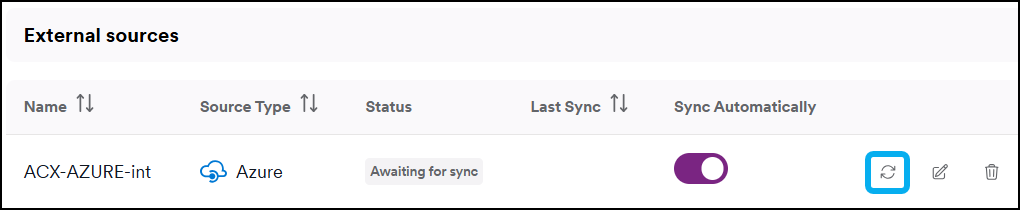
Your Azure API Management integration is now displayed on the APIs > Sources page.
Step 6: Synchronize the API import
- On the APIs > Sources page in Invicti, click the sync icon to start importing your API specification files from Azure API Management into your Invicti API Inventory.
- When the sync is complete, your API specification files are displayed on the API Inventory page in Invicti. From this page, you can link your API specification files to targets so they can be scanned for vulnerabilities. For more information, refer to Link discovered APIs to targets.
Azure is now integrated with Invicti Platform. After the initial synchronization, the integration automatically syncs your API specifications once every 24 hours.
To synchronize API specifications on demand, click the sync icon on the Discovery > Configuration > API sources page. To turn off automatic synchronization, click the toggle in the Sync Automatically column.
Need help?
Invicti Support team is ready to provide you with technical help. Go to Help Center