Deployment: Invicti Platform on-demand
Create an agentic pentest
Previous: Agentic pentests | Next: Review agentic pentest results
This document explains how to create a new agentic pentest and launch an assessment using the five-step wizard.
Before you begin, confirm you have the AI Pentesting (Octo) license and the Agentic Pentests permission. For details, see Agentic pentests.
Why this matters
The pentest configuration you set up determines how thoroughly Octo can test your application. Authentication lets agents reach pages behind a login - without it, you only get results for publicly accessible areas, which increases the chance of missing critical issues. Choosing the right agents and providing source code gives Octo the context it needs to find issues that surface-level testing alone misses.
Create a pentest
- Select Pentests from the left-side menu.
- Click New pentest in the top right. A five-step wizard opens.
Octo locks the configuration once the assessment starts - if you need different settings after launch, create a new pentest.
Assessments interact with live applications and can affect performance, trigger security alerts, or change application data, such as by introducing sample data into application data stores. Where possible, point the assessment at a staging environment, make sure you're authorized to test the target, and consider running during off-peak hours.
Step 1: Scope
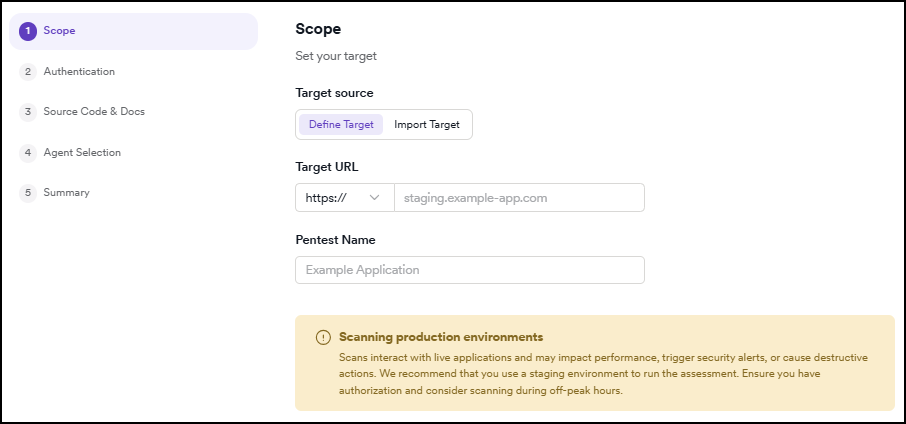
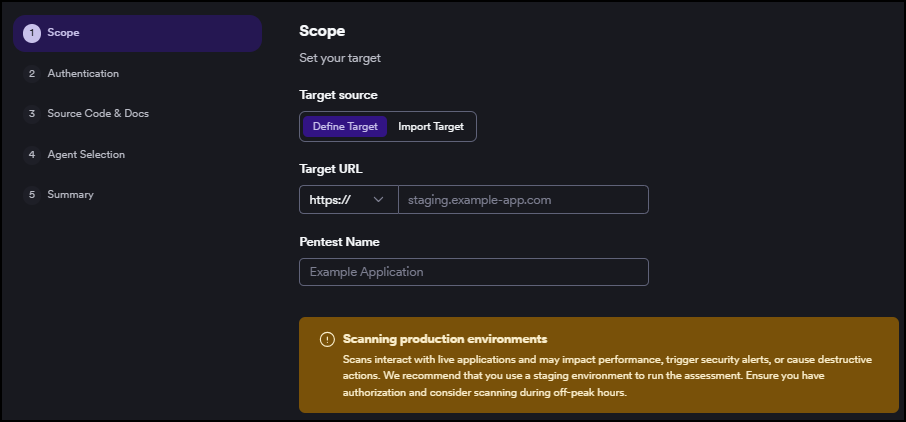
Scope is where you set the target URL and name the pentest.
- Choose the Target source:
- Define target - manually enter a URL. This is the default.
- Import target - choose an existing DAST target. If that target has authentication configured, it's automatically carried over in Step 2.
- Choose the protocol from the dropdown (for example, https).
- Enter the host in the Target URL field (for example,
staging.example-app.com). - Enter a unique name in the Pentest name field. Names must be unique and can't exceed 255 characters - the wizard won't advance if a pentest with the same name already exists.
- Click Continue.
Step 2: Authentication
Authentication lets the assessment reach pages behind a login and test them for vulnerabilities.
- No authentication
- Add credentials
- From target
Leave No authentication selected. A warning appears that Octo tests only publicly accessible areas. The summary shows "No credentials provided."
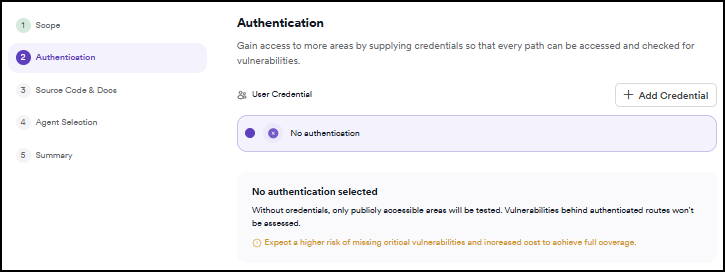
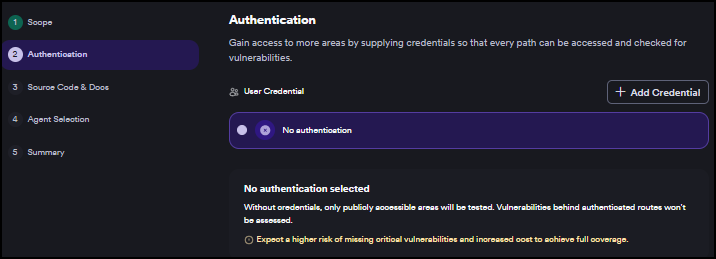
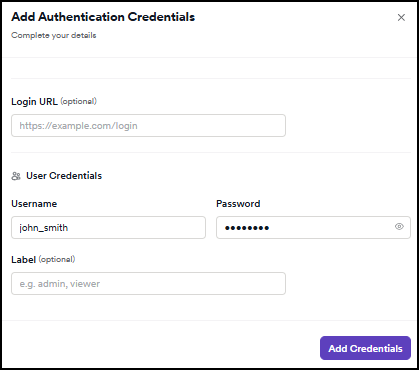
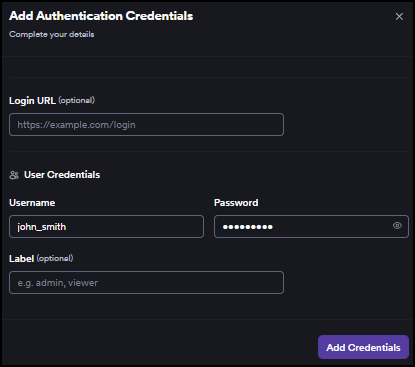
Click + Add Credential and fill in the form:
- Login URL (optional) - the URL of the sign-in page, for example
https://staging.example-app.com/login - Username (required)
- Password (required)
- Label (optional, max 64 characters) - a short identifier for the credential, for example
adminorviewer
Click Add Credentials to save. The credential appears as a card, selected by default. You can add only one credential per pentest.
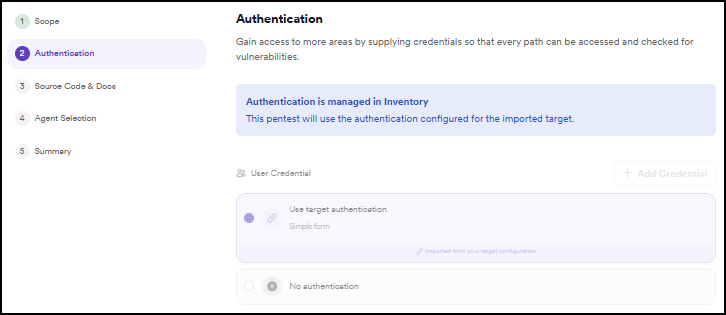
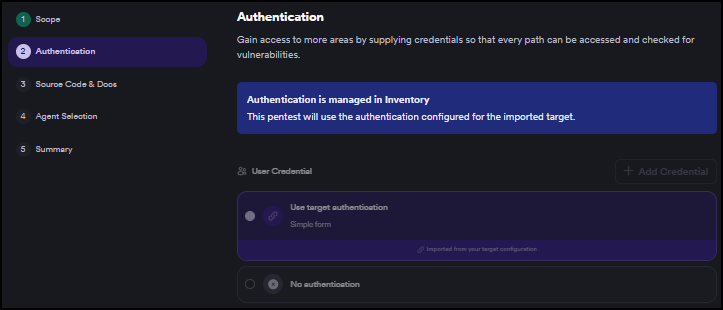
Available when you select Import target in Step 1 and the linked DAST target has authentication configured. Octo locks the authentication section and carries the target's credentials over automatically. A banner reads "Authentication is managed in Inventory."
If the linked DAST target has no authentication, the step behaves the same as the Add credentials or No authentication options.
Click Continue.
Step 3: Source code and reference documents
You don't have to upload your application's source code, but when you do, the agents can reason about your application more precisely and surface issues that are harder to find from the outside alone.
- Upload source code
- Reference documents
- Skip
- Click Upload in the Source Code section.
- Choose your archive files. Supported formats:
.zip,.tar,.tar.gz,.tgz,.tar.bz2, or.tar.xz. - You can add up to 5 files, 500 MB each.
Reference documents are optional and can be added regardless of whether you upload source code.
- Click Upload in the Reference documents section.
- Choose your files. Supported formats:
.pdf,.docx,.png,.jpg,.xml,.md. - You can add up to 5 files, 5 MB each.
Reference documents can include pentest reports, threat models, or diagrams.
Click Skip to continue without uploading source code. The agents test from the outside only.
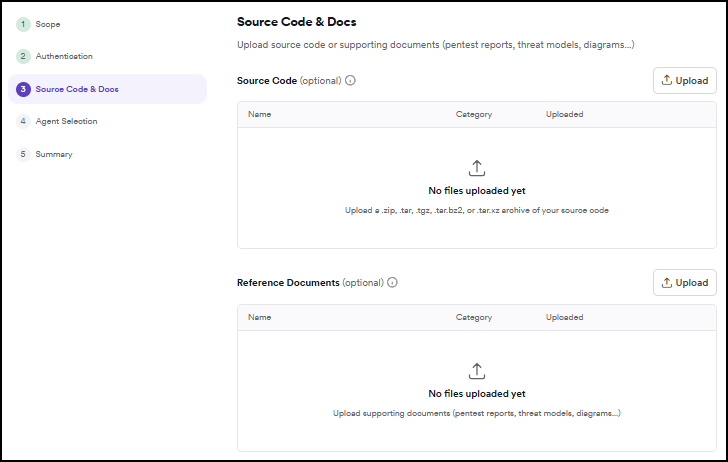
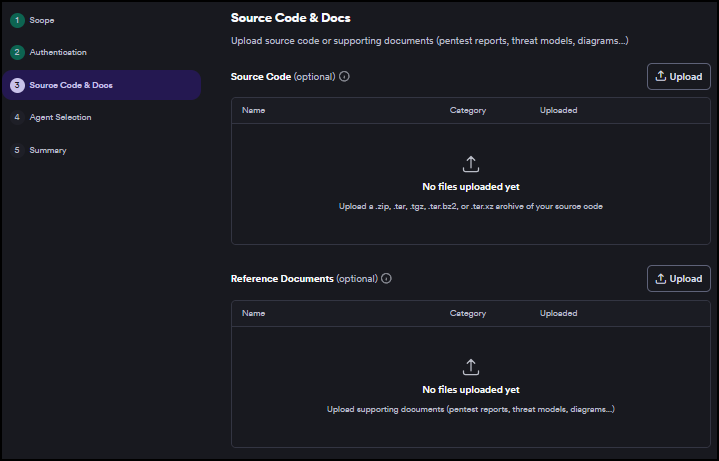
If a configuration error occurs during pentest creation, Invicti skips the file upload and shows a notification. The pentest is still valid and the assessment can still run - it just won't have source code or reference documents attached.
Step 4: Agent selection
Agents are the specialized testers that probe for specific classes of vulnerability. Typically, all agents currently available to your organization are pre-selected for the broadest coverage. The available agents can vary by organization configuration.
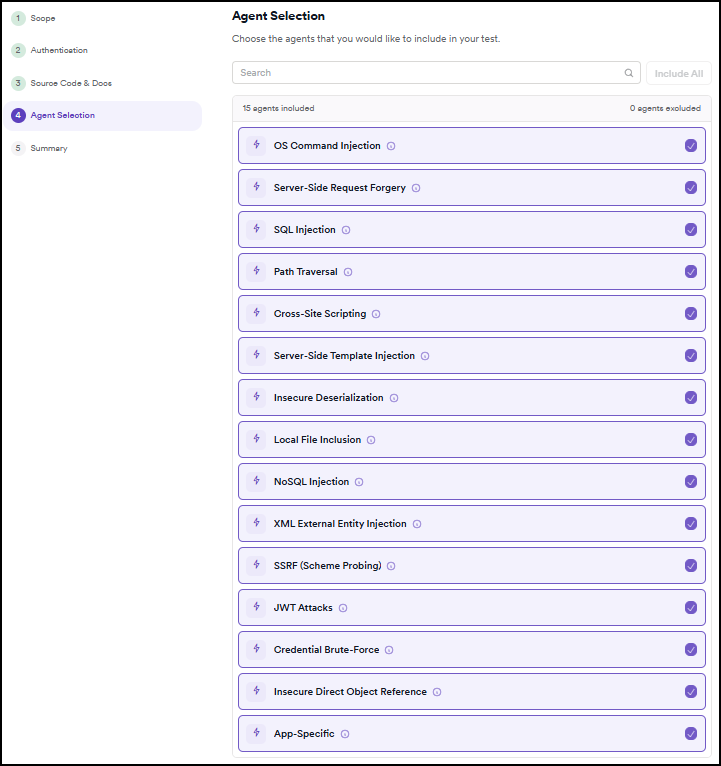
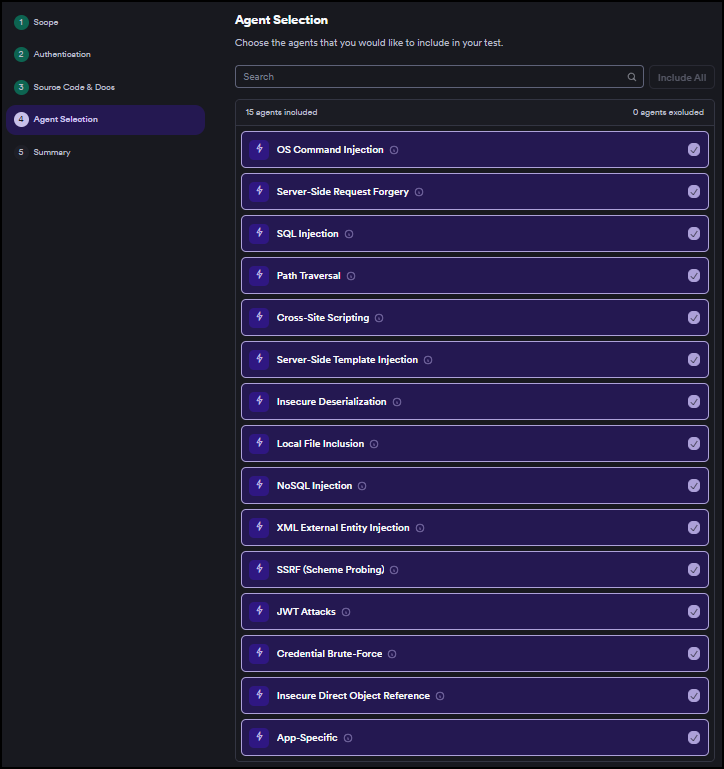
The supported agent types and what they test for:
| Agent | What it tests |
|---|---|
| OS command injection | Passes operating system commands through application input fields to run arbitrary commands on the server |
| Server-side request forgery | Tricks the server into making requests on the attacker's behalf, potentially exposing internal services and cloud metadata |
| SQL injection | Manipulates database queries through unsanitized input to read, modify, or extract data |
| Path traversal | Uses crafted file paths to escape the intended directory and access files the application shouldn't expose |
| Cross-site scripting | Injects malicious scripts into pages that other users load, enabling session theft and actions in a victim's name |
| Server-side template injection | Abuses template engines to execute expressions on the server, often leading to code execution |
| Insecure deserialization | Exploits how an application reconstructs serialized objects to tamper with logic or run code |
| Local file inclusion | Causes the application to include local files it shouldn't, exposing source code, configuration, or sensitive data |
| NoSQL injection | Targets non-relational databases by injecting into queries to bypass authentication or extract data |
| XML external entity injection | Exploits XML parsers that resolve external entity references, enabling file disclosure, internal service access, or denial of service |
| SSRF (scheme probing) | Tests alternative URL schemes (such as file:// and ftp://) to bypass server-side request forgery (SSRF) protections and access restricted resources |
| JWT attacks | Targets weaknesses in JSON Web Token implementations, including algorithm confusion, weak secrets, and missing signature verification |
| Credential brute-force | Tests login endpoints with systematic credential combinations to identify weak or default passwords |
| Insecure direct object reference | Manipulates object references in requests to access data outside the authenticated user's permitted scope |
| App-specific | Runs checks tailored to the patterns and technologies detected in the specific application under test |
Step 5: Review and launch
Review a summary of your settings: target URL, authentication method, uploaded files, and the agents included and excluded. This is your last chance to make changes - Octo locks the configuration once the assessment starts.
- Click Edit on any section to go back and adjust it.
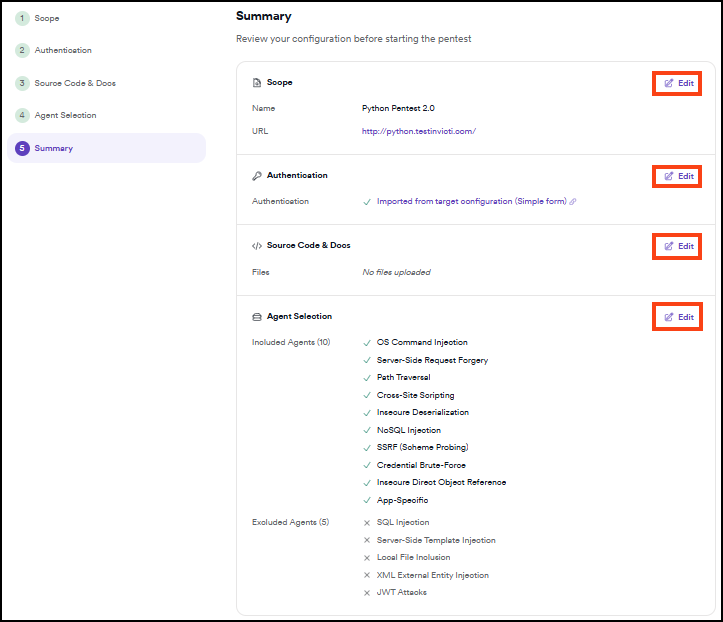
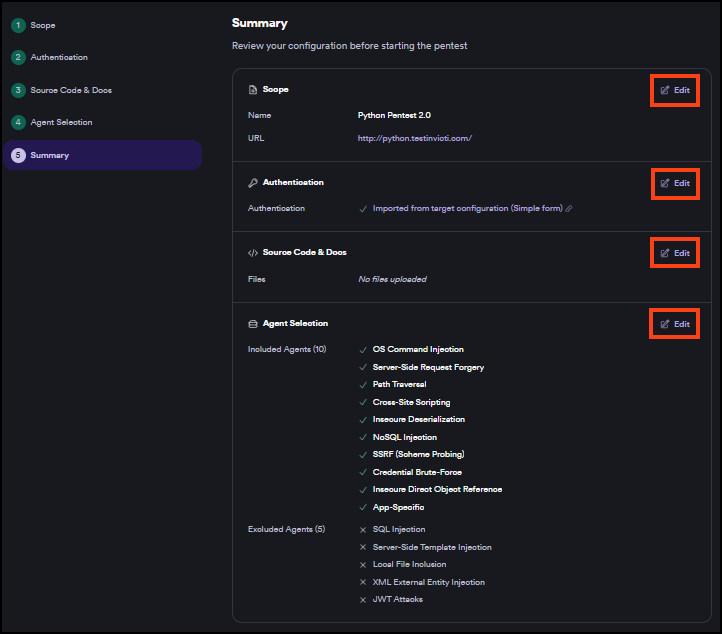
- Click Create pentest. A confirmation dialog opens.
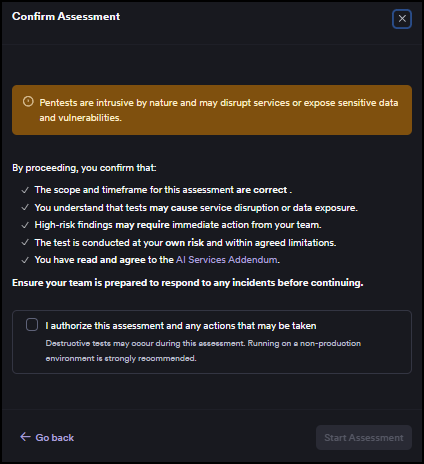
- Read the warning that the assessment interacts with the live application.
- Select the I authorize this assessment and any actions that may be taken checkbox to confirm you have permission to test the target.
- Click Start Assessment. The assessment begins and you're taken to the Summary tab.
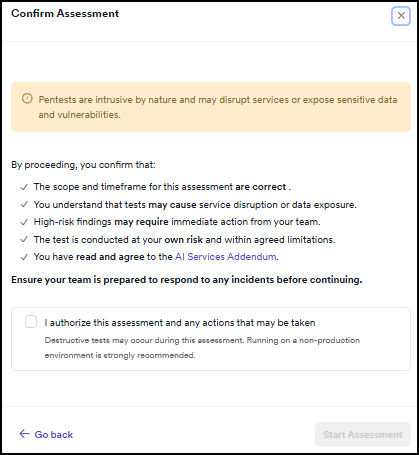
Troubleshooting
The pentest name field shows "A pentest with this name already exists"
Pentest names must be unique within your organization. Choose a different name - for example, include the target name, date, or environment (such as staging-api-2026-08).
The wizard shows a quota banner and won't advance
Your organization has reached its pentest limit. Contact your administrator to increase the quota before creating a new pentest.
The assessment can't authenticate with the target
Check that the credentials you entered are still valid and that the login URL points to the correct sign-in page. To verify, try signing in manually using the same credentials in a browser.
If that works, re-enter the credentials in a new pentest configuration and start a new assessment.
If you selected Import target and Octo carries the DAST target's credentials over automatically, confirm those credentials are still active in that target's configuration.
An imported target can't be selected
Pentests don't support ephemeral targets or targets configured with an internal scanning agent. Select a different target or define the target manually in Step 1.
An uploaded file is rejected
Source-code files must use a supported archive format (.zip, .tar, .tar.gz, .tgz, .tar.bz2, or .tar.xz) and can't exceed 500 MB each. Reference documents must use .pdf, .docx, .png, .jpg, .xml, or .md and can't exceed 5 MB each. You can add up to 5 files of each type.
Uploaded source code isn't attached to the new pentest
If a configuration error occurs during pentest creation, Invicti skips the file uploads. The pentest is still valid and the assessment can run, but without source code attached. To include source code, create a new pentest and upload the archive again in Step 3.
Next steps
→ Continue to Review agentic pentest results
Agentic pentests series
- Agentic pentests
- Create an agentic pentest ← You are here
- Review agentic pentest results
- Manage agentic pentests
Need help?
Invicti Support team is ready to provide you with technical help. Go to Help Center