Deployment: Invicti Platform on-demand
Install internal agent on Docker
Invicti Platform lets you use internal agents to scan targets in your internal environment that aren't publicly accessible from the internet or when you don't want to trustlist Invicti cloud agents.
This document explains how to install the Invicti internal agent using Docker CLI. For other installation methods, refer to:
- Install an internal agent with proxy settings - Use this if your internal agents require a proxy to connect to platform.invicti.com, platform-ca.invicti.com or platform-eu.invicti.com, these parameters must be specified when installing the internal agent.
- Install an internal agent on Windows
- Install an autoscaling agent using Kubernetes
- When the site is internal and you prefer using internal agents for the scan, you can create and import Login Sequence Records (LSRs) through the Docker agent. However, Business Logic Records can only be imported — you can't record them through an internal agent. For more information, refer to the Standalone login sequence recorder overview.
- Docker on Mac is not supported. Installing the agent via Docker on Mac (including Apple Silicon/M-series machines) is not supported and will not function correctly. Scans may appear queued but will not start. Use a supported platform such as Windows or Linux instead.
Prerequisites
System requirements
To run scans successfully, the agent requires sufficient system resources. The agent only initiates a new scan if the following minimum resources are available:
- CPU: 2 free cores on a 64-bit processor
- Memory (RAM): 6 GB available
- Disk space: 50 GB free
Access requirements
- Ensure you have Docker Desktop installed on your host OS by verifying with the command
docker -vin Terminal. If the Terminal shows you the version information, you're all set. Otherwise, refer to the Docker support documentation for installation guidance. - Administrator privileges for command execution.
- Invicti Platform Administrator role.
- Ensure you have Docker Desktop installed on your Linux or Windows host OS. Installing on Mac is not supported.
Trustlisting requirements
- Trustlist requirements for the CA region
- Trustlist requirements for the EU region
- Trustlist requirements for the US region
- Consequences of scanning without trustlisting
Resource allocation behavior
When the agent starts, it checks the available CPU, RAM, and disk space and calculates how many scans it can run in parallel, running the lowest number those resources allow. You can adjust the per-slot thresholds or set a fixed limit. For the calculation details and override options (agent.yaml thresholds, jobs_override, and the --max-jobs flag), refer to Concurrent scans and resource allocation in the internal scanning introduction.
Steps to install an agent using Docker
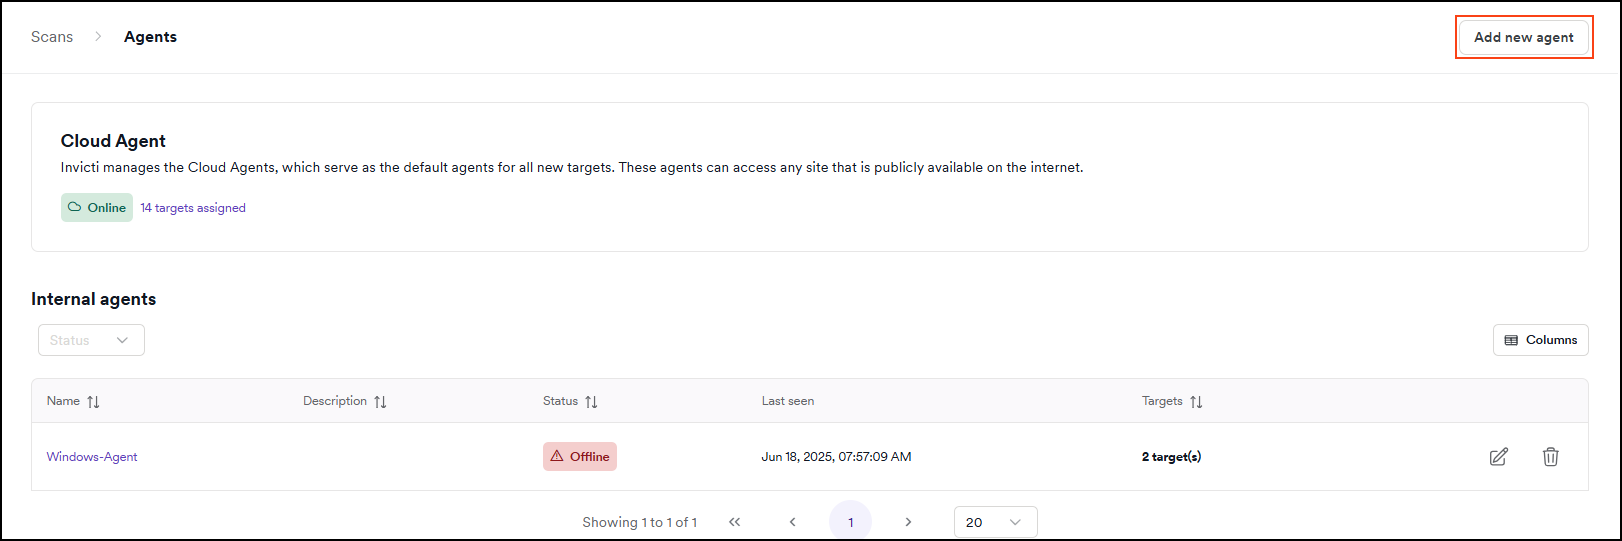
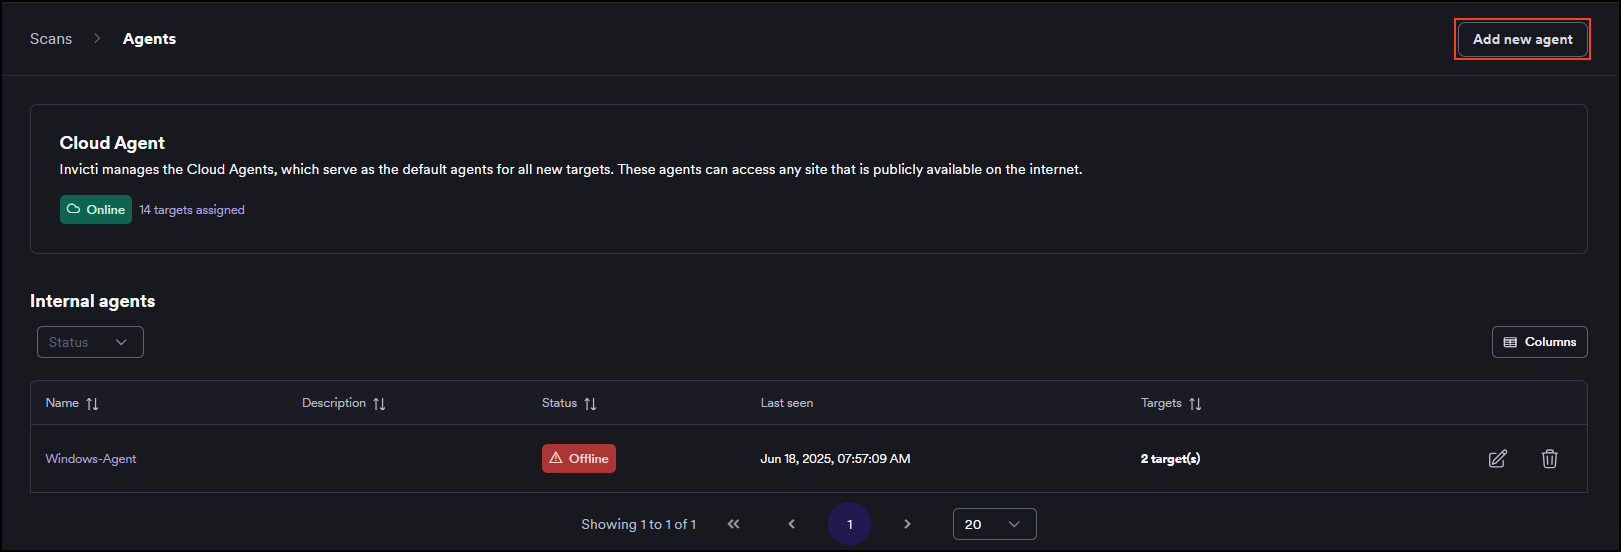
- Select Scans > Agents from the left-side menu.
- Click Add new agent.
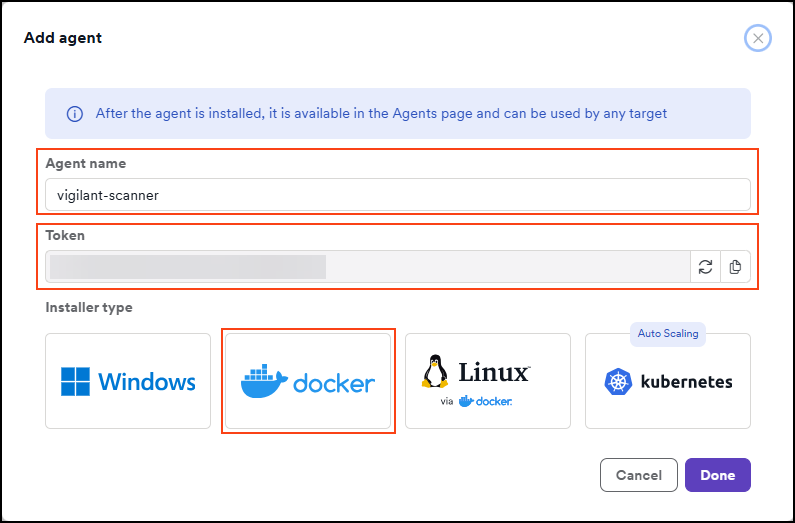
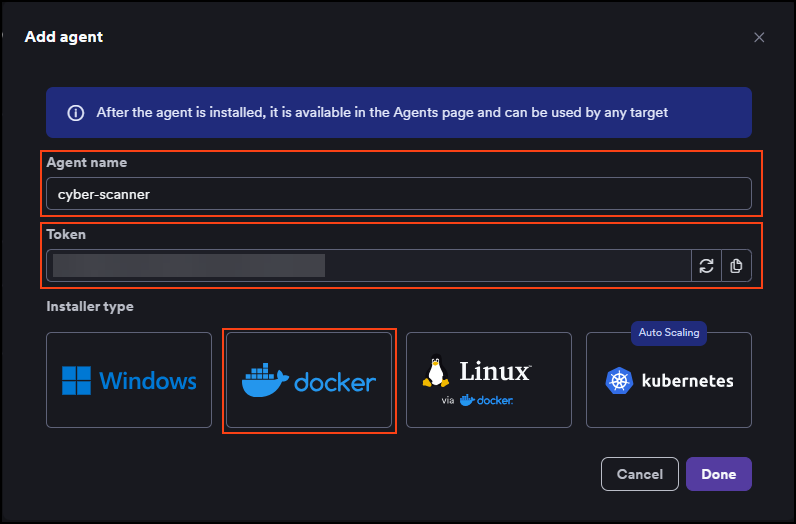
- Enter a name for the agent and click the Docker tile. The token that's displayed here is then used in the installation command. The agent name must not contain any whitespace characters or special characters.
-
Copy the command from the on-screen instructions.
-
Open Terminal and execute the command copied from the Docker installation instructions.
In this table you can see the parameters necessary to configure a Docker container for installing the agent.
| Parameter | Description |
|---|---|
-d | This indicates detached mode, allowing the container to operate in the background. |
--name | Assigns a name to the container. |
--url | Specifies the Invicti URL. |
--agentname | Defines the agent name in the Invicti UI, changeable later. If installing multiple agent instances, assign a unique agent name for each instance. (Max 50 characters) |
--registration-token | If you run the command from the UI, the token is prefilled for you. If you need to copy the token, you can get it from Scans > Agents > Add new agents > Docker > Token. |
-
Click Done to complete the process.
-
Your agent is now successfully installed. Access the Agents page to view and manage your internal agents.
You can now assign targets to the installed agent and start scanning your targets.
Need help?
Invicti Support team is ready to provide you with technical help. Go to Help Center