Package: Invicti AppSec Core (on-demand)
GitLab
Prerequisites
Before you integrate GitLab, create an Invicti AppSec service account and make sure this user has access to the projects to be scanned. Add the user to the required organizations.
Integration steps
To generate a personal access token in GitLab:
- Sign in to your GitLab account.
- In the upper-right corner, click your avatar and select Preferences.

- In the User Settings menu, go to Access Tokens.
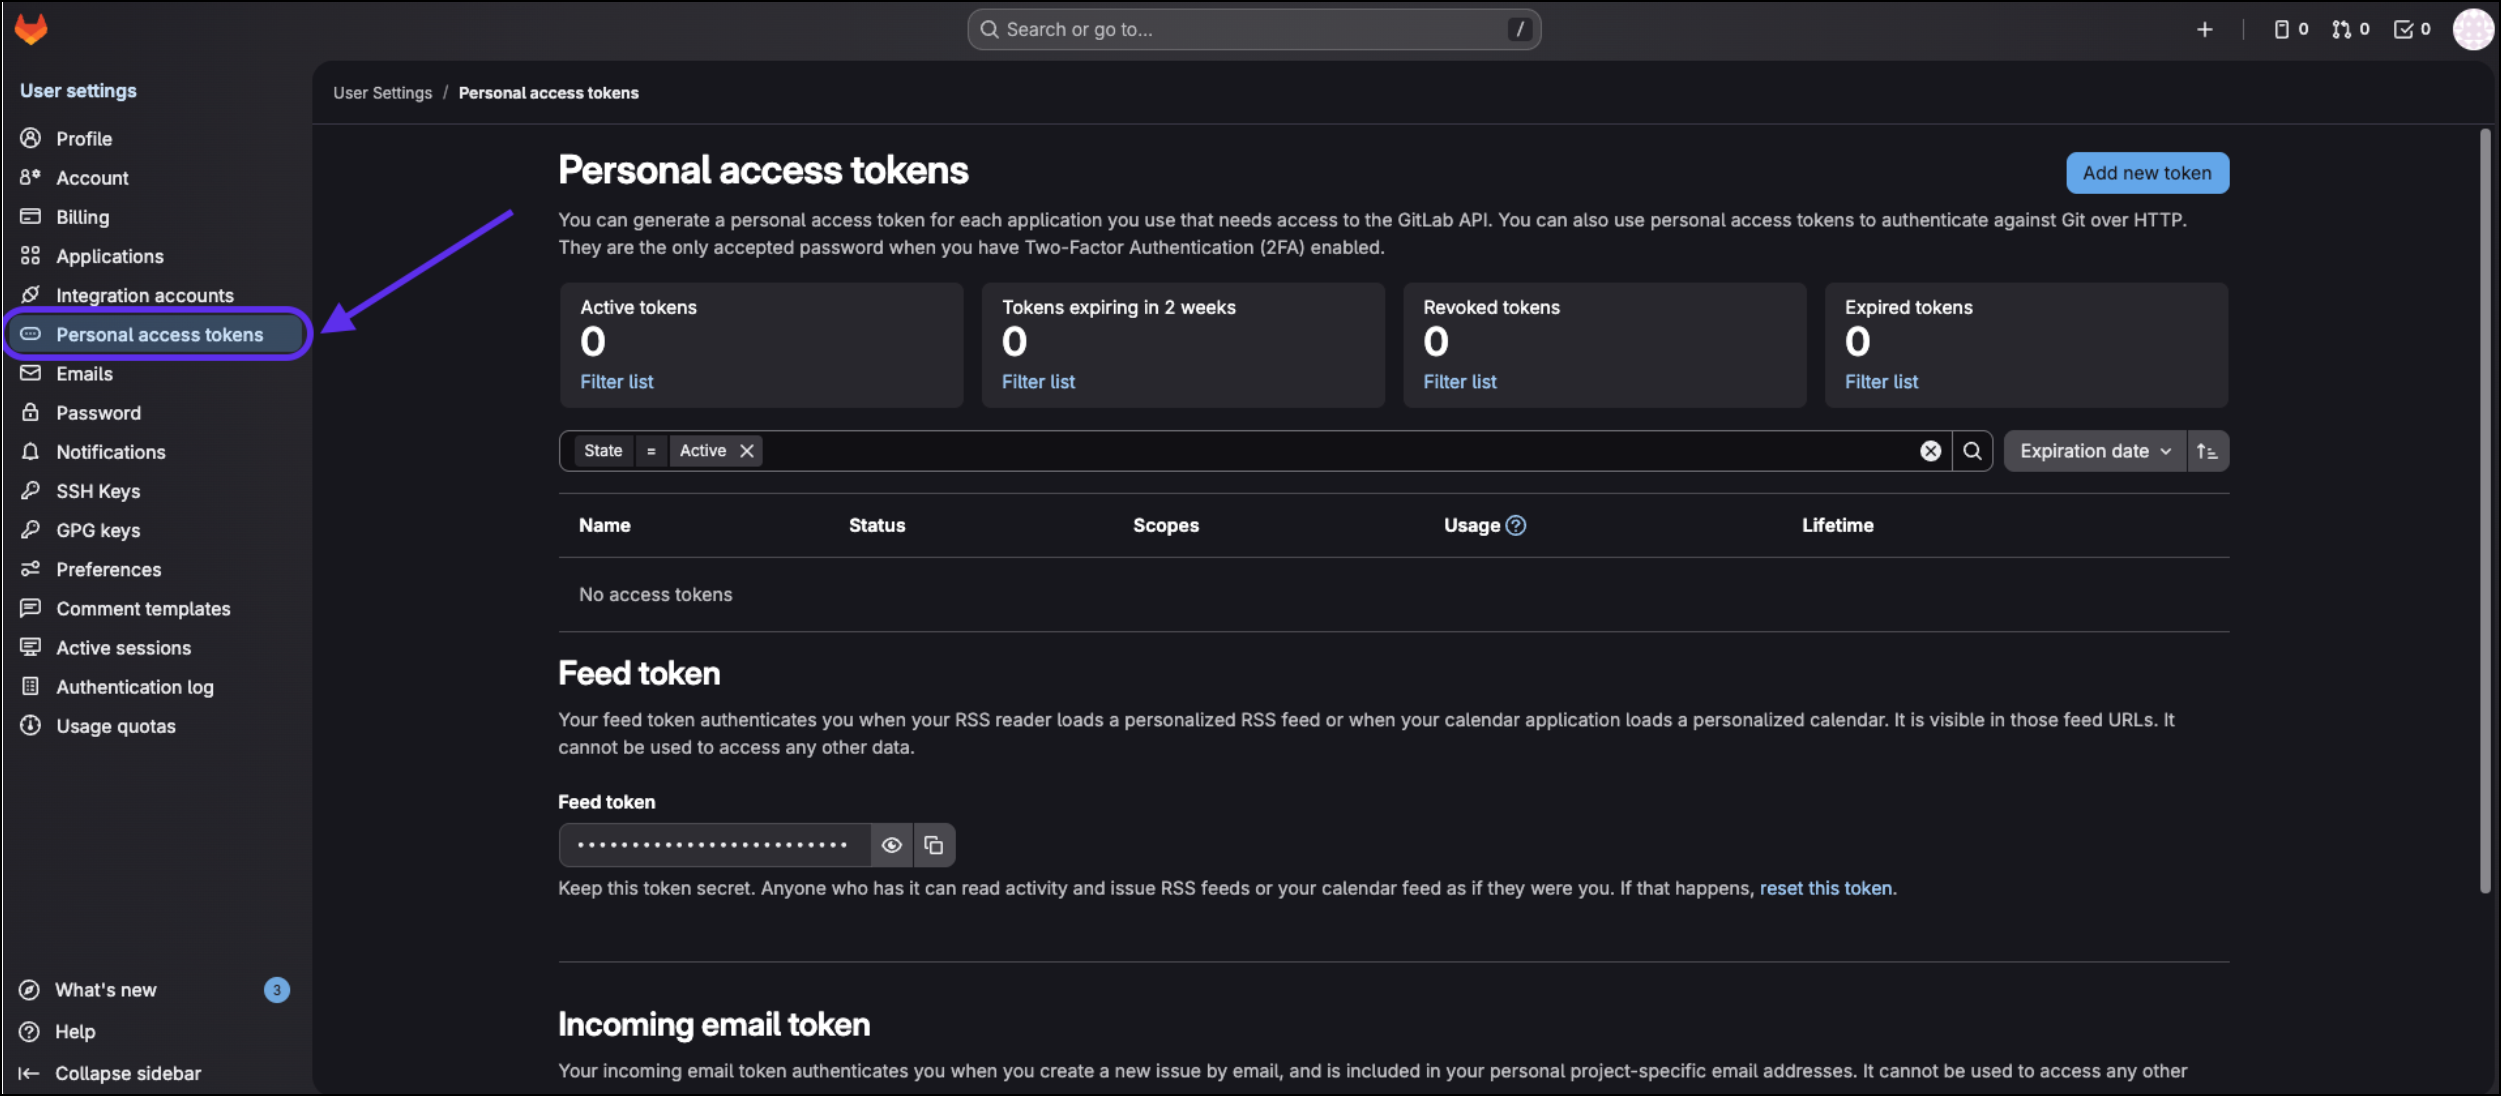
- Enter a name for the token and, if needed, set an expiration date.
- Select the required scopes:
- api
- read_repository
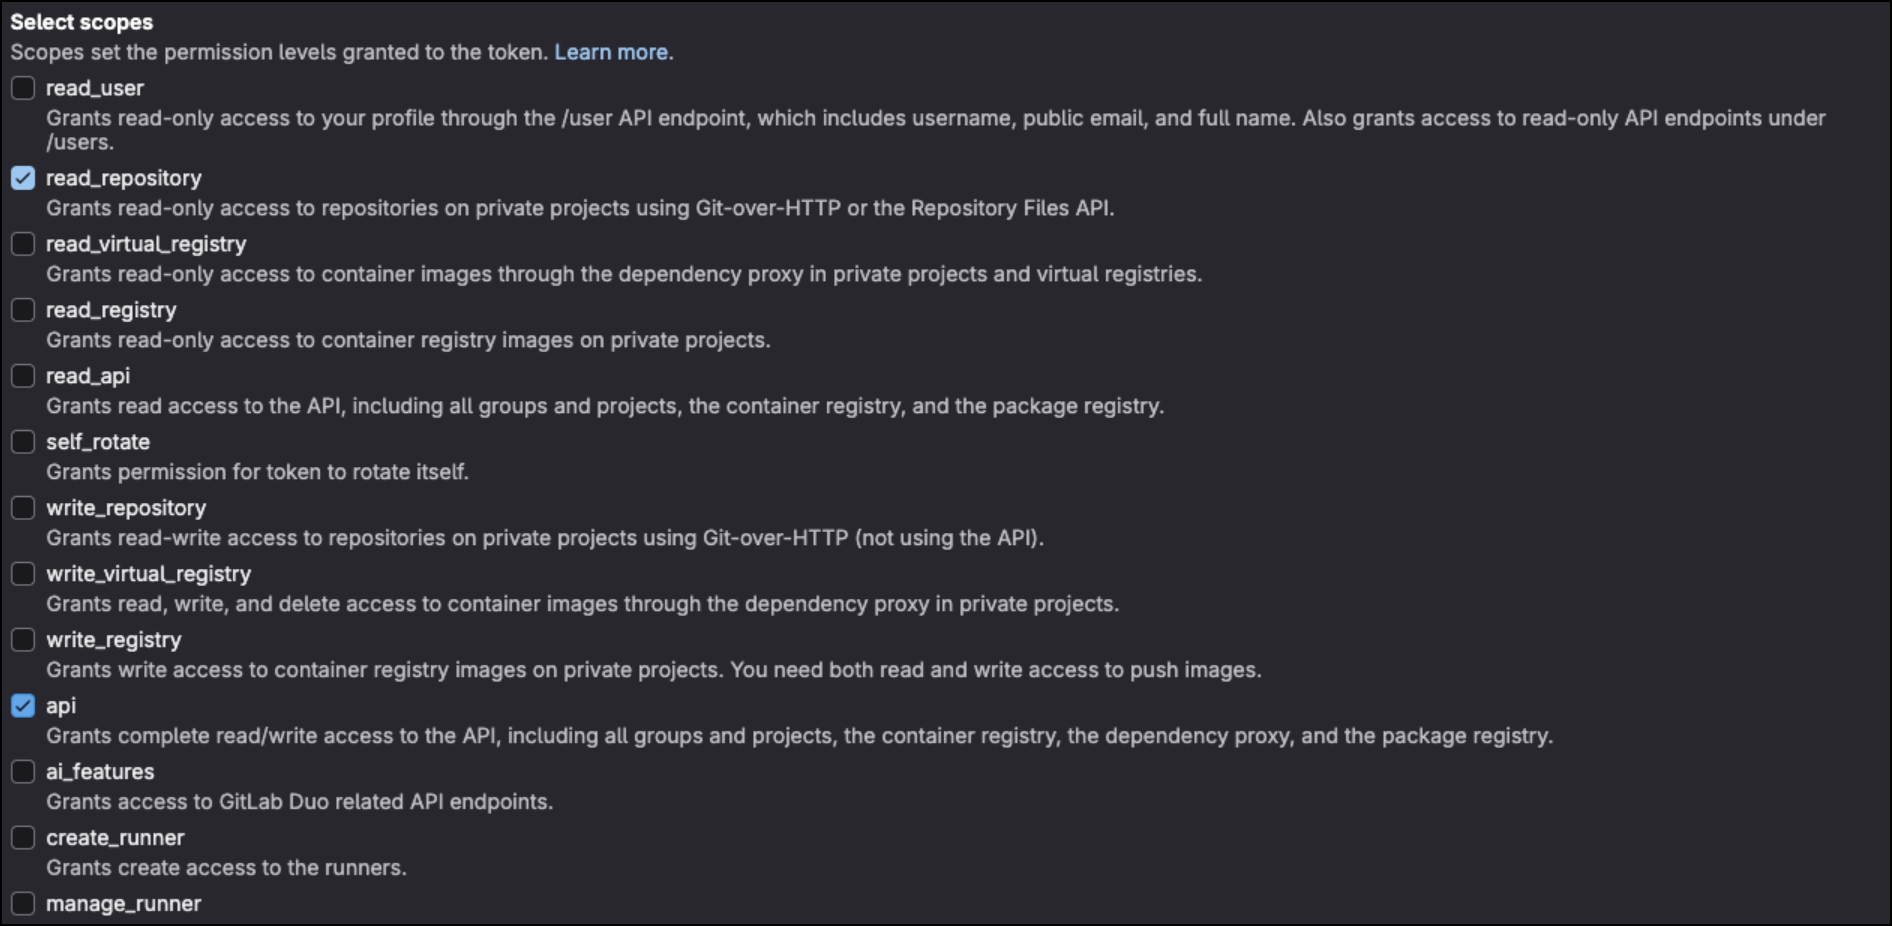
- Click Create personal access token.
Once generated, store the personal access token securely. For security reasons, the token won't be displayed again after you leave or refresh the page. If you don't save the token at this stage, you'll need to create a new one.
Continue the process in the Invicti AppSec UI using the generated token.
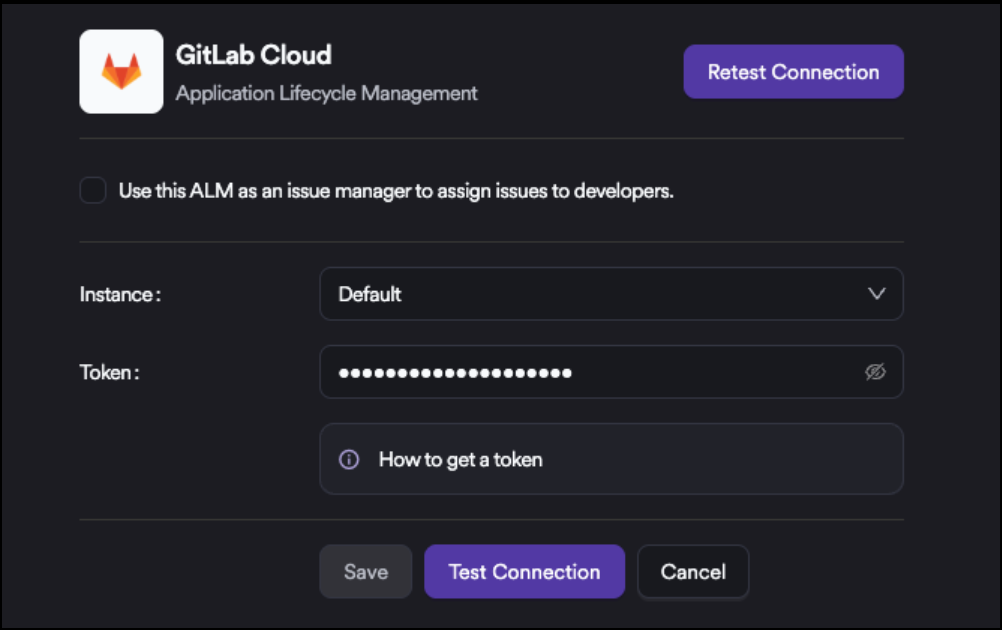
At this step, enter the token and click Test Connection.
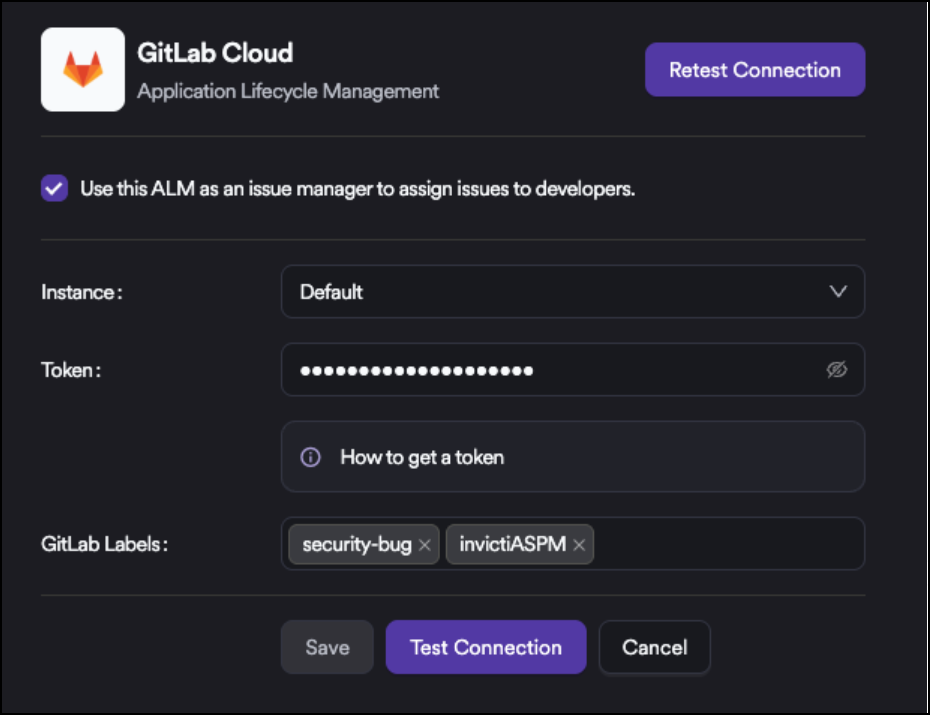
If you want to use GitLab as an Issue Manager, select the checkbox at the top of the list. When GitLab is used as an Issue Manager, an additional Label field appears. This setting applies only to issues created on GitLab through the Issue Manager integration. All issues generated by the system will use the specified labels.
Onboarding projects
After integration, you can synchronize projects from the Sync option next to the Activate button. This lets you onboard projects quickly.
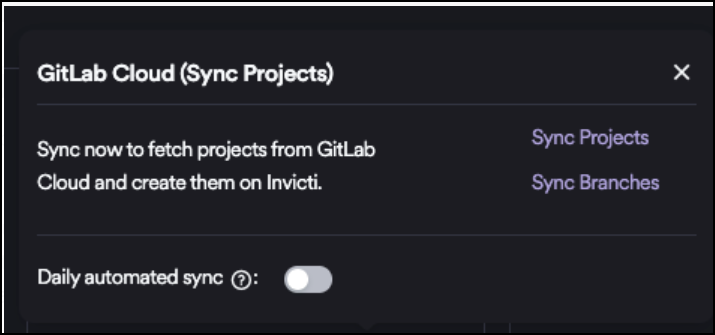
When you enable the Daily Sync feature, Invicti AppSec synchronizes projects from GitLab every day and automatically onboards all projects that haven't been onboarded yet.If your license project count is limited, don't enable Daily Sync. The available project quota may be consumed quickly, which can prevent you from adding new projects.
Need help?
Invicti Support team is ready to provide you with technical help. Go to Help Center