Add a new target
To run a security scan on a website or other web asset using Invicti Enterprise, you need to add the website as a target. This document explains how to add a target to Invicti Enterprise.
tip
If you have many targets to add, you can do a bulk import using a CSV file. For more information, refer to Import targets.
Steps to add a target
warning
Once you add a target, it's going to use a license immediately.
- In Invicti Enterprise, select Targets, then New target from the left-side menu.
- Enter a Name for the target.
- Enter the URL of the web asset. It must include ‘http’ or ‘https'.
- Optionally, enter a Description to provide additional information for the target.
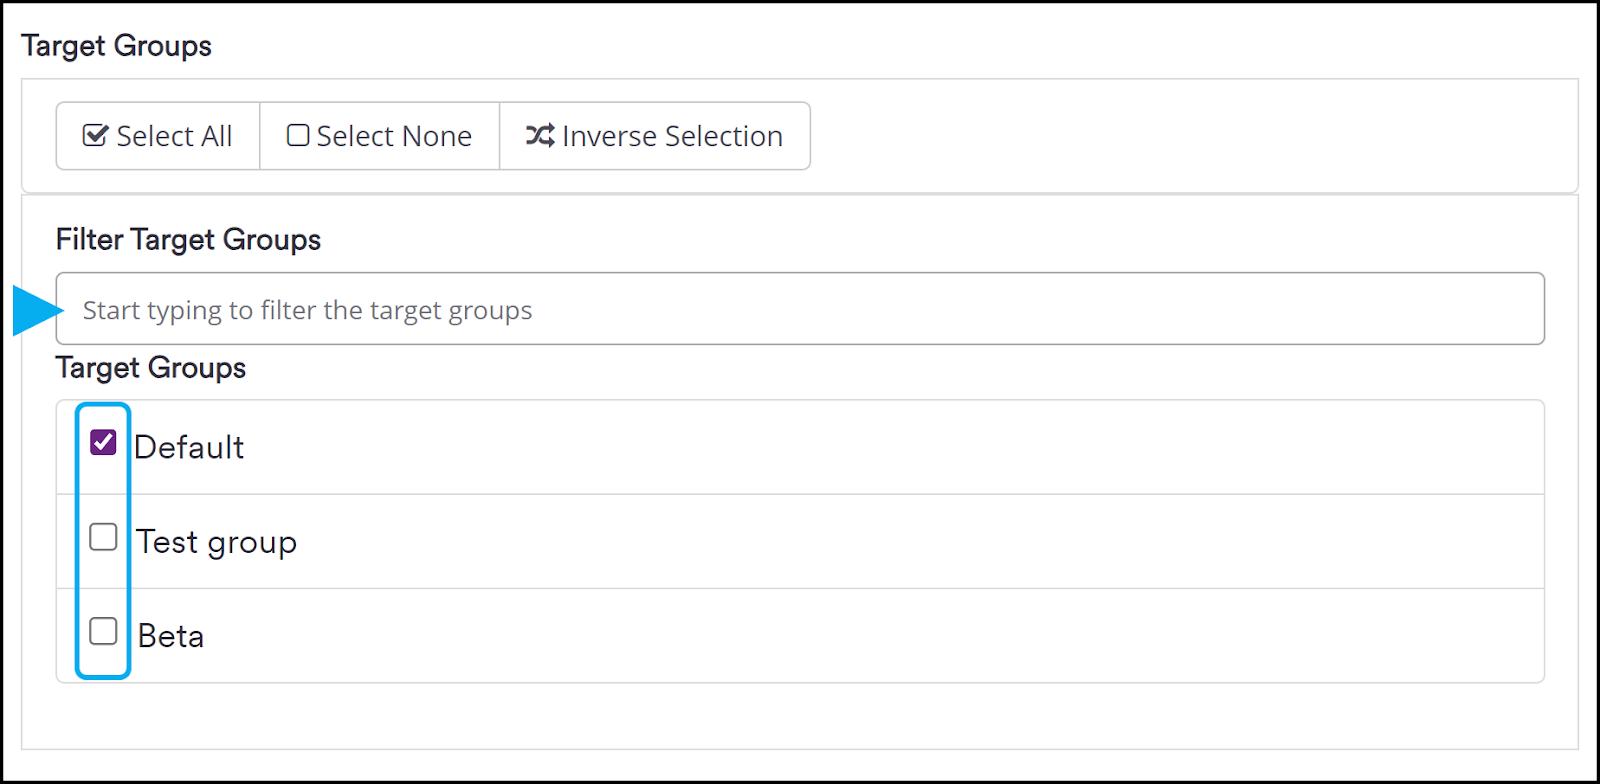
- In the Target groups section, optionally select additional target groups to help organize your targets. By default, all new targets are added to the Default target group. For more information, refer to Manage target groups.
- Specify an appropriate Technical Contact from the drop-down list of users on your Invicti Enterprise account. When the target is scanned, discovered issues will be assigned to this person, who will receive notifications about the new issues.
- Optionally, enter up to 20 Tags. These are usually labels to group or give additional context to targets. For more information, refer to Tagging in Invicti Enterprise.
- For the Agent Mode, select either Cloud or Internal.
- Invicti Enterprise on-demand: If Cloud is selected, your target will be scanned by the agents installed on Invicti Enterprise's servers. If Internal is selected your target will be scanned by an agent that you need to download and install on your network.
- Invicti Enterprise on-premises: This option is only visible if you have the Cloud provider option enabled. If Cloud is selected, your target will be scanned with the dynamically created agents using your Cloud Provider settings. If Internal is selected, your target will be scanned using your internal agents.
- Click Save.
Your new target is now added and can be viewed on the Targets > Targets page. On this page, you have a list of all your targets which you can scan, as well as access for editing and deleting targets. For more information, refer to Manage targets.
Need help?
Invicti Support team is ready to provide you with technical help. Go to Help Center
Was this page useful?