Integrating Invicti Standard with Asana
Asana is a work management platform designed to help teams organize, track and manage work. Its team collaboration software integrates project management with task management.
This topic explains how to configure Invicti Standard to send a detected vulnerability to Asana (including using the wizard).
For further information, see Configuring the User Interface for Custom Send To Actions in Invicti Standard and Configuring Auto Send To Actions in Invicti Standard and What Systems Does Invicti Integrate With?.
Asana Fields
The table lists and describes the Asana fields in the Send To Actions tab.
| Field/Section | Description |
|---|---|
| Add | Click to add an integration. |
| Delete | Click to delete the integration and clear all fields. |
| Configure Send To | Click to configure the integration using the Settings Wizard instead of doing it manually. |
| Create Sample Issue | Once all relevant fields have been configured, click to create a sample issue. |
| Action | This section contains general fields about the Send to Action. |
| Display Name | This is the name of the configuration that will be shown in menus. |
| Mandatory | This section contains fields that must be completed. |
| Personal Access Token | This is a token that is used for authorization. |
| Project ID | This is the project identifier of the issue. |
| Vulnerability | This section contains fields with vulnerability details. |
| Body Template | This is the template file that is used to create description fields. |
| Title Format | This is the string format that is used to create the vulnerability title. |
| Optional | This section contains optional fields. |
| Workspace ID | This is the workspace identifier of the Asana project. |
| Assignee | This is the user to whom the issue is assigned. Accepted values are: Email address, User identifier, 'me' keyword |
| Follower IDs | This is the comma-separated member identifiers of those who follow the issue. |
| Due Days | This is the number of days from the date the issue was created to the date it's due. |
| Tag IDs | These are the tag identifiers. |
How to Integrate Invicti Standard with Asana
-
Open Invicti Standard.
-
From the Home tab on the ribbon, click Options. The Options dialog is displayed.
-
Click Send To Actions.
-
From the Add drop-down, select Asana.
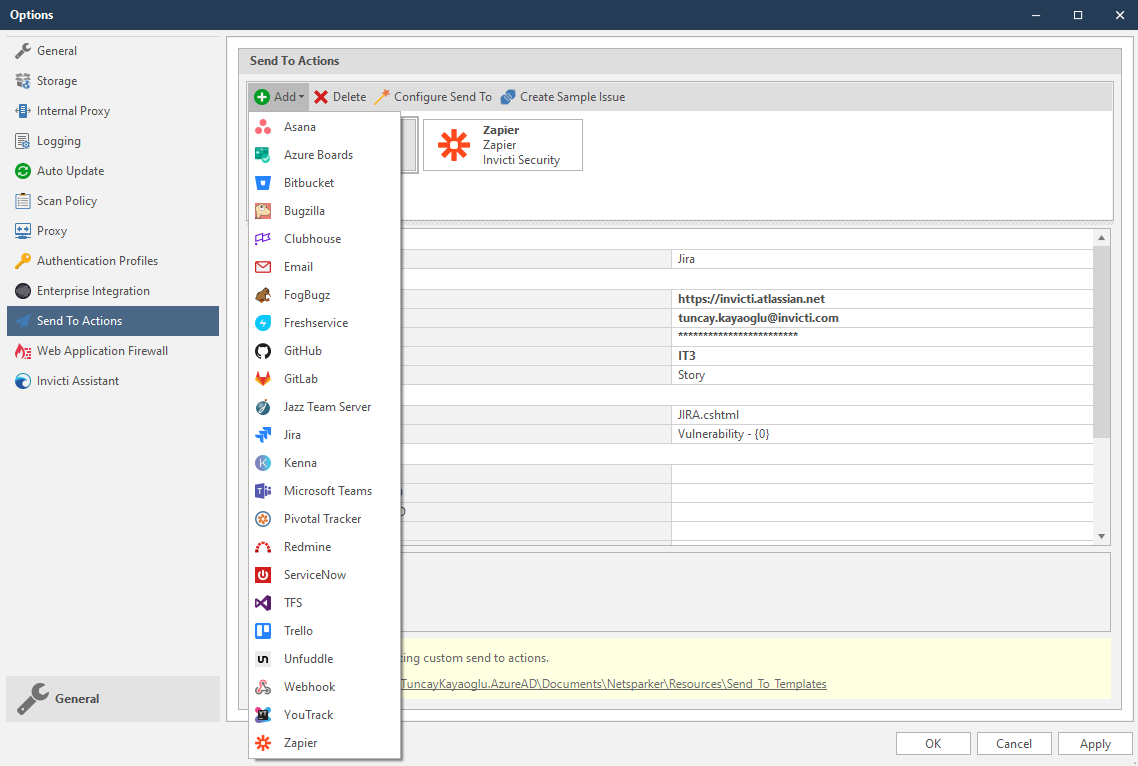
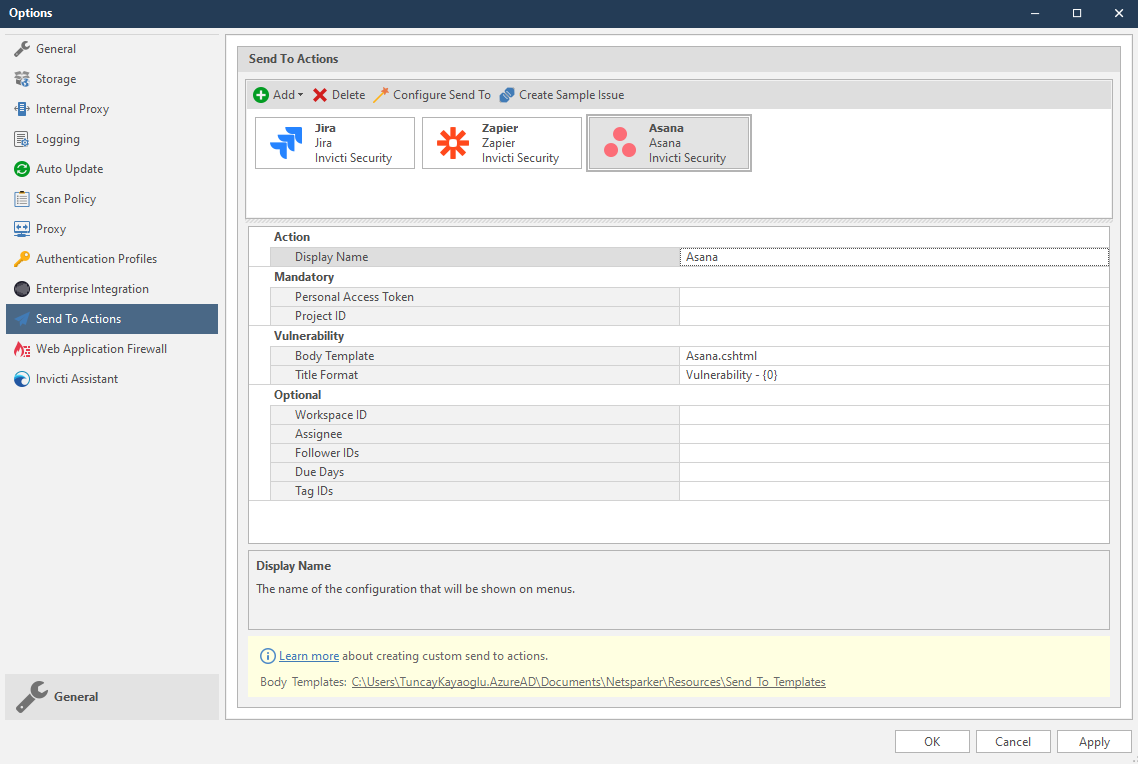
The Asana fields are displayed.
-
In the Mandatory section, complete the connection details:
- Personal Access Token
- Project ID
-
In the Vulnerability section, you can specify the Body Template and Title Format.
Body templates are stored in %userprofile%\Documents\Invicti\Resources\Send To Templates. If you use your own custom templates, store them in this location.
- In the Optional section you can specify:
- Workspace ID
- Assignee
- Follower IDs
- Due Days
- Tag IDs
How to Integrate Invicti Standard with Asana Using the Wizard
Instead of configuring the settings manually, the configuration wizard can help you with the settings.
-
Open Invicti Standard.
-
From the Home tab on the ribbon, click Options. The Options dialog is displayed.
-
Click Send To Actions.
-
From the Add dropdown, select Asana. The Asana fields are displayed.
-
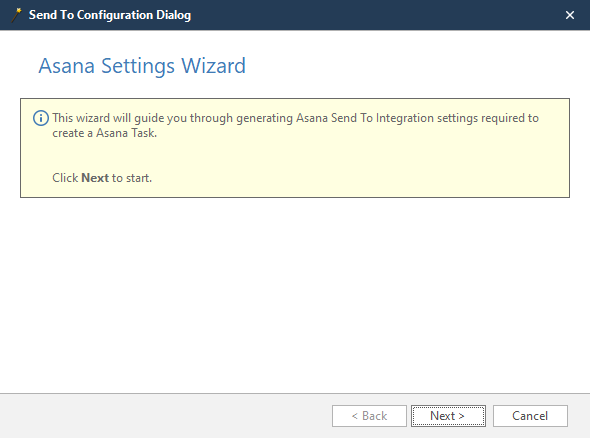
Click Configure Send To to launch the wizard. The Send To Configuration dialog is displayed.
-
Click Next to start. The Authentication step is displayed.
- In the Personal Access Token field, enter the token, and click Test Credentials.
- When the confirmation message, Your credentials are confirmed, is displayed, click Next. The Workplace step is displayed.
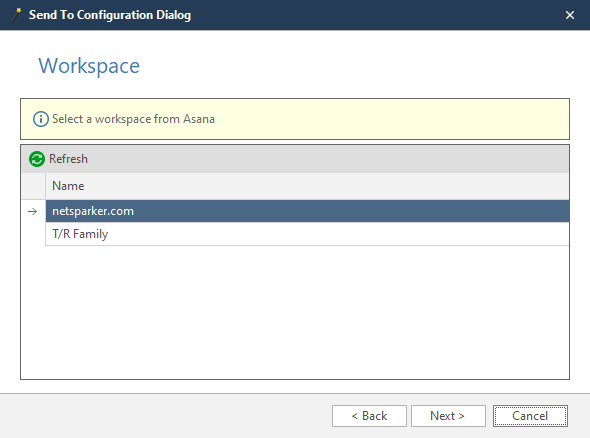
- From the dropdown, select a workspace and click Next. The Projects step is displayed.

- Select a project and click Next. The Assignee step is displayed.
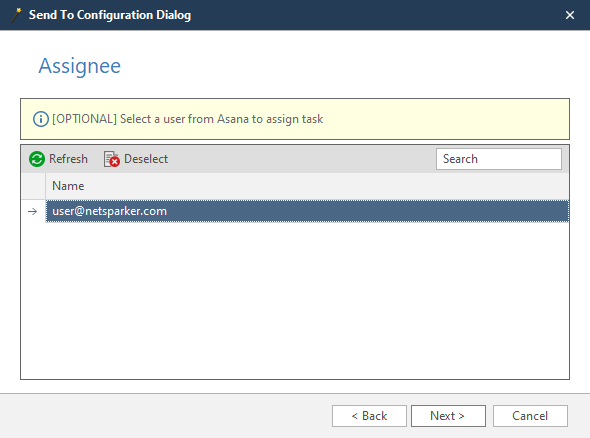
- If required, select an assignee, and click Next. The Followers step is displayed.
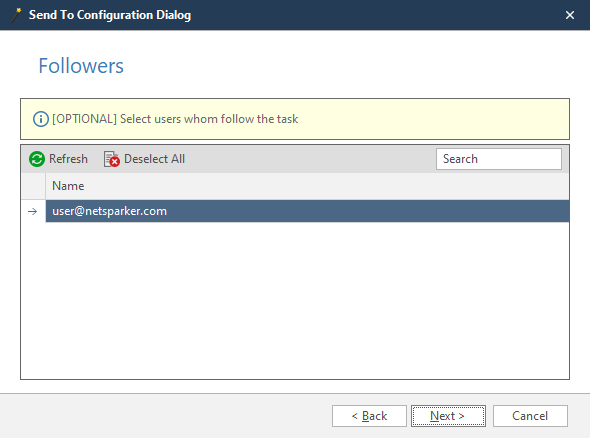
- If required, select a user or users who will follow the issue, and click Next. The Other Fields step is displayed.
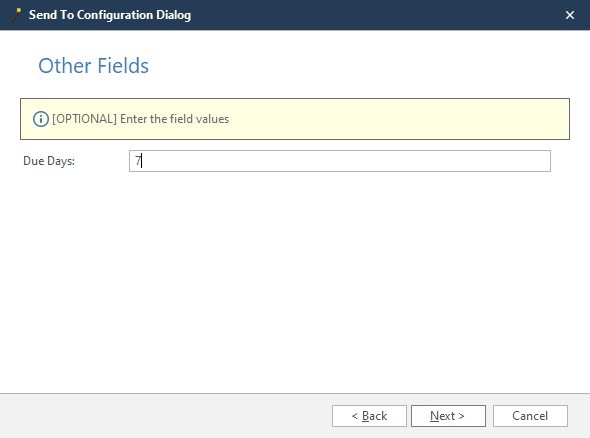
- If required, in the Due Days field, enter a number, and click Next. The Tags step is displayed.
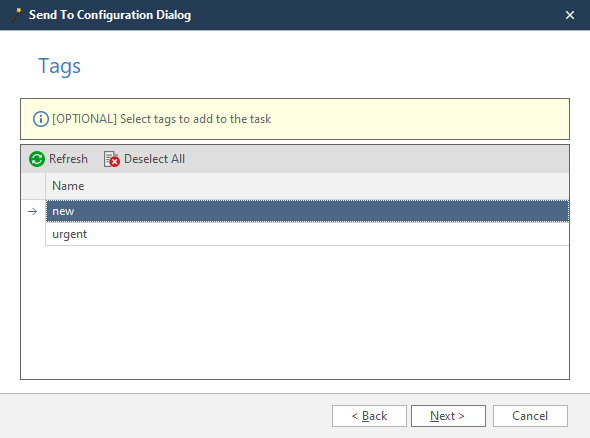
- If required, select a tag or tags, and click Next. The Summary step is displayed.
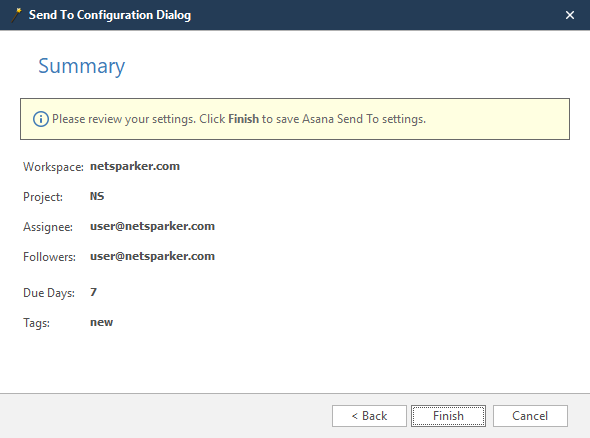
- Review your settings, and click Finish. The settings are applied automatically. You are returned to the Send To Actions fields.
- Click Create Sample Issue to confirm that Invicti Standard can connect to the configured system. The Send To Action Test confirmation dialog is displayed.
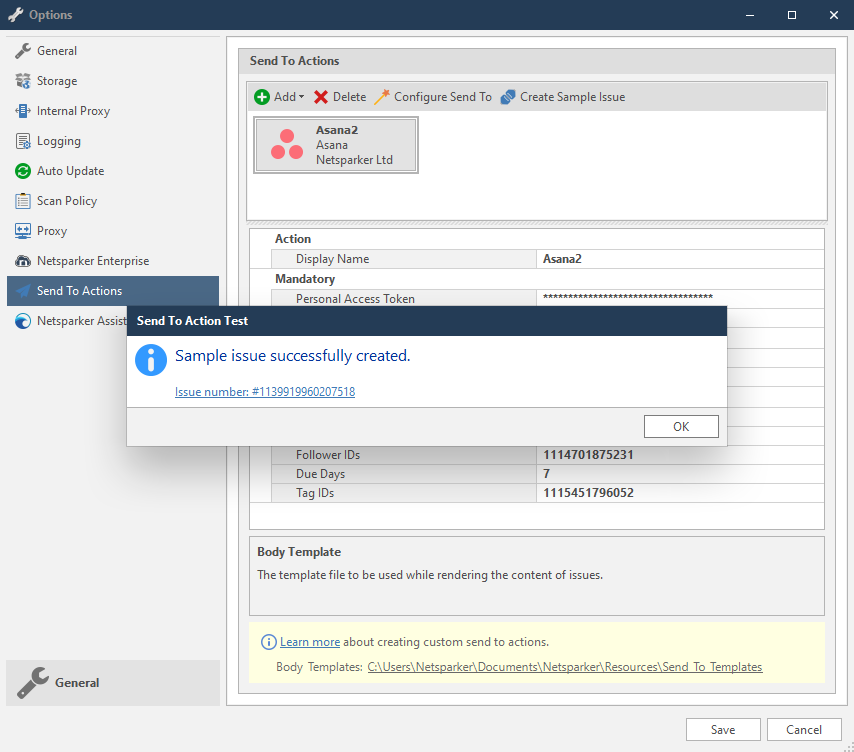
- In the Send To Action Test dialog, click the Issue number link to open the issue in the default browser.
How to Export Reported Vulnerabilities to Projects in Asana
Please ensure that you have first configured the Asana integration (see How to Integrate Invicti Standard with Asana above).
- Open Invicti Standard.
- From the ribbon, select the File tab. Local Scans are displayed. Double-click the relevant scan to display its results.
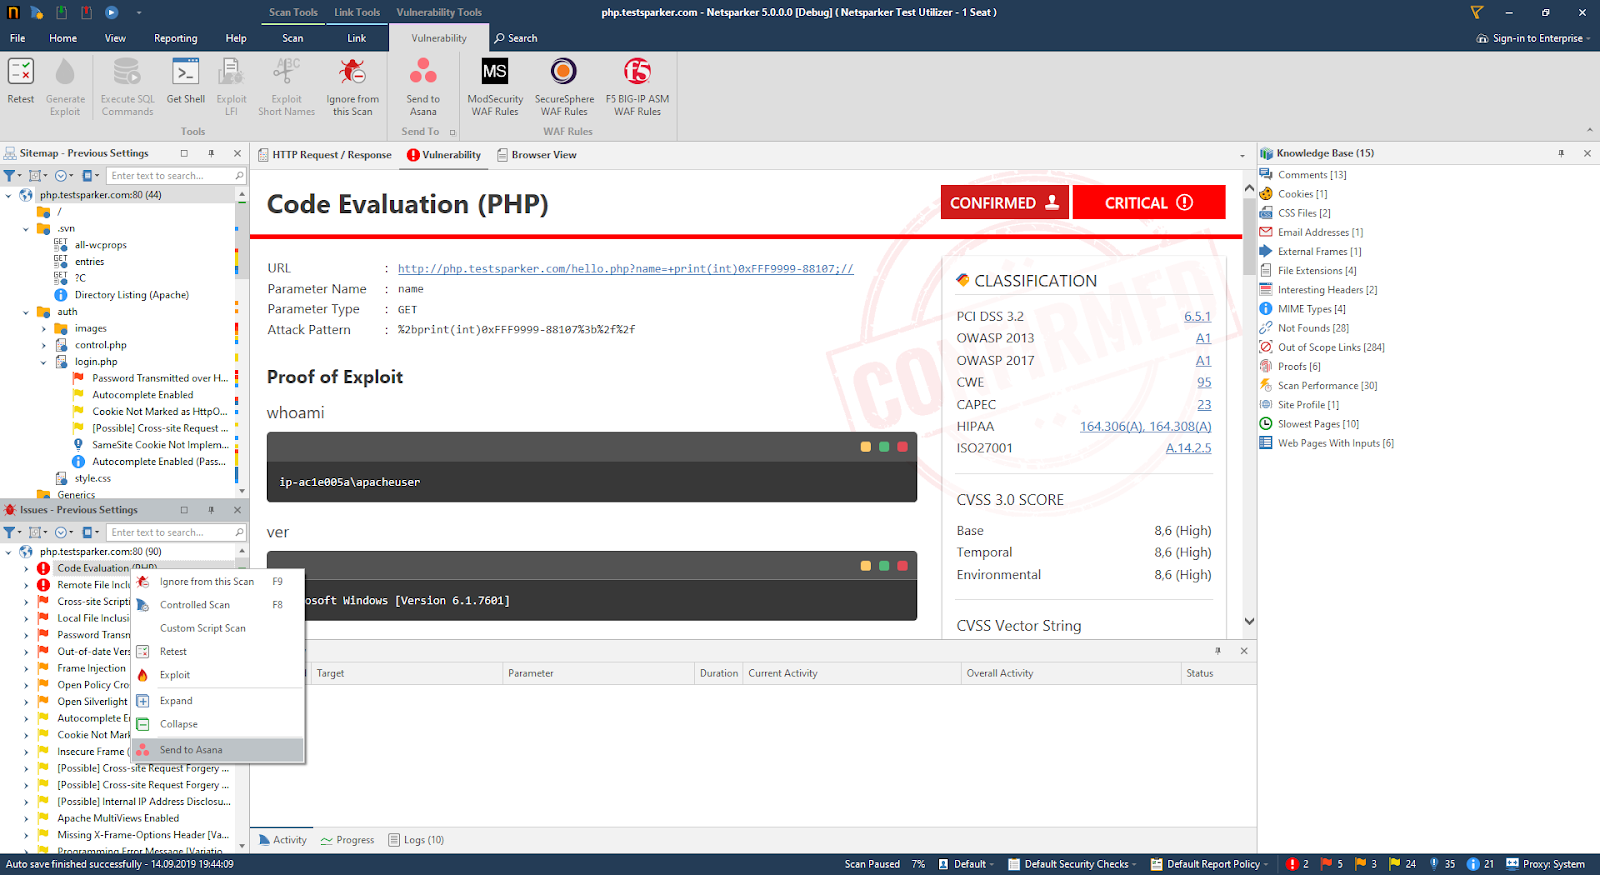
- In the Issues panel, right click the vulnerability you want to export, and select Send to Asana. (Alternatively, from the ribbon, click the Vulnerability tab, then Send to Asana. A confirmation message and link is displayed at the bottom of the screen.
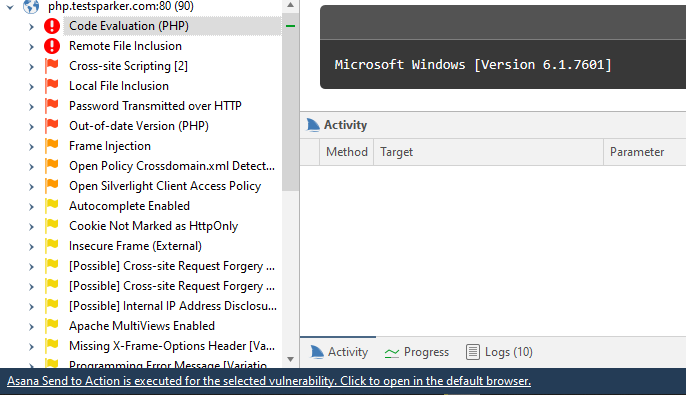
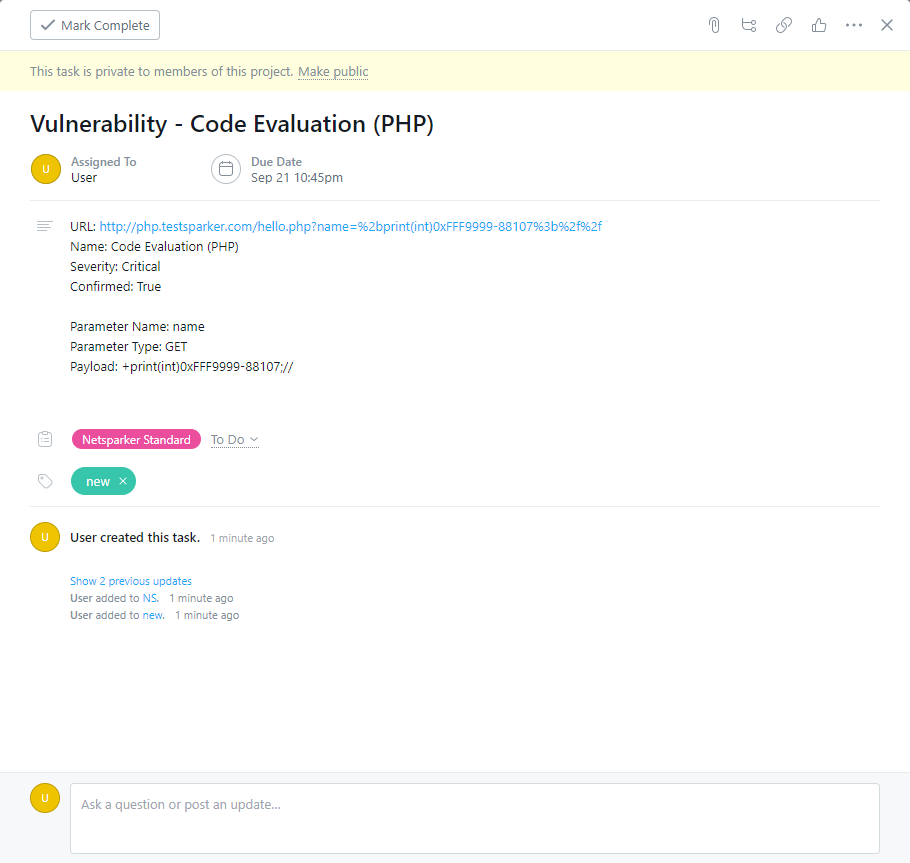
- Click the Asana Send to Action is executed for the selected vulnerability link to view the newly-created issue in Asana. The vulnerability is automatically exported to Asana. You can view it in the relevant Asana task.
Need help?
Invicti Support team is ready to provide you with technical help. Go to Help Center