Integrating Invicti Standard with Zapier
Zapier is a web-based service that allows end users to integrate the web applications they use and automate their workflows. Zapier applications can help you capture, track, manage and fix bugs and other issues that arise when building or managing a web project.
This topic explains how to configure Invicti Standard to send a detected vulnerability to Zapier, enabling automated workflow integration with hundreds of supported applications and services for streamlined vulnerability management.
Zapier Fields
The following table lists and explains the Zapier fields available in the Send to Actions configuration:
| Button/Section/Field | Description |
|---|---|
| Add | Click to add an integration. |
| Delete | Click to delete the integration and clear all fields. |
| Create Sample Issue | Once all relevant fields have been configured, click to create a sample issue. |
| Display Name | This is the name of the configuration that will be shown in menus. |
| Mandatory | This section contains fields that must be completed. |
| Webhook URL | This is the WebHook URL to which issues are sent (see How to Configure a Webhook in Zapier). |
| Vulnerability | This section contains fields with vulnerability details. |
| Body Template | This is the template file that is used to create description fields. |
| Title Format | This is the string format that is used to create the vulnerability title. |
How to Integrate Invicti Standard with Zapier
Follow these steps to configure Zapier integration for automated vulnerability workflows:
- Open Invicti Standard
- From the Home tab on the ribbon, click Options. The Options dialog is displayed
- Click Send To Actions
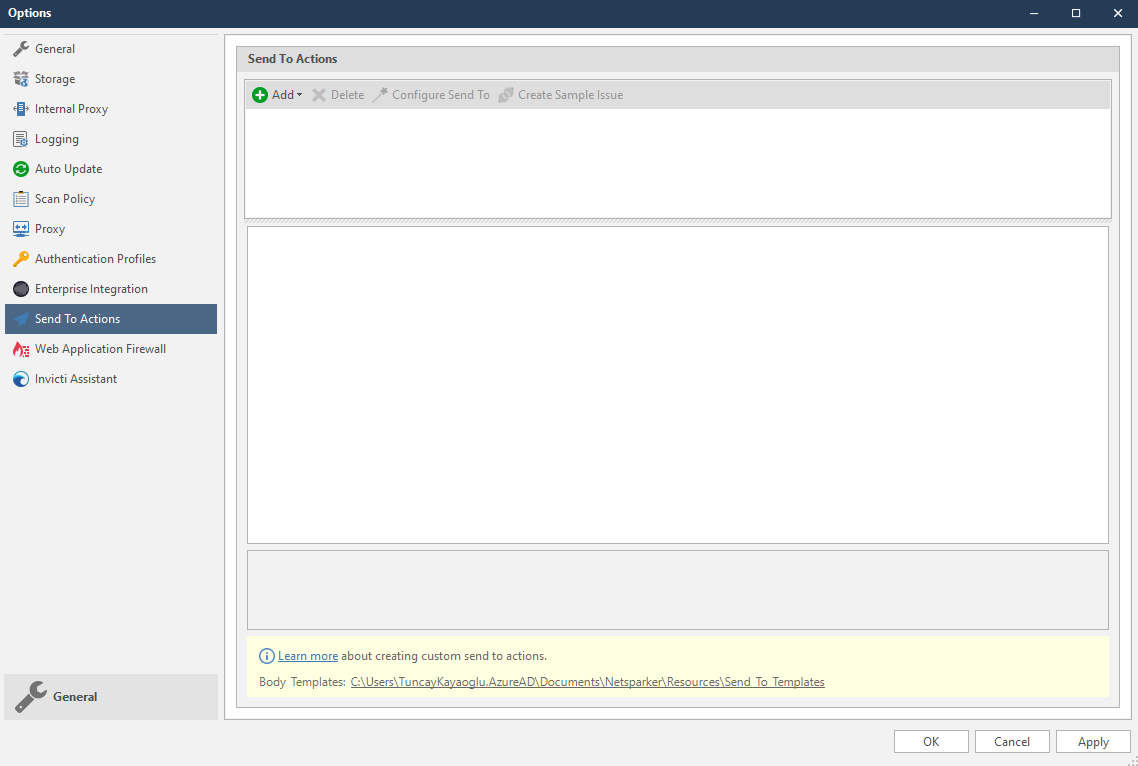
- From the Add dropdown, select Zapier. The Zapier fields are displayed
-
In the Mandatory section, complete the connection details:
- WebHook URL
-
In the Vulnerability section, you can change the Body Template and Title Format
Body templates are stored in %userprofile%\Documents\Invicti\Resources\Send To Templates. If you use your own custom templates, store them in this location.
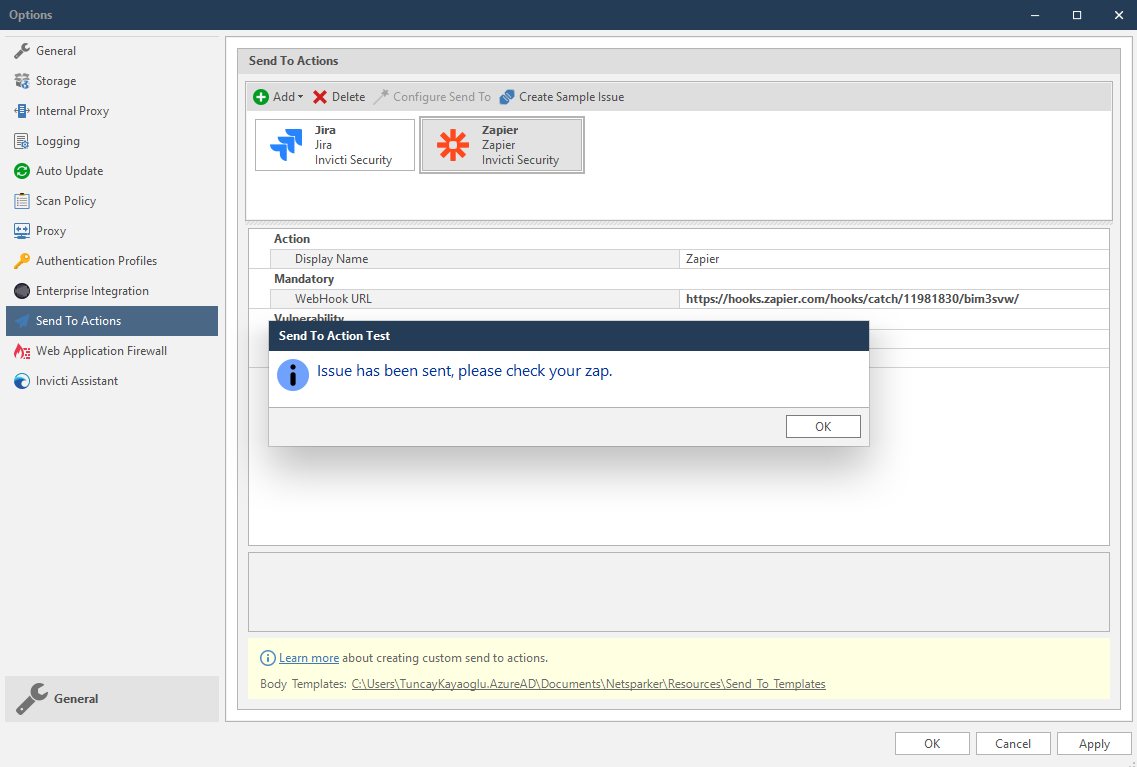
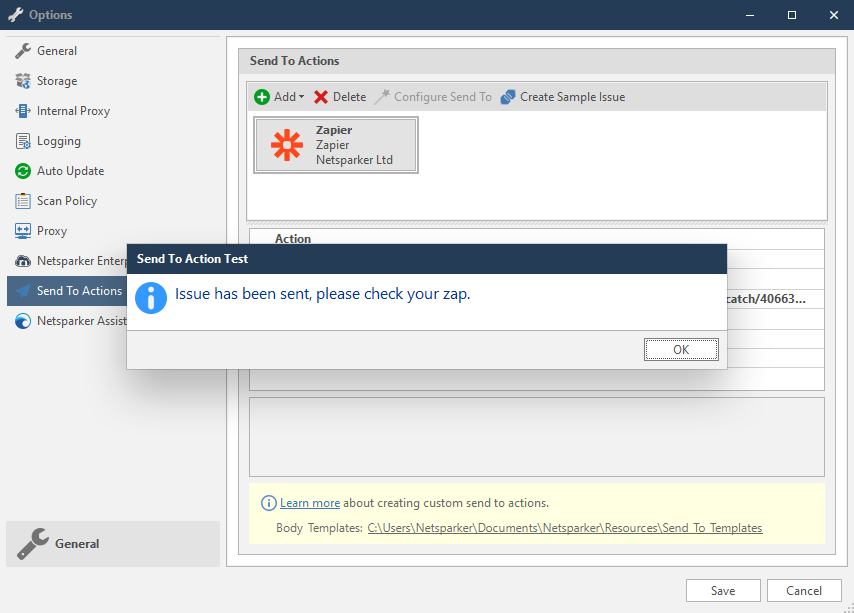
- Click Create Sample Issue to confirm that Invicti Standard can connect to the configured system. The Send To Action Test dialog is displayed
Zapier does not return any URL for the issue. Webhook is used as a trigger to send the issue data to other applications. For more information see Zapier Webhooks Help.
How to Configure a Webhook in Zapier
Before integrating with Invicti Standard, you need to set up a webhook in Zapier:
- Login to Zapier
- Click Make a Zap!. Then search for WebHook as illustrated
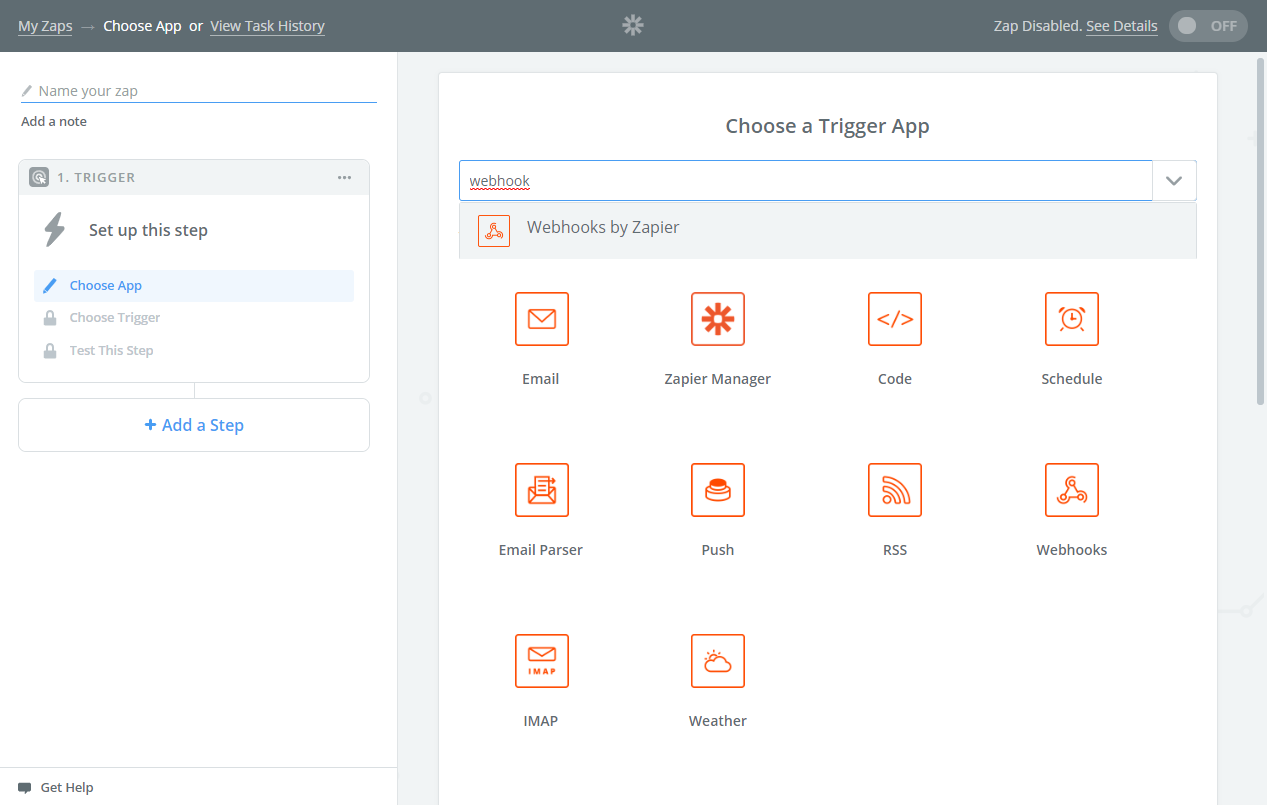
- From the results, click WebHooks
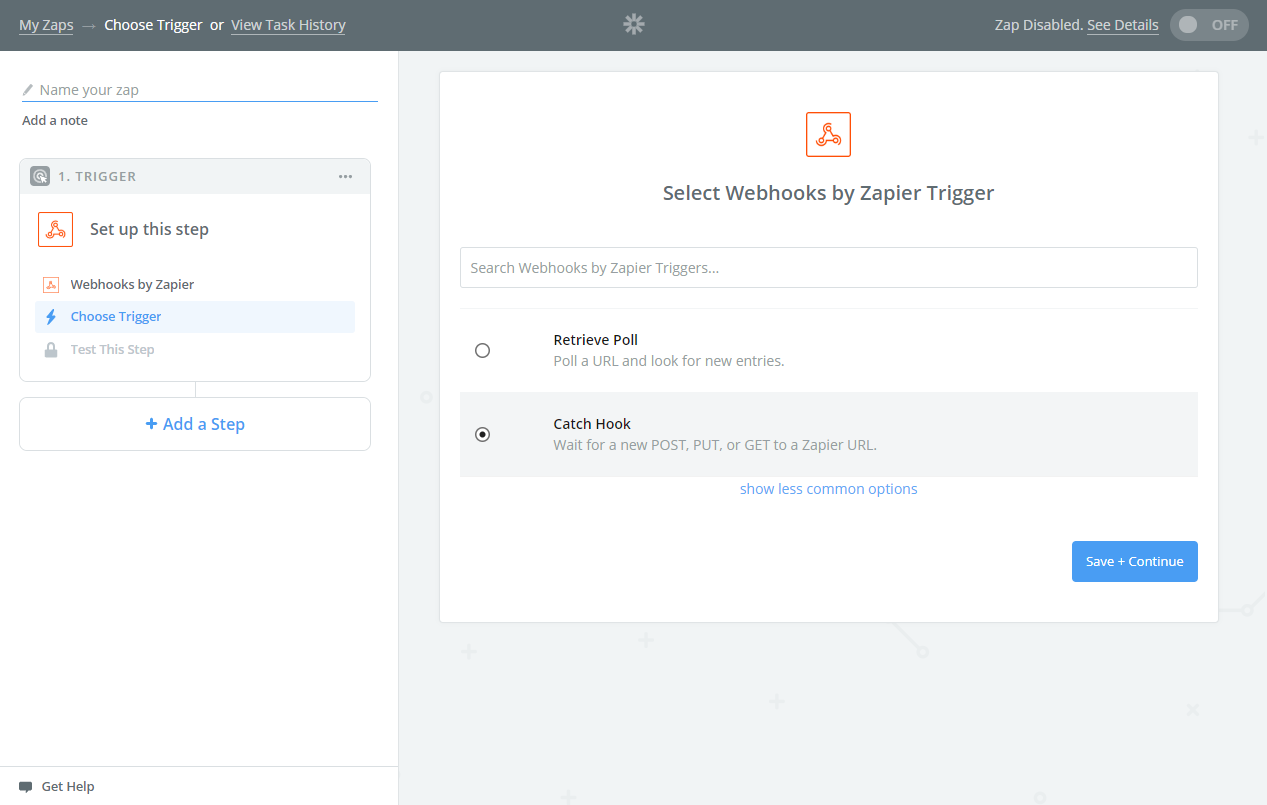
- From the radio buttons, select Catch Hook. Catch Hooks waits for the requests
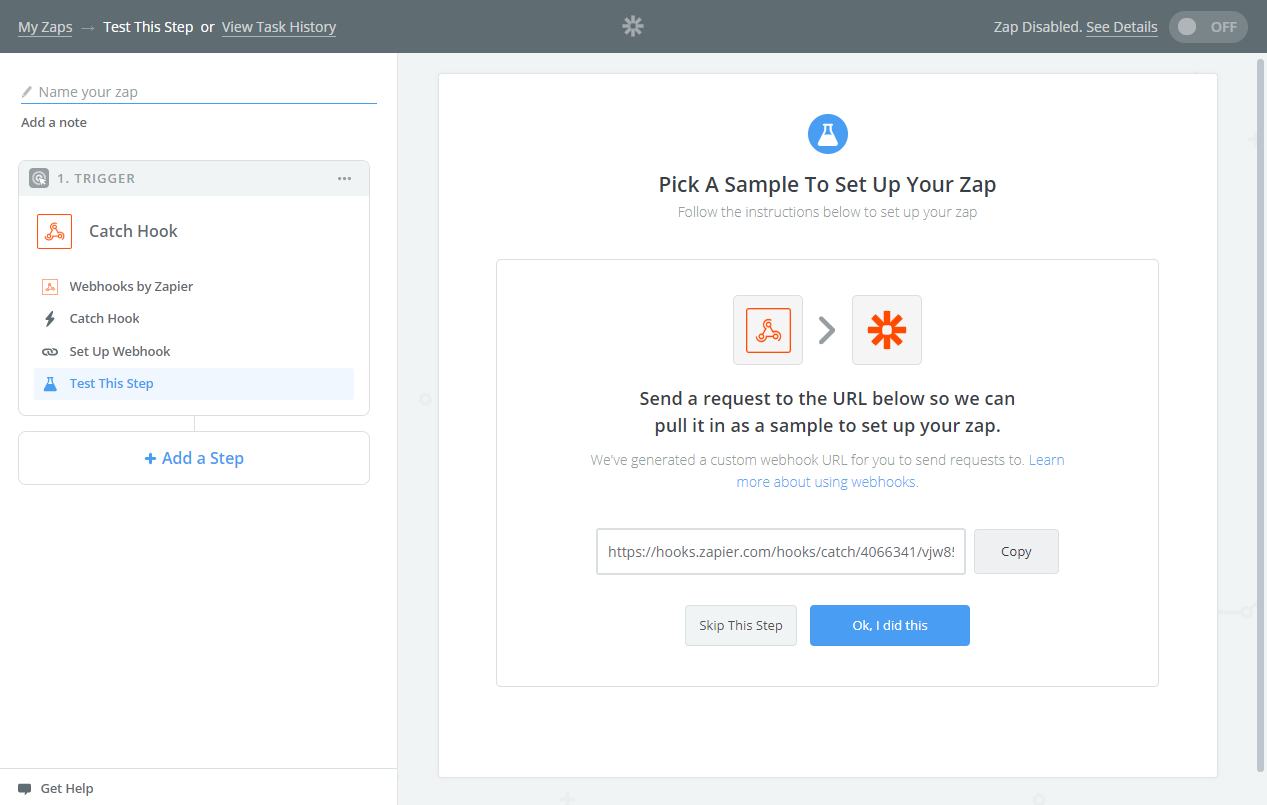
- Zapier generates a WebHook URL. Copy this URL to use later in Invicti
- Back in Invicti Standard, paste this URL into the WebHook URL field (see How to Integrate Invicti Standard with Zapier)
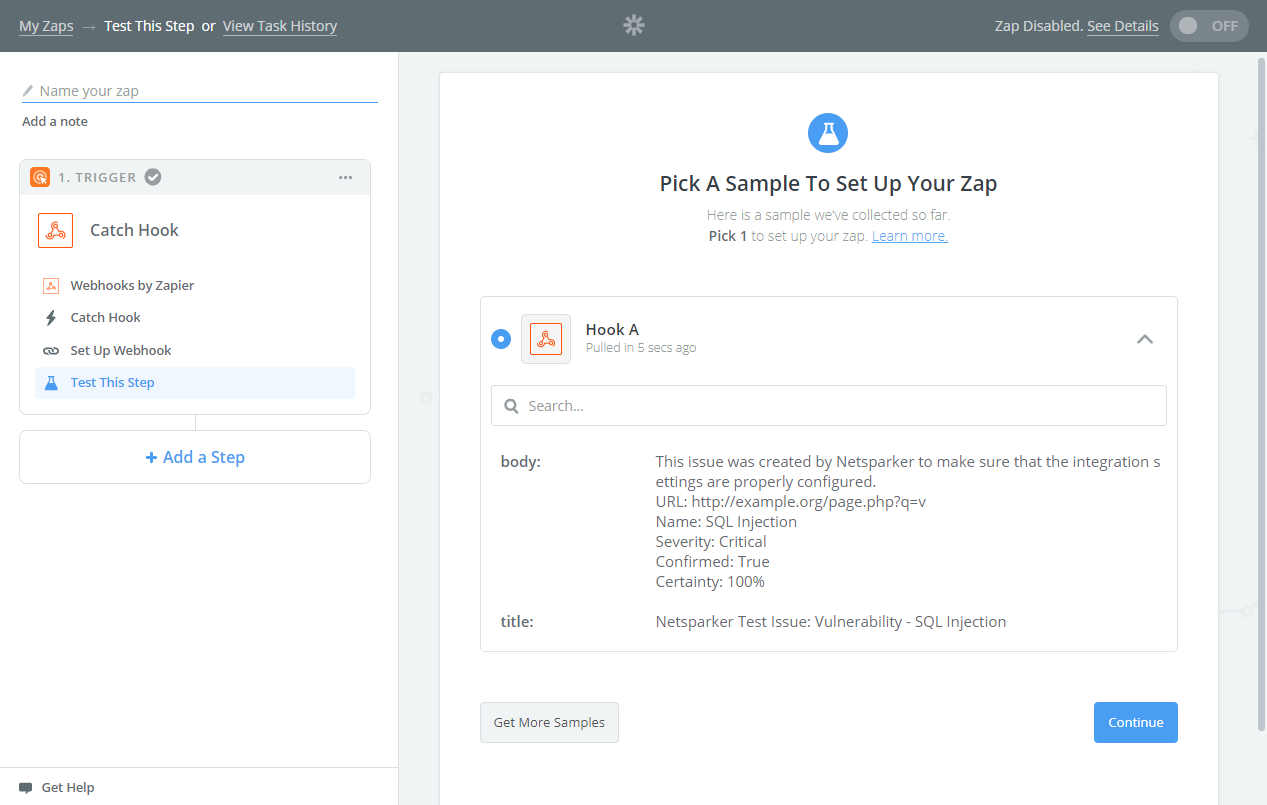
- Click Create Sample Issue to send a sample request to Zapier. After this request, the body and title fields will be shown as illustrated
- In Zapier, click Continue to complete the trigger
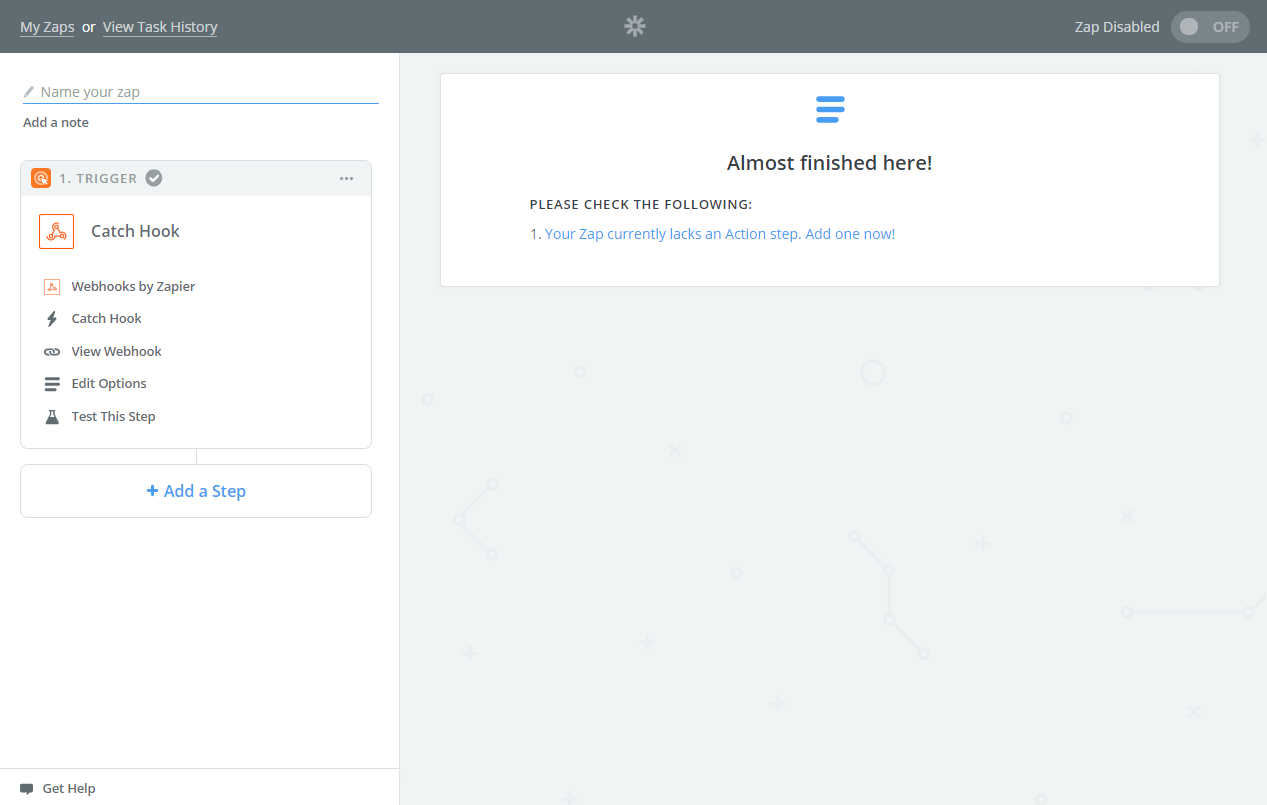
- Then, create an Action, as with any Zapier Application like sending email (see the Zapier Platform Action Quickstart)
After setting up the trigger, you can configure actions to automatically send vulnerability data to various applications such as Slack, email, project management tools, or custom webhooks for comprehensive workflow automation.
How to Export Reported Vulnerabilities to Projects in Zapier
After configuring the Zapier integration, follow these steps to export specific vulnerabilities:
- Open Invicti Standard
- From the ribbon, select the File tab. Local Scans are displayed. Double-click the relevant scan to display its results
- In the Issues panel, right click the vulnerability you want to export to Zapier and select Send to Zapier. (Alternatively, from the ribbon, click the Vulnerability tab, then Send to Zapier.) A confirmation message and link is displayed at the bottom of the screen.
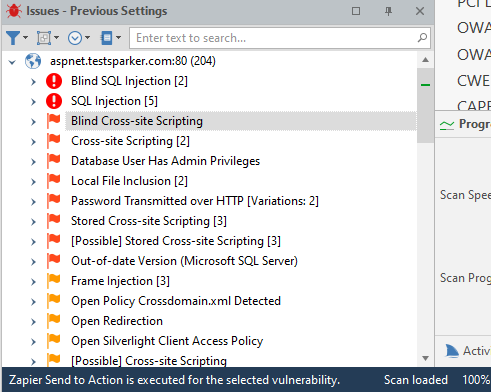
- Click the Zapier Send to Action is executed for the selected vulnerability link to view the newly-created issue in Zapier
- The vulnerability is automatically exported to Zapier. You can view it in Zapier
Need help?
Invicti Support team is ready to provide you with technical help. Go to Help Center