IP Restrictions Settings
IP Address Restrictions is a feature that allows organizations to restrict from which IP Addresses users can access the Invicti Enterprise dashboard, which enhances the security of the solution.
- Once it is enabled, anyone trying to log in to Invicti Enterprise from an IP Address that is not in the Trusted IP Addresses list is denied access.
- This feature is also included in the Invicti Enterprise On-Premises edition. This IP Address restriction feature is disabled by default.
note
All Invicti editions support IPv6 both as servers and agents. So, you can configure the Invicti Enterprise On-Premises server to use IPv6 and Invicti Enterprise can scan websites that use IPv6.
warning
The IP restriction setting affects the Agents as well.
How to enable IP Restrictions
- From the main menu, select Settings > IP Restrictions.
- On the IP Address Restrictions page, enable the Enable IP Restrictions checkbox.
- Select +New. A new row is displayed.
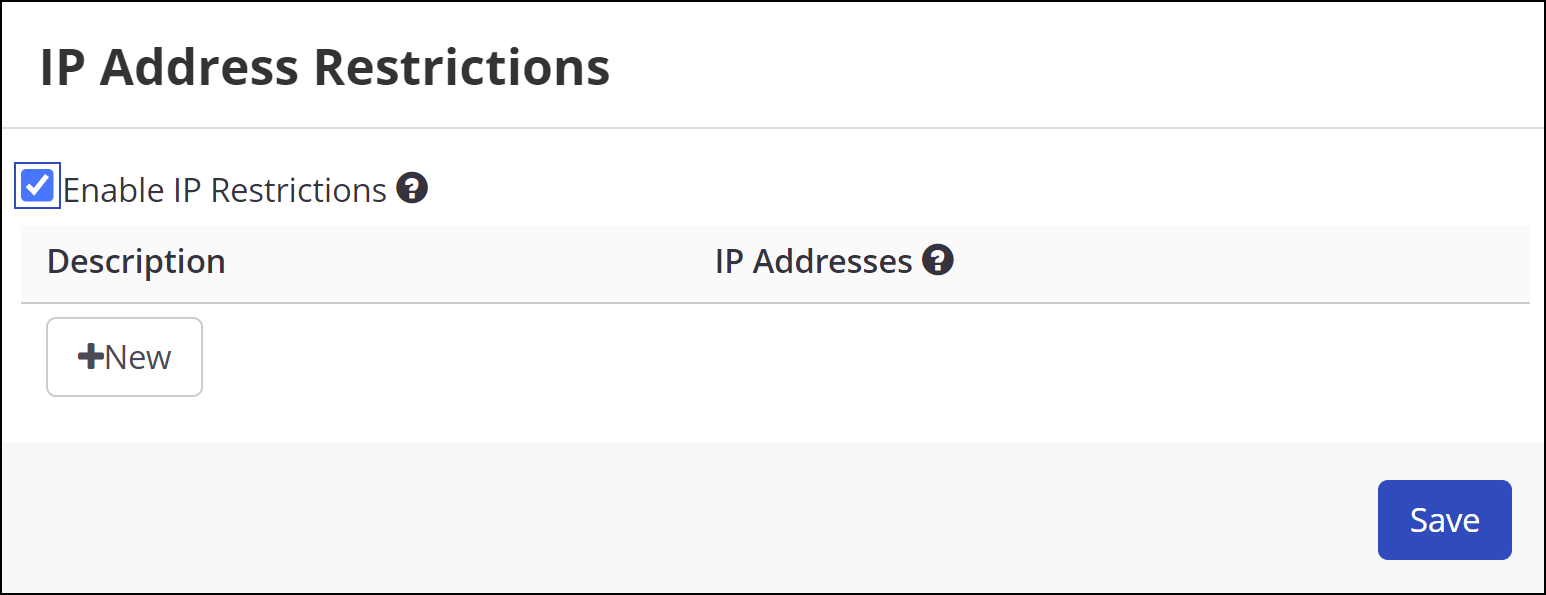
- Enter IP Addresses to the IP Addresses field.
- Your IP address is shown in the sidebar. We highly recommend adding it in first, in order to avoid getting locked out of your account.
- You can add multiple IP addresses using commas to separate them. This is useful in cases where the application needs to allow access from multiple specific IP addresses.
- IP address ranges can be added using CIDR notation or a hyphen. This is useful in cases where the application needs to allow access from a range of IP addresses.
- Wildcards are not supported.

- In the Description field, enter a description, such as Home IP Address and Office IP Address.
- Click Save.
How to delete a Trusted IP Address
- From the main menu, select Settings > IP Restrictions.
- On the IP Address Restrictions page, select Delete next to the relevant IP Address.
- Select Save.
Need help?
Invicti Support team is ready to provide you with technical help. Go to Help Center
Was this page useful?