Verify target ownership in Invicti Enterprise
When you add a new target to Invicti Enterprise, you need to verify its ownership. This verification is critical because you must not scan a website without proper authorization from the owner. This document explains how to verify ownership of a target in Invicti Enterprise.
IMPORTANT
Scanning a website without authorization is against the law. Invicti isn't responsible for such actions and can't be held responsible for potential damage to the target website.
To verify the ownership of a target website, you can use any one of the methods described in this document.
Verification by HTML file upload
- Select Targets > Targets from the left-side menu.
- Click Edit next to the relevant target.
- Click Verify. The Verify Ownership window is displayed.
- By default, the File Upload method is displayed.
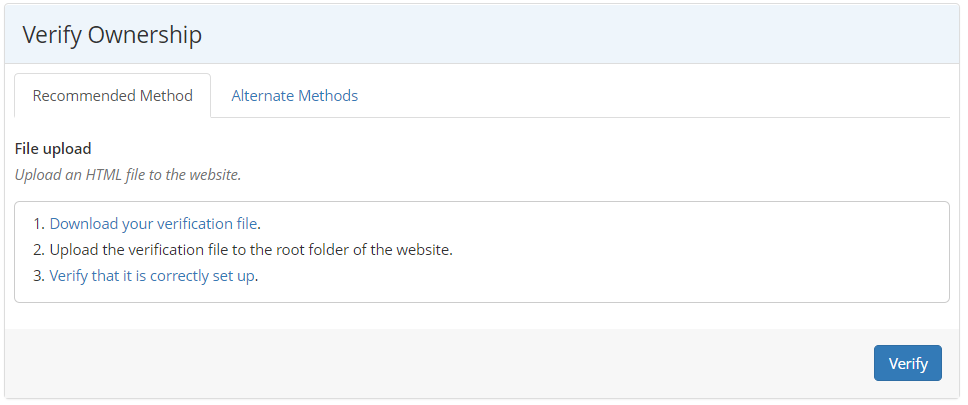
- Click Download your verification file. The Save dialog is displayed. Select a save location, then upload it to the root folder of your website.
- Click Verify that it is correctly set up to see if the file has been uploaded correctly.
- Click Verify.
- The URL field in the Edit Website window displays a green Verified button, and you are authorized to scan that website.
Verification by meta tag
- Select Targets > Targets from the left-side menu.
- Click Edit next to the relevant target.
- Click Verify. The Verify Ownership window is displayed.
- Select the Alternate Methods tab.
- Select HTML tag.
- Copy the meta tag text from the field and paste it into the
<head>tags in the website's home page.
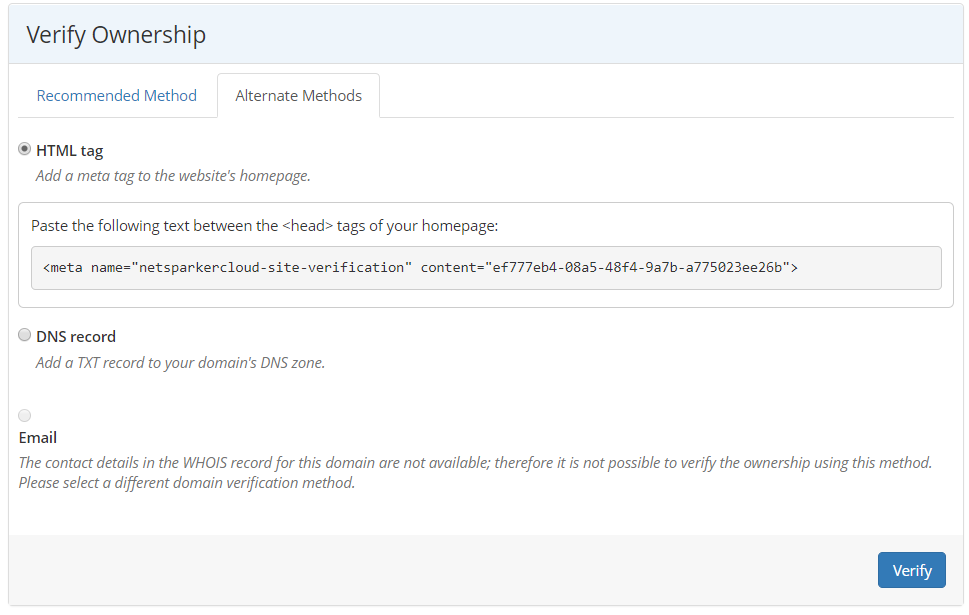
- Click Verify.
- The URL field in the Edit Website window displays a green Verified button, meaning you are now authorized to scan that website.
Verification by TXT record in DNS
- Select Targets > Targets from the left-side menu.
- Click Edit next to the relevant target.
- Click Verify. The Verify Ownership window is displayed.
- Select the Alternate Methods tab.
- Select DNS record.
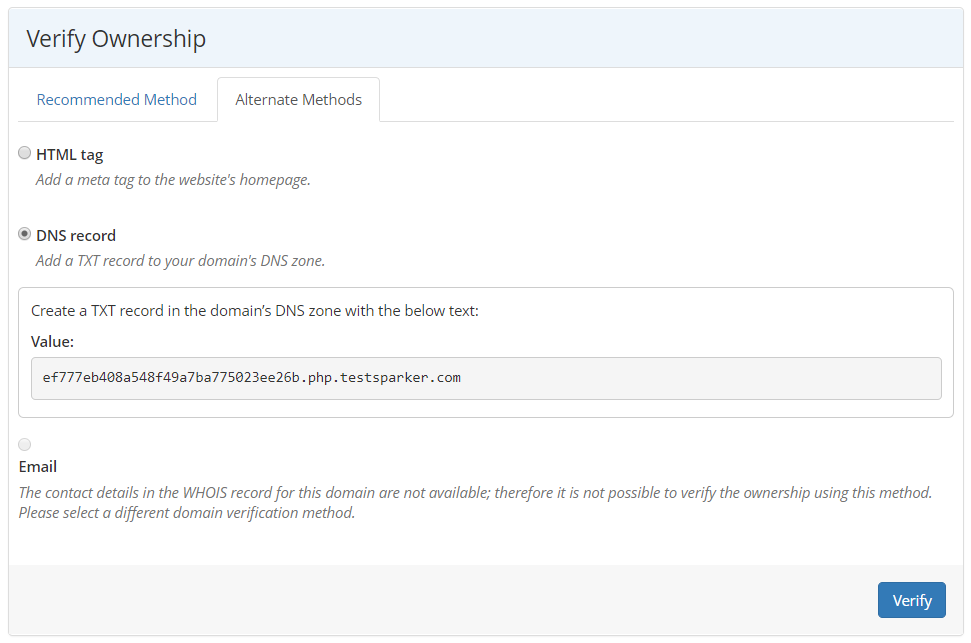
- To use this DNS verification method, you need to be able to add a new record to the domain's DNS zone. Add a new TXT record in your domain's zone. The Domain Name and Record (value) for the new TXT DNS record are specified in the verification step.
- Click Verify.
- The URL field in the Edit Website window displays a green Verified button, and you are authorized to scan that website.
Need help?
Invicti Support team is ready to provide you with technical help. Go to Help Center
Was this page useful?