Import scan results into Citrix Web App Firewall
This document is for Invicti Platform
Once you have exported the scan results from Invicti Platform, follow this document to import them to Citrix Web App Firewall.
Prerequisites
- Your Citrix system configuration needs to be completed according to the networking environment surrounding your web application
- You completed a scan in Invicti Platform and created a WAF export file in Citrix format
Import vulnerability export data into Citrix Web App Firewall
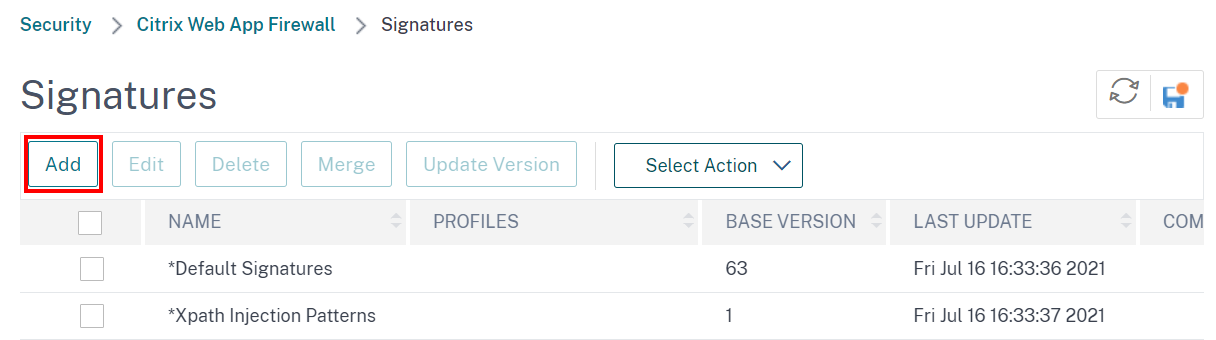
- Choose Configuration > Security > Citrix Web App Firewall > Signatures from the menu.

- Click the Add button.
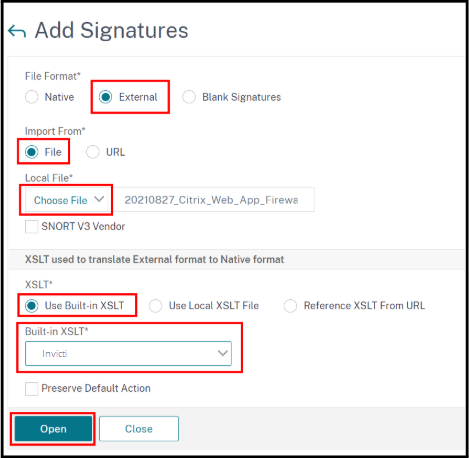
- Choose in File Format External.
- Click Choose File and choose your WAF export file.
- Choose Use Built-in XSLT option and Invicti from drop-down.
- Click on the Open button.
-
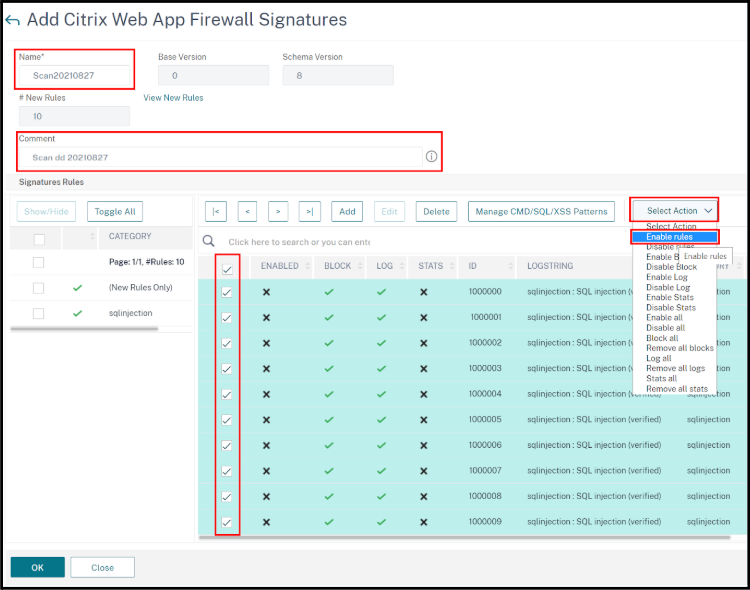
In the next page:
- Set a Name for your Signature and optionally add a Comment for it.
- Enable the checkboxes for each of the roles you wish to enable.
- From the Select Action dropdown choose Enable Rules.
- Select Yes to confirm enabling of the rules.
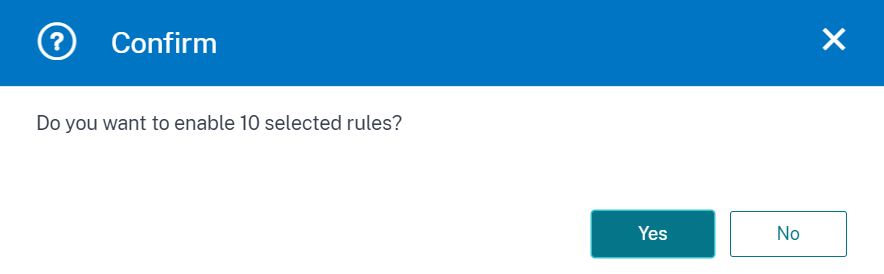
- Click the OK button to save the new signature and complete the integration.
Need help?
The Support team is ready to provide you with technical help. Go to Help Center
Was this page useful?