Import scan results into F5 Big-IP ASM
This document is for Invicti Platform
Once you have exported the scan results from Invicti Platform, follow this document to import them to F5 Big-IP ASM.
The instructions and testing steps in this guide apply to F5 BIG-IP ASM versions V13.0.0 and V13.0.1.
Prerequisites
- Configure your F5 Big-IP ASM system to match the networking environment of your web application.
- You completed a scan in Invicti Platform and created a WAF export file in F5 Big-IP ASM format.
Create a security policy in F5 Big-IP ASM
- Select Security > Application Security > Security Policies > Policies List from the main menu.
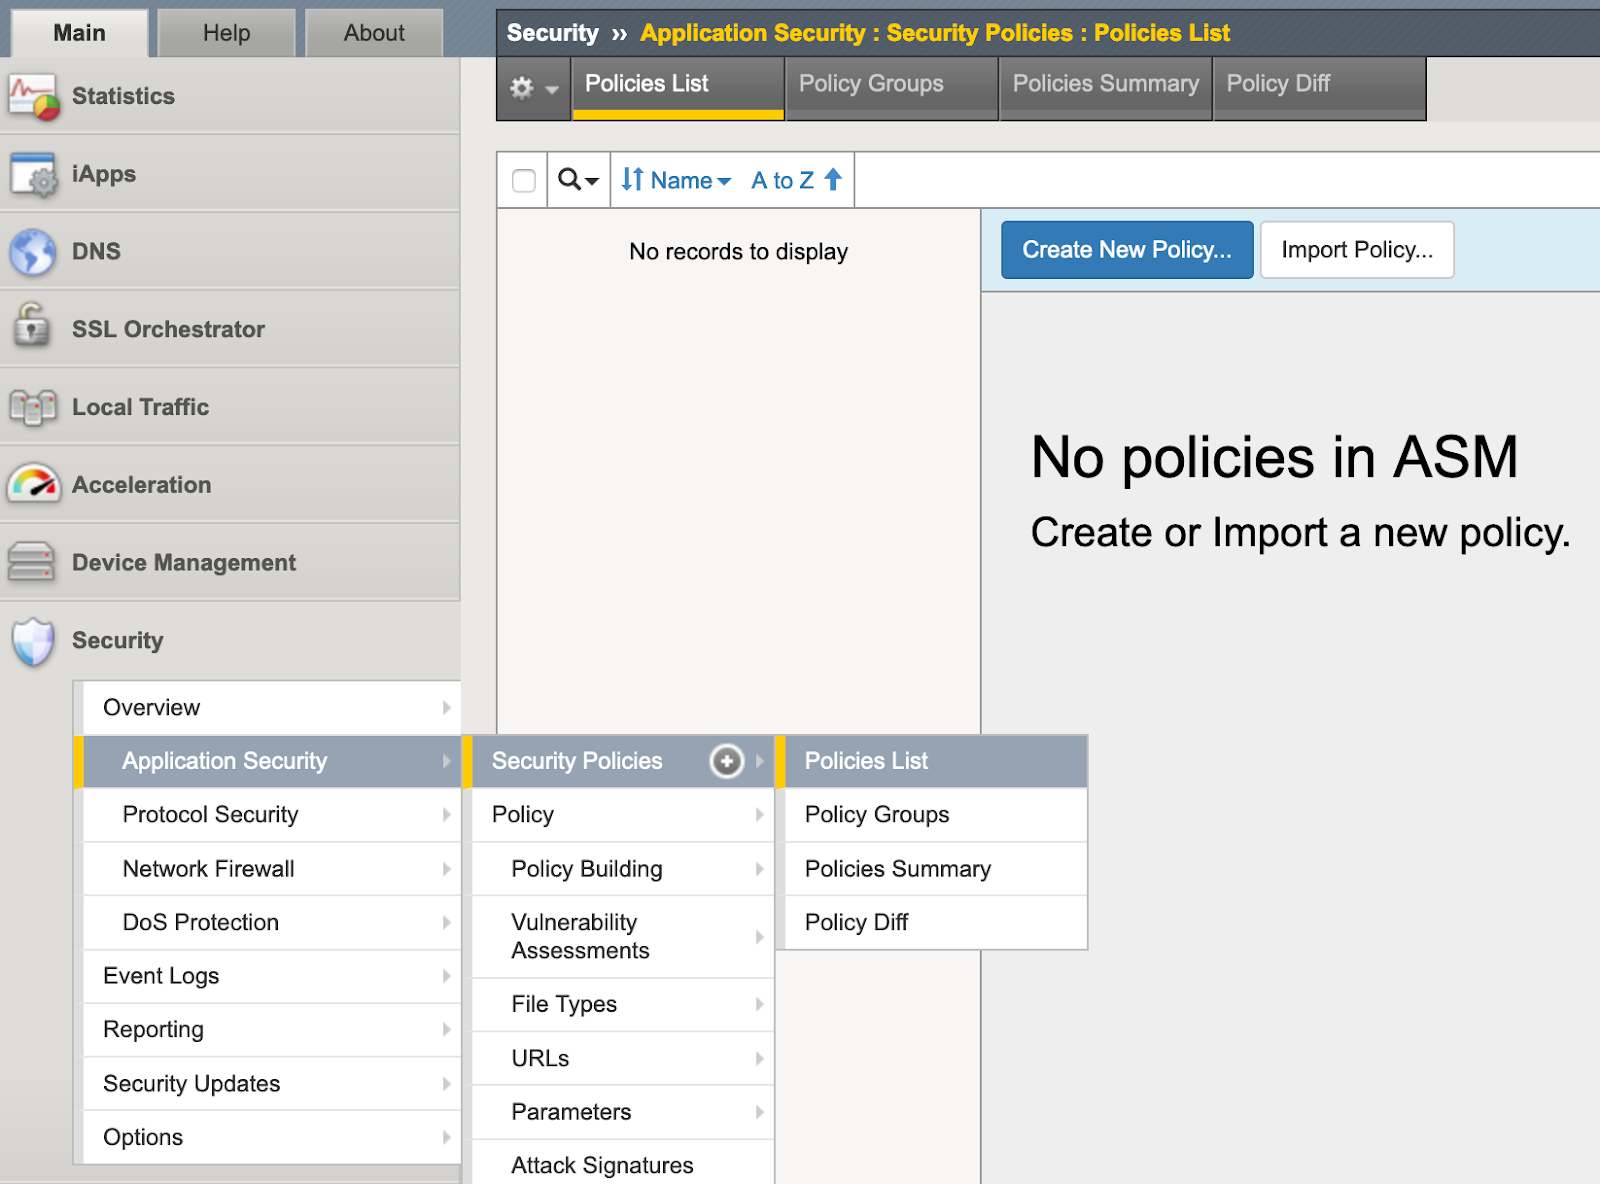
- Click Create New Policy.
-
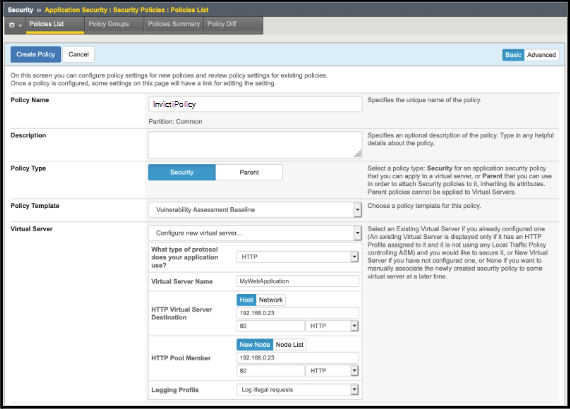
In the Policy Name field, type a name for the policy (for example: InvictiPolicy).
-
Optionally, enter a description for your Policy.
-
Ensure the Policy Type is set to Security.
-
Set the Policy Template to Vulnerability Assessment Baseline.
-
For the Virtual Server, choose Configure new virtual server; this determines where requests for the web application are sent.
- Specify whether the web application uses HTTP, HTTPS, or both in the field labelled What type of protocol does your application use (in this example: HTTP).
- Define a unique Virtual Server Name (for example: MyWebApplication).
- Set the HTTP Virtual Server Destination fields to contain the IP address for the web application server (for example: 192.168.0.23) and the service port number (for example: 80).
- Set the HTTP Pool Member fields to the same values as for HTTP Virtual Server Destination.
- Set the Logging Profile to Log illegal requests.
-
Click the Create Policy button at the top of the page.
Associate Invicti scanner with the security policy
The Security Policy created in the previous section does not yet protect against the vulnerabilities found by Invicti Platform. The next step is to associate the Invicti scanner with the Security Policy.
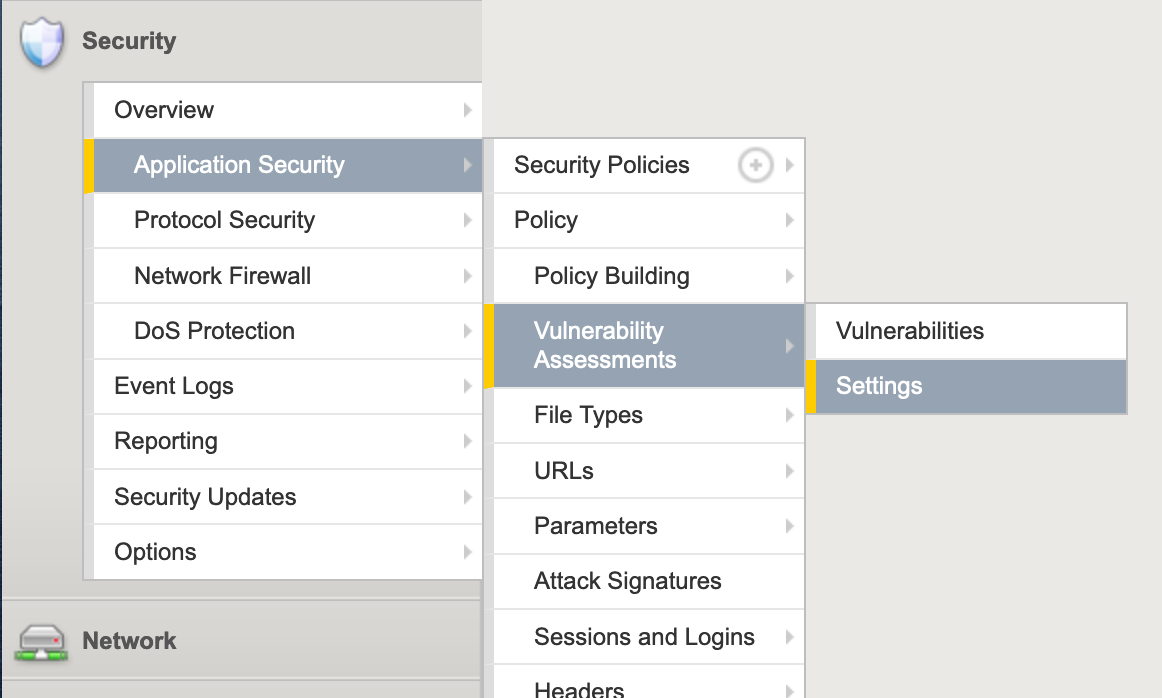
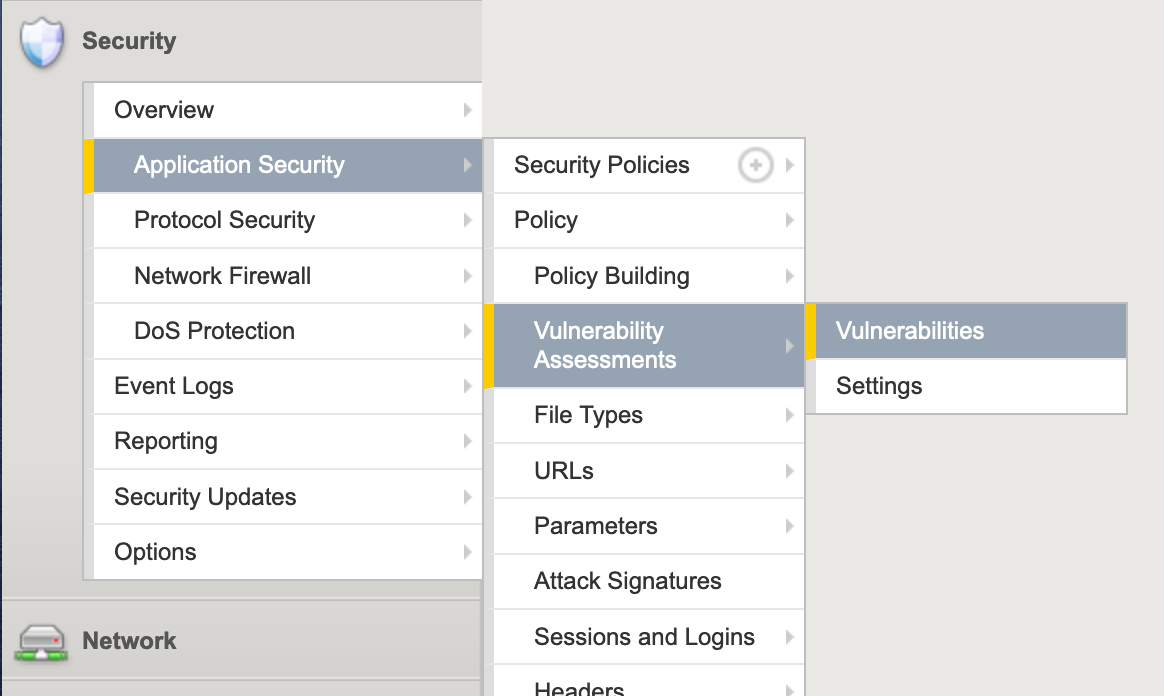
- Select Security > Application Security > Vulnerability Assessments > Settings from the main menu.
- Ensure that the Current edited security policy is set correctly (in this example: InvictiPolicy).
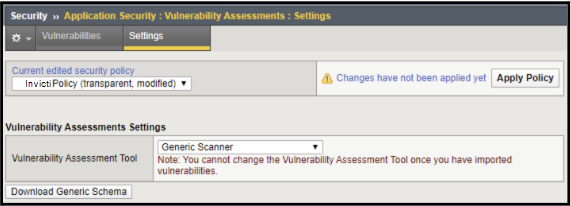
- Set the Vulnerability Assessment Tool to Generic Scanner - a dialog appears for you to confirm this choice.
- Click Download Generic Schema to download the generic_scanner.xsd file.
- Click the Apply Policy button to complete this step.
Import vulnerability export data into the security policy
Once you have created your WAF export file from Invicti, it's time to import it into the Security Policy created earlier.
- Select Security > Application Security > Vulnerability Assessments > Vulnerabilities from the main menu.
- In the Current edited security policy drop-down, ensure that you choose the Security Policy created earlier.
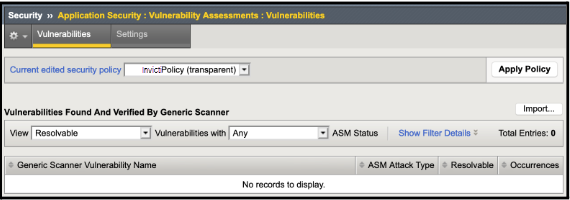
- Click the Import button.
- Click the Browse button to choose your WAF export file.
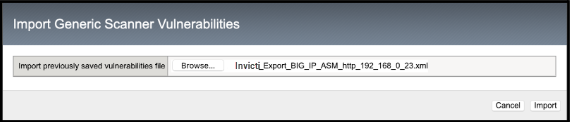
- Click the Import button.
- The next dialog confirms that the file is valid for import, and also confirms the web application.
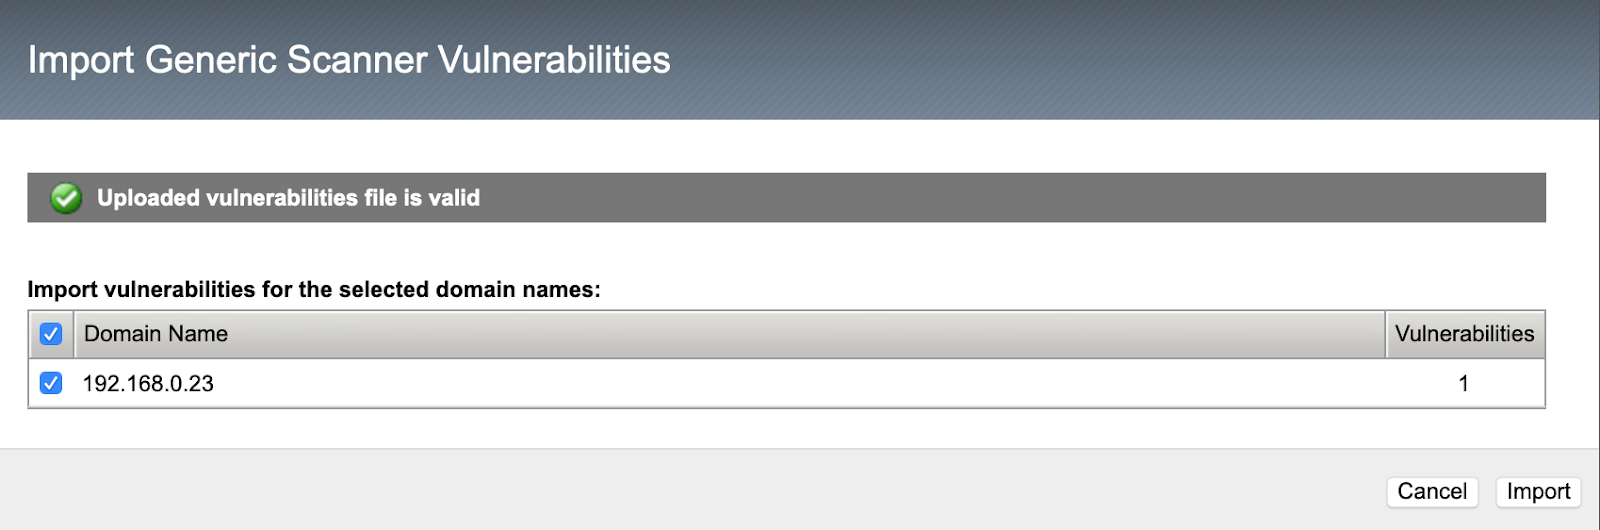
- Click the Import button to complete the import.
Resolve vulnerabilities
Some vulnerabilities discovered by Invicti can be resolved automatically by your F5 Big-IP ASM Web Application Firewall.
- Select Security > Application Security > Vulnerability Assessments > Vulnerabilities from the main menu.
- Adjust the View drop-down to show Resolvable (Automatically) items.
- Ensure that you are viewing vulnerabilities with Any ASM status.
- Choose a vulnerability you want to resolve.
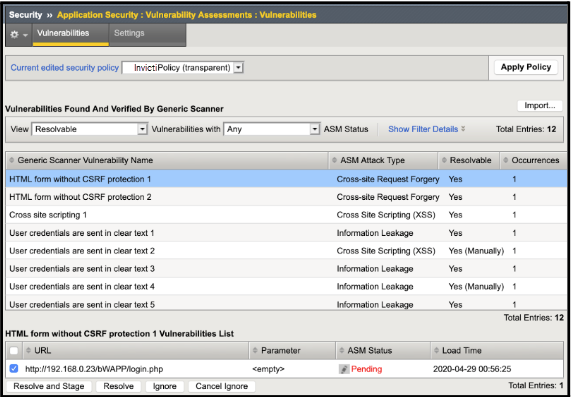
- Enable the checkbox next to the Vulnerability URL, and click the Resolve button.
- Your WAF verifies the request; if it needs to make any changes you are asked for confirmation.
- Now your WAF marks the Vulnerability URL as Mitigated.

Need help?
The Support team is ready to provide you with technical help. Go to Help Center