Import scan results into Imperva SecureSphere
This document is for Invicti Platform
Once you have exported the scan results from Invicti Platform, follow this document to import them to Imperva Secure Sphere.
Prerequisites
- Your SecureSphere system configuration needs to be completed according to the networking environment surrounding your web application.
- You completed a scan in Invicti Platform and created a WAF export file in SecureSphere format.
Import vulnerability export data into SecureSphere
-
In the Risk Management tab, choose Web Scanner Integration.
-
In the Scanner Integration Policies panel, click the + icon to create a new policy - the Create New Policy window is presented.
- Set a Name and Description for the new policy.
- Click Create; the new policy is created with its details showing in the Details pane.
-
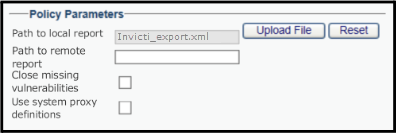
Click the Upload File button in the Policy Parameters section of the Details pane to upload the Invicti WAF export file. This displays a list of vulnerabilities extracted from the file.
-
Choose a vulnerability from the list.
-
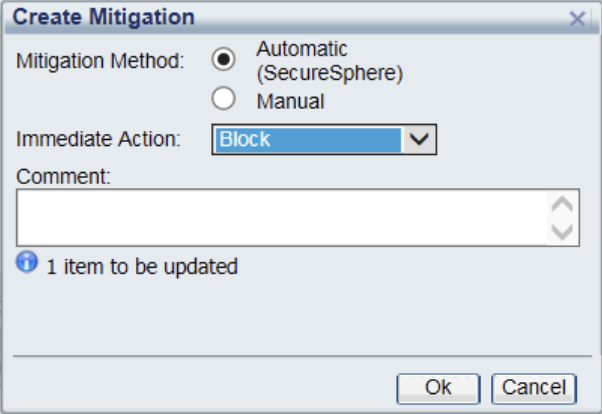
In the Create Mitigation dialog:
- Choose Automatic in the Mitigation Method option.
- Choose Block in the Immediate Action drop-down.
- Click the Ok button.
- Repeat the preceding actions for each vulnerability you want to mitigate.
Need help?
The Support team is ready to provide you with technical help. Go to Help Center
Was this page useful?