Deployment: Invicti Platform on-demand, Invicti Platform on-premises
Microsoft Teams integration
Integrating Invicti Platform with Microsoft Teams enables your security and development teams to receive real-time notifications about scan results directly in your Teams channels. This integration keeps teams informed and allows for immediate response to critical security findings, fostering better collaboration between security and development teams. Authentication uses OAuth2. You don't need to create or maintain incoming webhook connectors in Teams.
If your organization blocks the OAuth consent flow because of Privileged Identity Management (PIM), restricted admin consent, or similar tenant policies, you can use the Microsoft Teams notifications via webhook and Power Automate approach instead. It uses Invicti's Webhook integration plus a Power Automate workflow to post messages to a Teams channel - no admin consent needed.
Prerequisites
To set up this integration, you need:
-
Microsoft Teams work or school account: The integration requires a Microsoft Teams account backed by Microsoft Entra ID (work or school license). Personal Microsoft Teams accounts aren't supported. Personal accounts only support direct chats; work and school accounts support Teams and Channels, which this integration requires.
-
Microsoft Teams channel: A channel in one of your Teams where you want to receive notifications. Create the channel before setting up the integration.
For on-premises deployments, you must also provide your own Microsoft Entra ID app registration. You need the Tenant ID (Directory ID) and Client ID (Application ID) from a registered application. The registered app must have the following Microsoft Graph API delegated permissions:
Team.ReadBasic.All: read the list of teams you belong toChannel.ReadBasic.All: read the list of channels in a teamChannelMessage.Send: post messages to a channeloffline_access: maintain access without requiring re-authentication
If you don't manage Azure resources yourself, ask your Azure administrator to provide these values.
For on-demand deployments, Invicti provides a pre-configured public app. No app registration is required.
Multiple integrations for different notification types
You can create multiple Microsoft Teams integrations to organize notifications by purpose. Each integration targets one channel. Consider these example configurations:
- Scan completion: a dedicated integration posting to a
Security Reportschannel for scan completed events - Scan failures: a separate integration posting to a
Security Alertschannel for scan failed events
This allows you to configure different notification rules based on:
- Event types: Scan completed, scan failed
- All assets, specific assets, and specific collections.
Step 1: Configure Invicti Platform integration
-
In Invicti, select Integrations from the left-side menu.
-
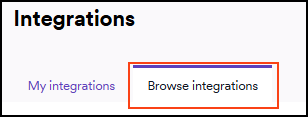
Switch to the Browse integrations tab.
-
Scroll down to Team communication and select Configure in the Microsoft Teams tile.
-
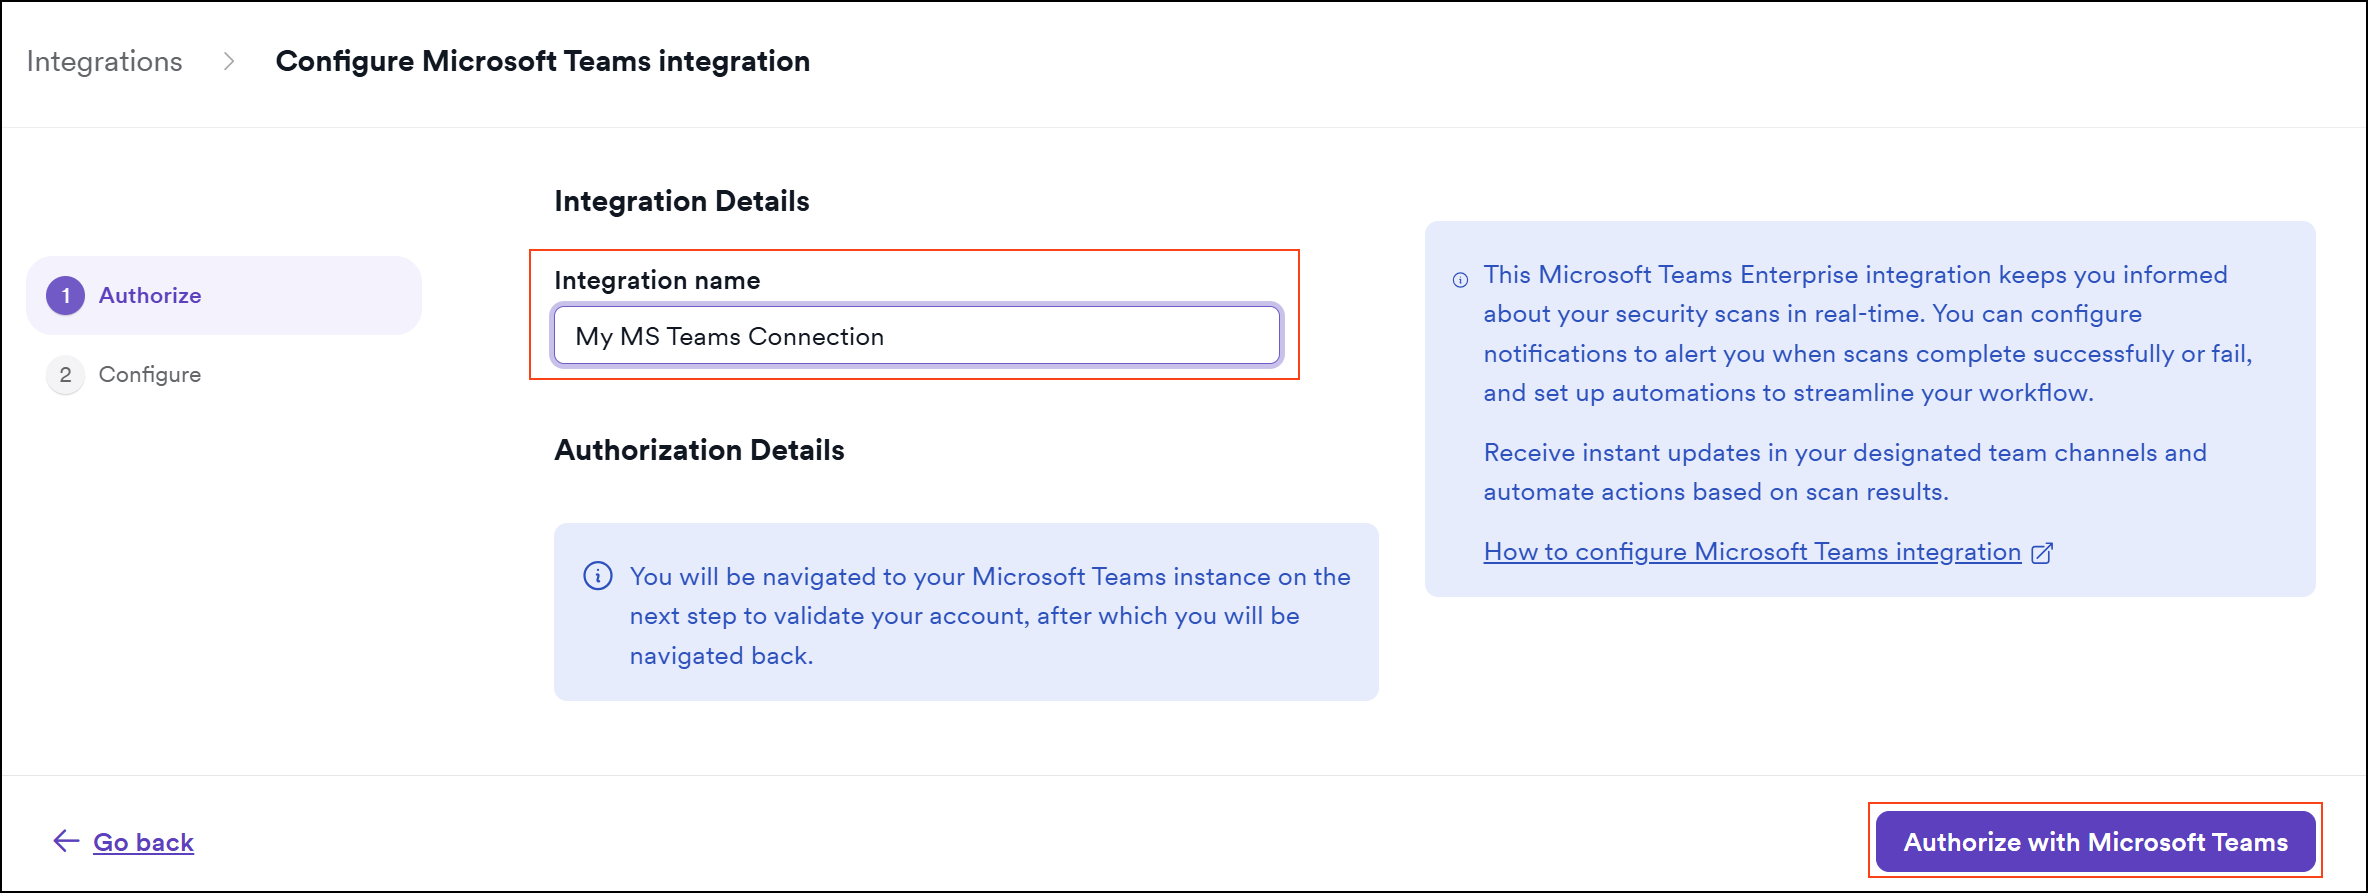
In the Integration details step, enter an Integration name (for example,
My Teams Connection).On-premises onlyFor on-premises deployments, also enter the Tenant ID and Client ID from your Microsoft Entra ID app registration.
-
Click Authorize with Microsoft Teams. You're redirected to Microsoft's OAuth consent screen.
- Review the requested permissions and click Accept to grant Invicti access to your Teams organization.
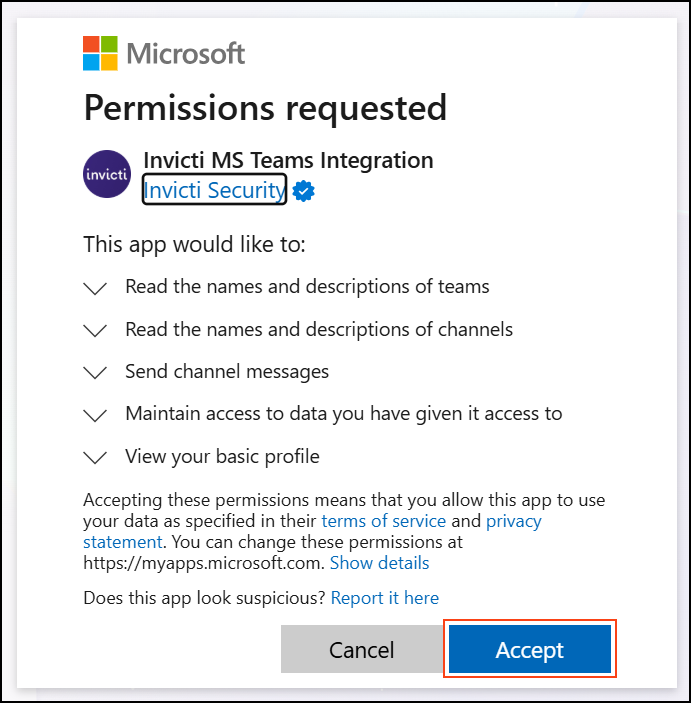
After approving, you're redirected back to Invicti and moved to the Channel configuration step.
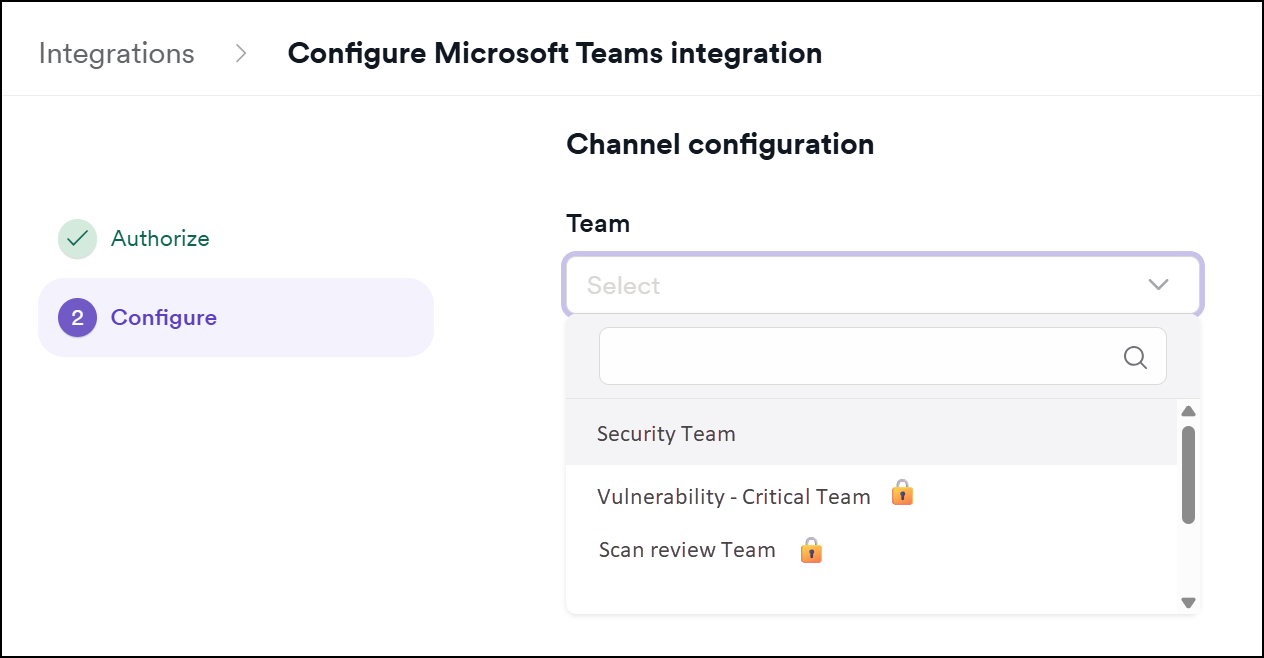
- In the Channel configuration step:
- Select a Team from the dropdown. Teams are listed by display name; private teams are marked with a 🔒 icon.
- Select a Channel from the dropdown. The channel list updates based on the selected team.
The channel dropdown shows standard, private (🔒), and shared (⤮) channels that the authorizing user has access to.
Private channels are only visible if the authorizing user is a member of that channel. To post to a private channel, make sure the user who performed the OAuth authorization is already a member.
Shared channels are channels shared with external organizations or teams. You can select them the same way as standard channels.
-
Click Send test message to verify the integration is working. A confirmation message is posted to the selected channel:
This is a test message from the Invicti - Microsoft Teams integration.

-
Click Save and finish to complete the integration.
-
The Microsoft Teams integration is now visible in the list of My integrations.
Step 2: Configure notifications
This section provides basic instructions on how to create various automations. For more detailed instructions on how to create an automation, refer to the new automation document.
Send a Teams message on scan completion
Click to expand step-by-step instructions
-
Select Automations from the left-side menu.
-
Populate these fields:
- Name: send a Teams message on scan completion.
- Description: sends a Teams message to the
Security Reportschannel when a scan is completed.
-
Add an event of Scan completed.
-
Add an action of Send to communicator and specify the correct Microsoft Teams integration.
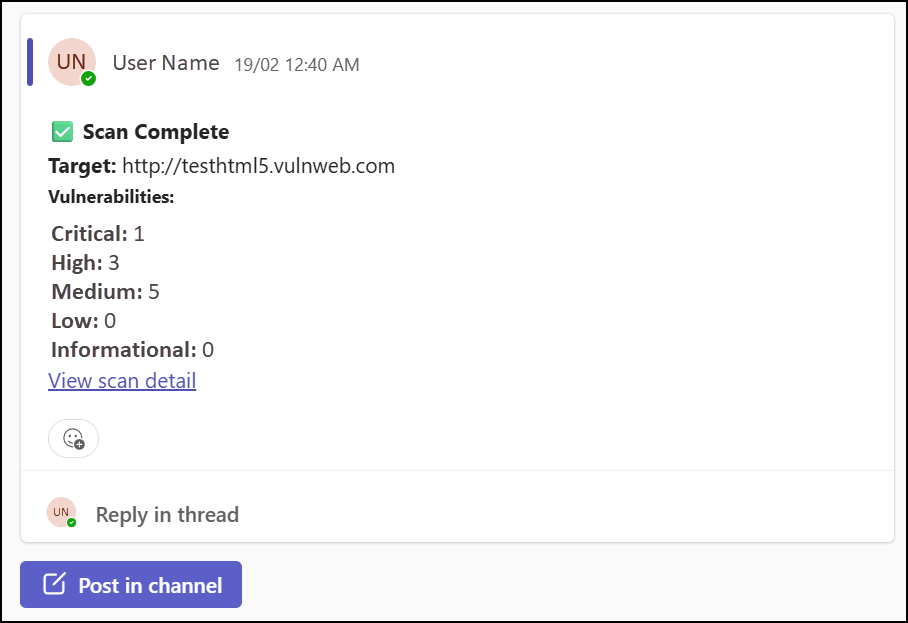
The notification includes:
- Scan target URL
- Count of Critical, High, Medium, Low, and Informational vulnerabilities
- A direct link to the scan details in Invicti
Send a Teams message on scan failure
Click to expand step-by-step instructions
-
Select Automations from the left-side menu.
-
Populate these fields:
- Name: send a Teams message on scan failure.
- Description: sends a Teams message to the
Security Alertschannel when a scan fails.
-
Add an event of Scan failed.
-
Add an action of Send to communicator and specify the correct Microsoft Teams integration.
The notification includes:
- Scan target URL
- A direct link to the scan details in Invicti
Managing the integration
To edit the integration:
- Select Integrations >My integrations from the left-side menu.
- Select the Microsoft Teams integration you want to update.
- Click Edit. All fields from the original setup are available to modify.
- Click Save and finish.
To delete the integration:
- Select Integrations >My integrations from the left-side menu.
- Select the Microsoft Teams integration you want to remove.
- Click Delete and confirm.
Deleting an integration doesn't affect any automations that reference it. Update or remove those automations separately to avoid notification failures.
Re-authorizing the integration
The integration uses OAuth2 refresh tokens to maintain access automatically. You don't need to re-authenticate on a regular basis.
If notifications stop posting to your Teams channel, the refresh token may have expired or been revoked. Common causes:
- The user who authorized the integration left the organization or their Microsoft account permissions changed.
- (On-premises only) The Microsoft Entra ID app registration was modified. For example, the client secret was rotated or permissions were changed.
To re-authorize:
- Go to Integrations >My integrations.
- Select the affected Microsoft Teams integration.
- Click Edit and go to the Integration details step.
- Click Authorize with Microsoft Teams again and complete the OAuth consent flow.
Need help?
Invicti Support team is ready to provide you with technical help. Go to Help Center