Integrating Invicti Enterprise with Zapier
Zapier is a web-based service that allows end users to integrate the web applications they use and automate their workflows. Zapier applications can help you capture, track, manage and fix bugs and other issues that arise when building or managing a web project.
This topic explains how to configure Invicti Enterprise to send a detected vulnerability to Zapier.
For further information, see What Systems Does Invicti Integrate With?.
Zapier Fields
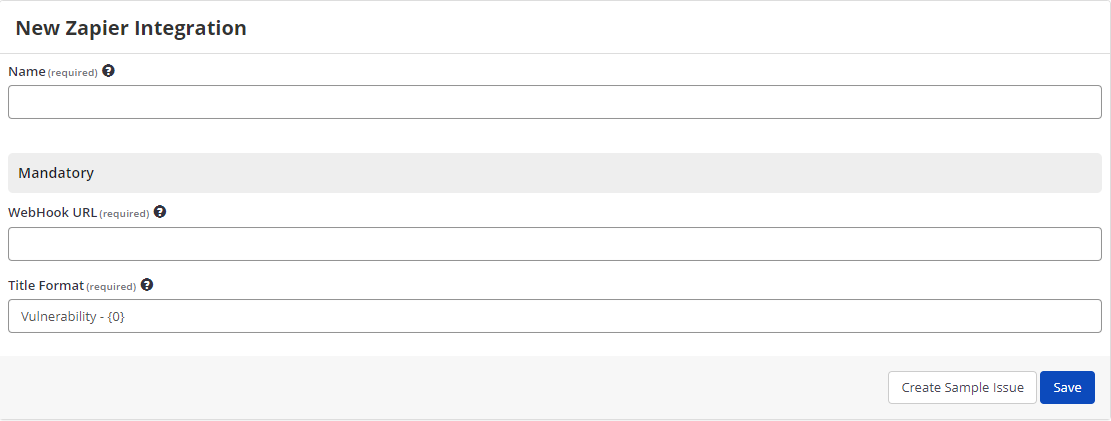
The table lists and explains the Zapier fields in the New Zapier Integration window.
| Field | Description |
|---|---|
| Name | This is the name of the configuration that will be shown elsewhere. |
| Mandatory | This section contains fields that must be completed. |
| Webhook URL | This is the WebHook URL to which to send issues. |
| Title Format | This is the string format that is used to create the vulnerability title. |
| Create Sample Issue | Once all relevant fields have been configured, click to create a sample issue. |
| Save | Once all relevant fields have been configured, click to save settings. |
How to Integrate Invicti Enterprise with Zapier
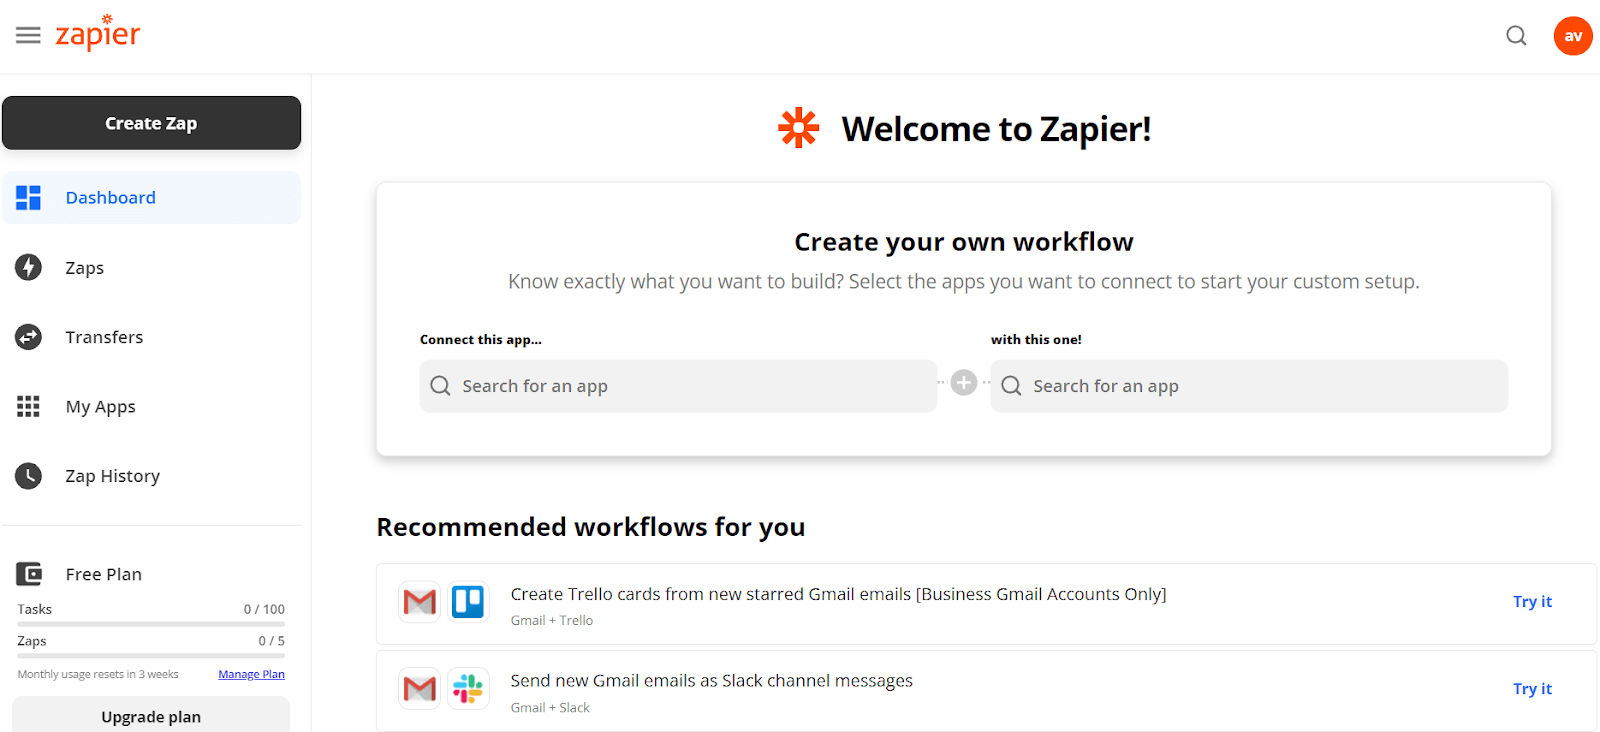
- Log in to Zapier.
- From the Zapier homepage, select Create Zap.
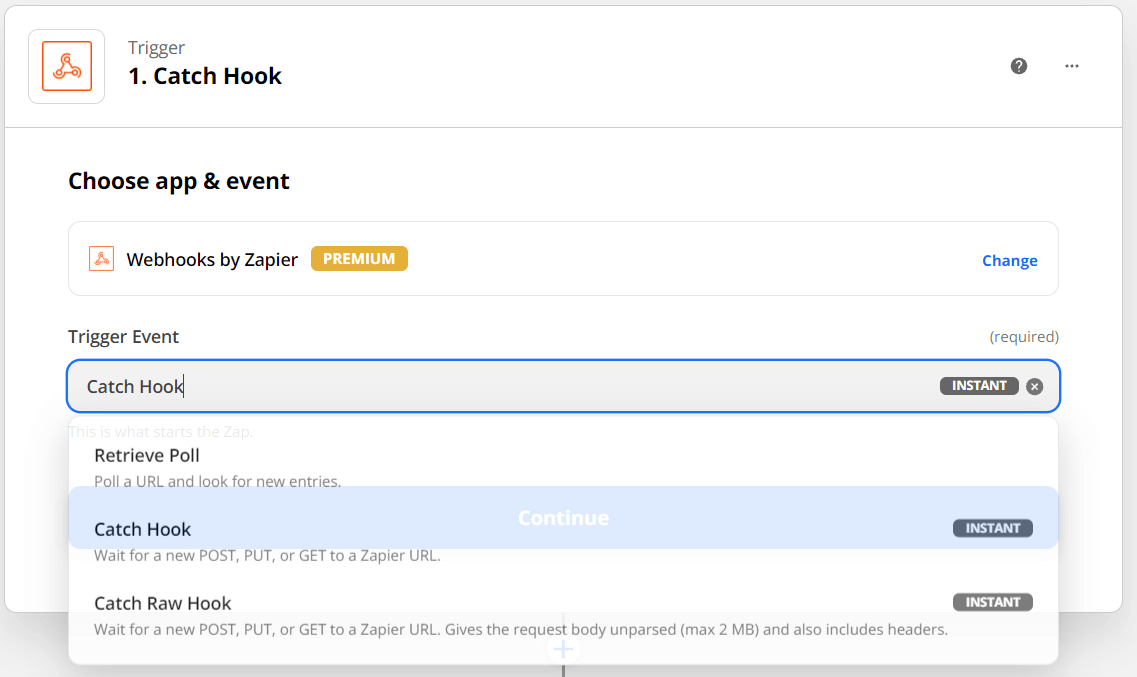
- Select Webhooks by Zapier.
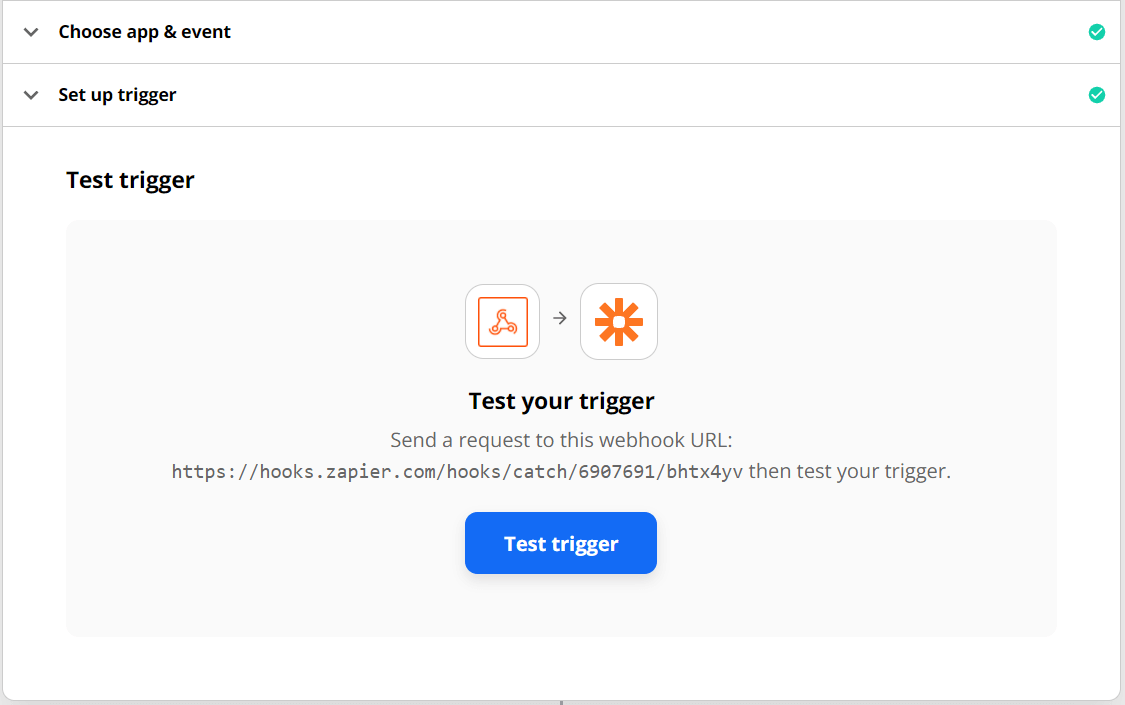
- On the Choose app & event page, select Catch Hook from the Trigger Event drop-down menu. Select Continue.
- Zapier generates a WebHook URL. Select Copy. (You need the Webhook URL for integration.)
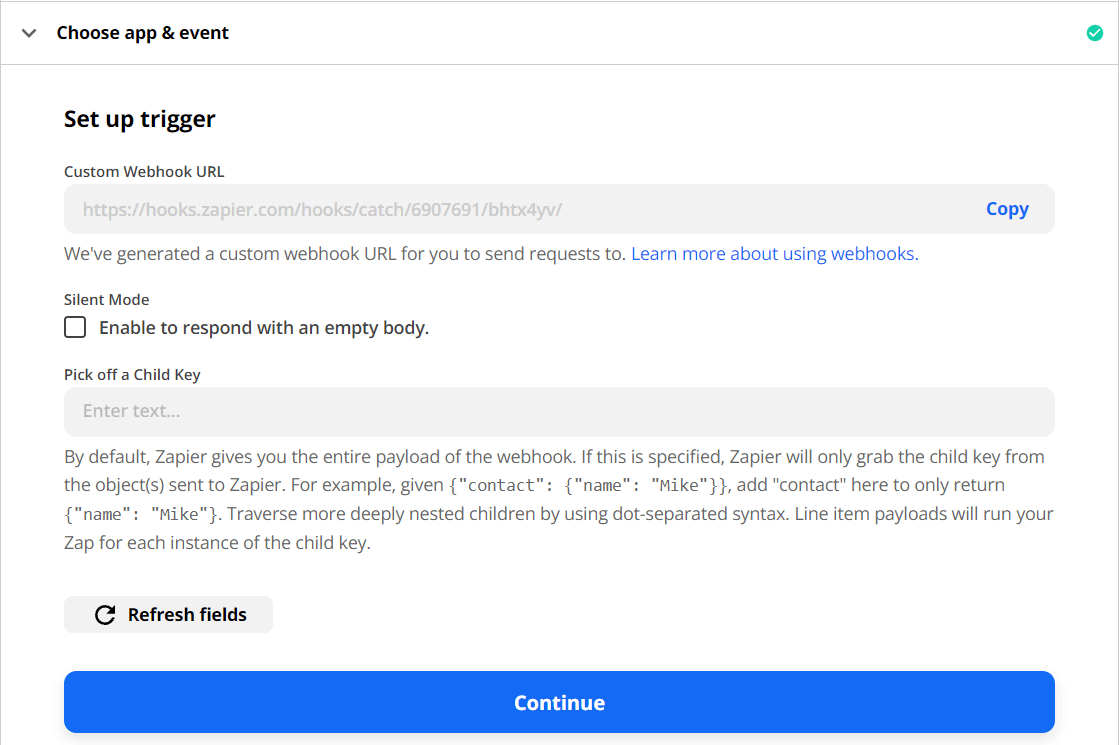
- Select Continue.
- Now, log in to Invicti Enterprise.
- From the main menu, select Integrations > New Integration.
- From the API section, select Zapier.
-
Complete the following fields to complete the integration:
- In the Name field, enter a name for the integration.
- In the Mandatory section, enter the WebHook URL.
-
Select Create Sample Issue to confirm that Invicti Enterprise can connect to the configured system and create a sample issue.
-
Select Save.
-
Return to Zapier, select Test trigger, and display the request's body and title.
- Select Continue to complete the trigger.

- Then an action needs to be created with any Zapier Application like sending email. For more information, see Build Action documentation.
How to export reported vulnerabilities to projects in Zapier
There are several ways to send issues to Zapier with Invicti Enterprise:
- Once notifications have been configured, you can configure Invicti Enterprise to automatically send vulnerabilities after scanning has been completed (see How to Configure a Notification to Report Vulnerabilities to an Issue Tracking System).
- You can send one or more issues from the Issues window:
- You must have Manage Issue permission.
- From the main menu, select Issues.
- From the Issues page, select one or more issues you want to send.
- Select Send To > Zapier.
A pop-up is displayed, with a message to the issue you have sent to Zapier. If there is an error, this information will be displayed instead.
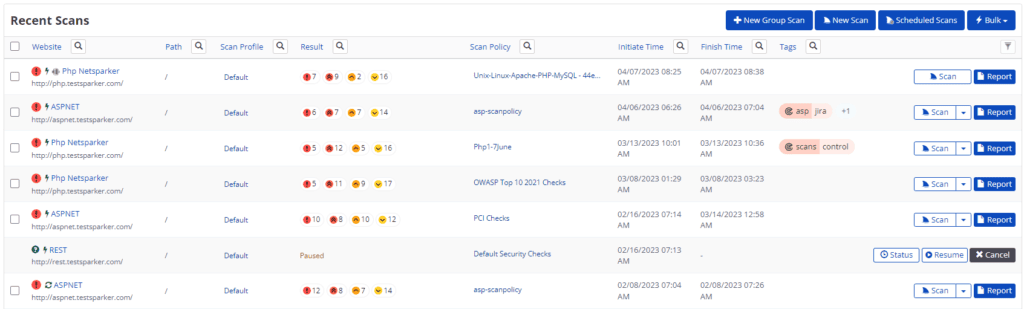
- You can send an issue from the Recent Scans window:
- From the main menu, select Scans > Recent Scans.
- Next to the relevant scan, click Report. The report is displayed.
- Scroll down to the Technical Report section.
- From the list of detected vulnerabilities, click to select an issue and display its details.
- Select Send To > Zapier.

For more information about managing integrations, see Managing Integrations.
Need help?
Invicti Support team is ready to provide you with technical help. Go to Help Center