Configuring Notifications to Report Vulnerabilities to an Issue Tracking System
You can configure Invicti Enterprise to send all issues identified during a scan to an issue tracking system, such as Jira.
- In today's agile environment, building vulnerability management into your development pipeline is a must when doing security testing. So, any vulnerability that needs fixing must be turned into a ticket in the developers' existing system.
- If this is done manually, managing vulnerability tickets adds a lot of extra work for everyone. If created automatically, it streamlines the vulnerability resolution.
Thanks to the integration between Invicti Enterprise and issue tracking systems, such as Jira, you can create tickets automatically.
Prerequisite
Before configuring notifications to report vulnerabilities, ensure you have completed the following:
- Integrate Invicti Enterprise with an issue tracking system. For further information, see Integrations external documentation.
You must first establish an integration with your issue tracking system before you can configure notifications to send vulnerability reports.
How to Configure a Notification to Report Vulnerabilities to an Issue Tracking System
Follow these steps to set up automatic vulnerability reporting to your issue tracking system:
-
Log in to Invicti Enterprise.
-
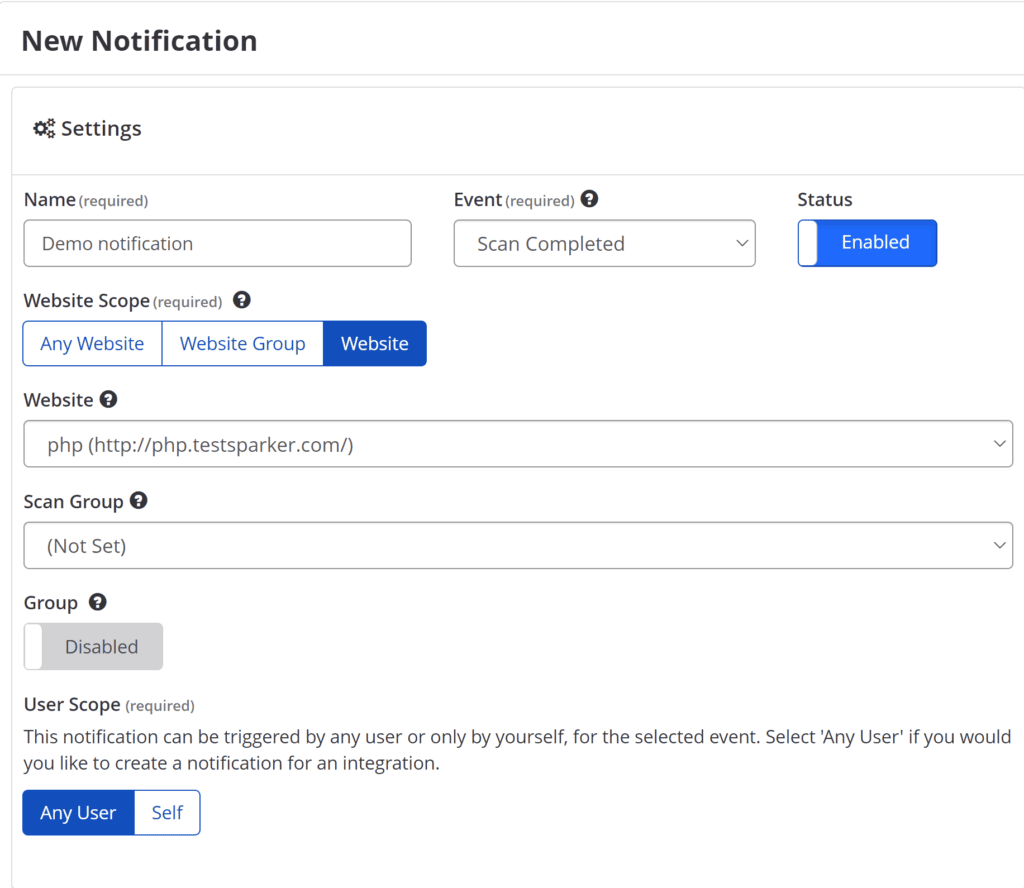
From the main menu, select Notifications > New Notification.
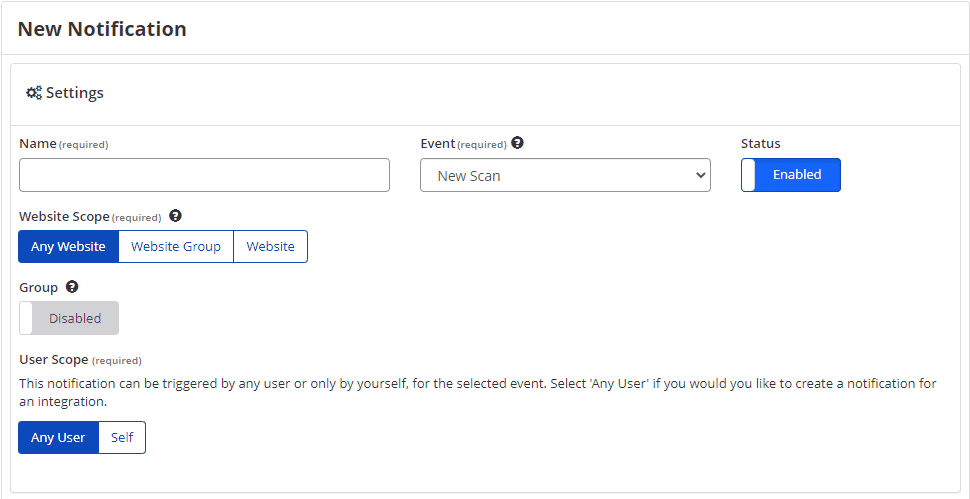
- In the Settings section, configure the following:
- In the Name field, enter the name of the new notification
- In the Status field, select enable or disable
- From the Event drop-down, choose Scan Completed
- In the Group field, select enable or disable
- From the Website Scope field, select the relevant option
- From the User Scope field, select the relevant option
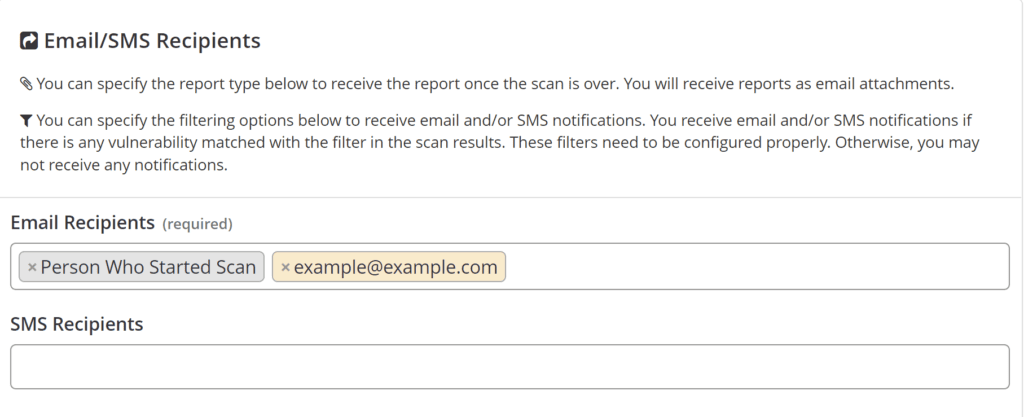
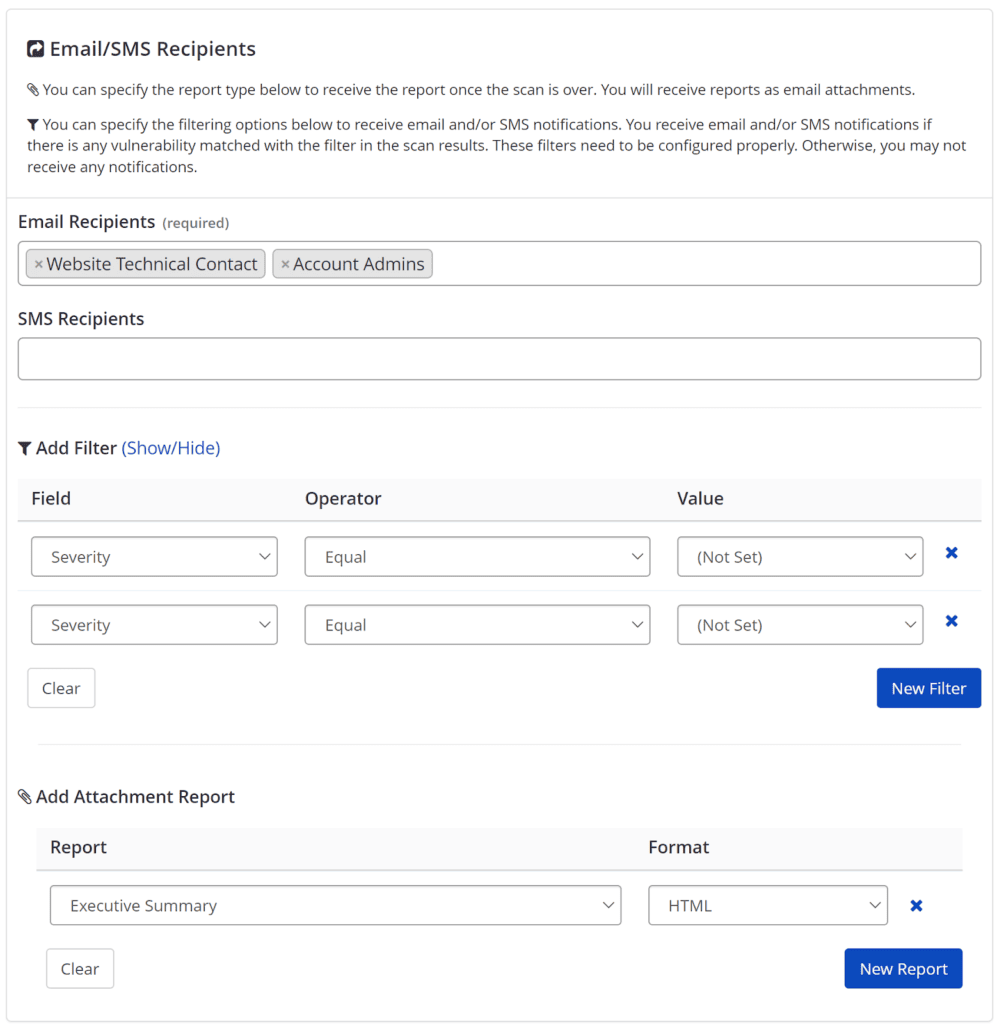
- In the Email/SMS Recipients section, configure the following:
- In the Email Recipients field, select or enter a recipient. You can add any recipients
- In the SMS Recipients field, select or enter a recipient
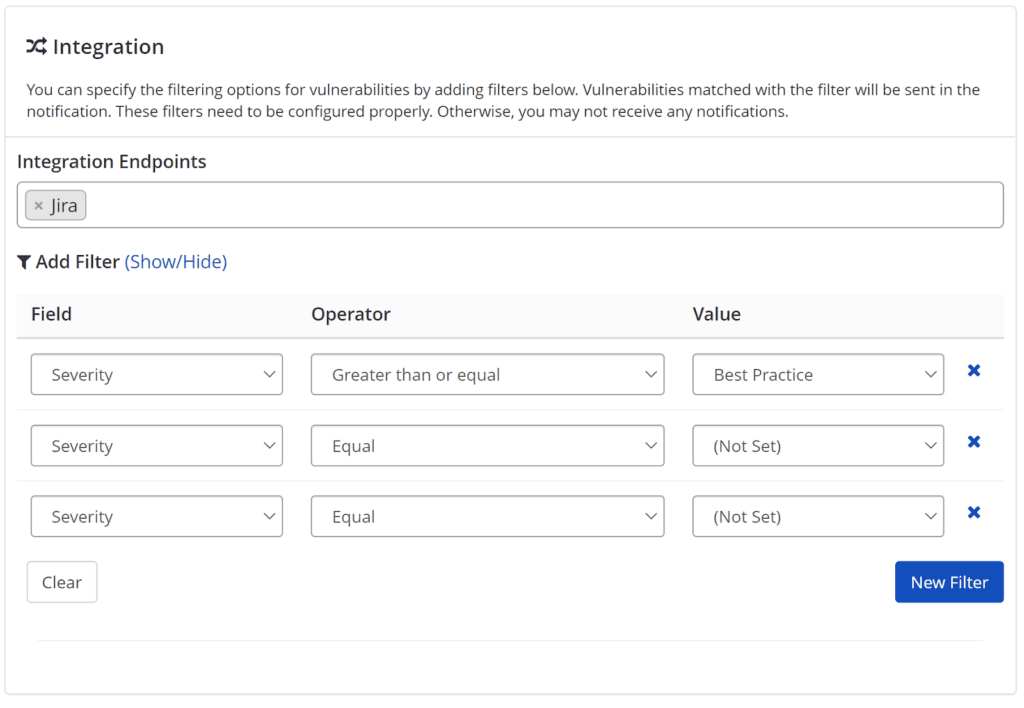
- If you selected Scan Completed from the Event drop-down, the Add Filter and Add Attachment Report options are activated. Set your filters, if required.
-
In the Excluded Recipients field, select and enter a recipient.
-
In the Integration Endpoints field, select an integration.
- Select Save.
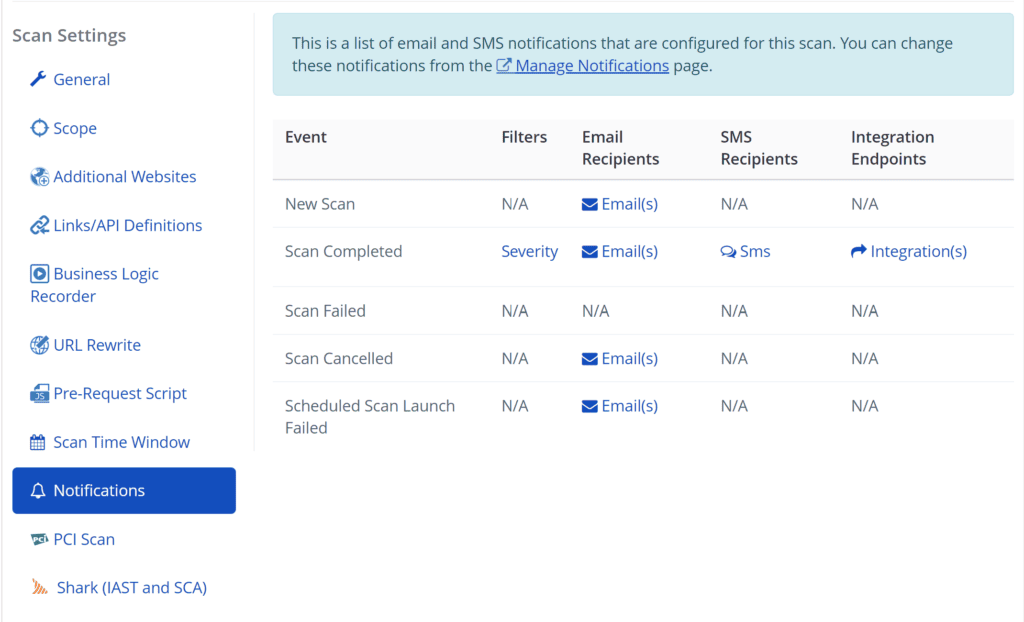
After configuring your notification, start a scan. For further information, see Creating a new scan external documentation. While creating a scan, you can check the notifications from the Scan Settings, so you can be sure that the scan is configured properly.
Once the scan is complete, Invicti creates tickets in your issue tracking system.
Once properly configured, Invicti Enterprise will automatically create tickets in your issue tracking system for each vulnerability found during scans, streamlining your vulnerability management process.
You can verify notification settings are properly configured by checking the Scan Settings when creating a new scan to ensure notifications are enabled.
Need help?
Invicti Support team is ready to provide you with technical help. Go to Help Center