Overview of Scan Profiles in Invicti Enterprise
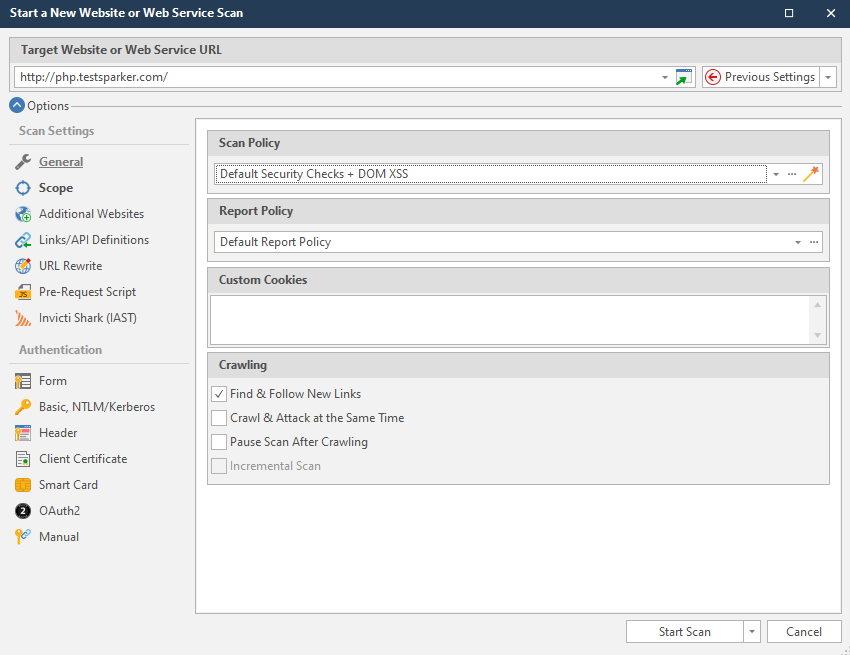
As you launch web application security scans in Invicti Enterprise, you can configure the scan settings manually. But, since many scans are necessary, it would be inefficient to manually configure the same settings each time. Scan Profiles enable you to save scan settings for future scans. Scan Profiles can be reconfigured at any time.
Scan profile settings
These are the scan settings you can add to a scan profile:
- Target URL
- Scan Policy
- Report Policy
- Custom Cookies
- Crawling Information
- Scan Scope and Excluded URLs
- Additional Websites
- Imported Links
- URL Rewrite
- Scan Time Window
- Notifications
- PCI Scans
- Authentication Settings
- Scan Tags
Scan Profiles apply only to single website scans. They cannot be used for group or multiple website scans.
For more information on scan profiles in Invicti Enterprise, refer to Configuring Scan Profiles in Invicti Enterprise.
How to view and filter scan profiles
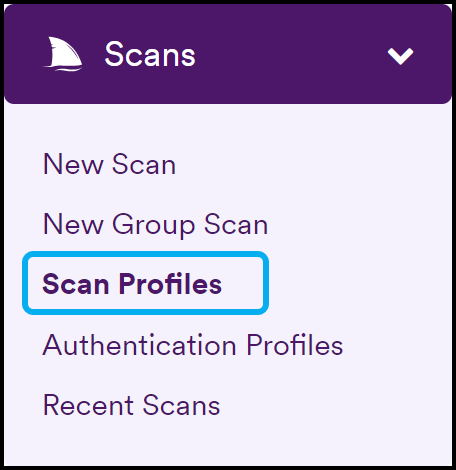
- Select Scans > Scan Profiles from the left-side menu.
- All scan profiles are now displayed. To filter the information, select the search icon next to any header column.
- Select Clear to clear all fields.
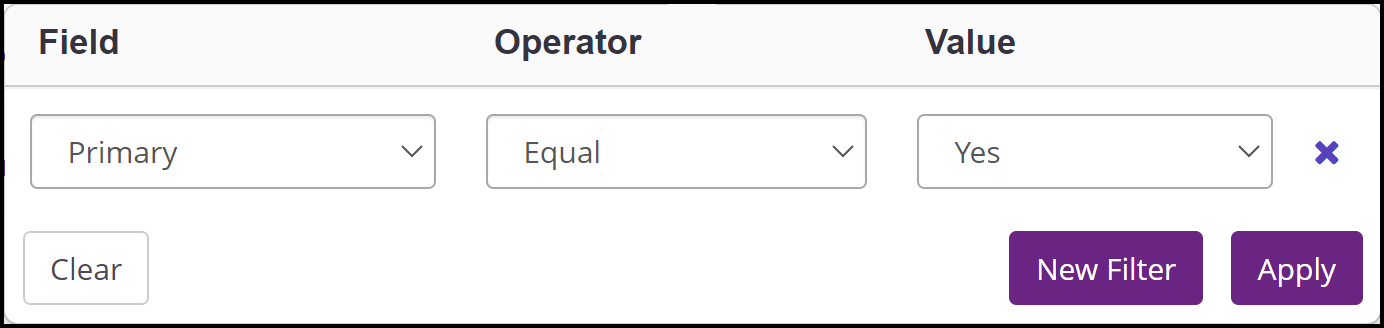
- Click New Filter.
- Set the Field, Operator, and Value fields according to the filter you want to create. Refer to the filtering scan profiles section in this document for more information.
- Select Apply.
The scan profiles page updates and displays information according to the filter you set.
Filtering scan profiles
All columns can be filtered, using a highly customizable combination of Fields, Operators, and Values. Each is explained below. This is useful for teams that manage the security of many websites.
Filters & Values
This table lists the filters and values available. In many cases, values can be entered into the value field; in others, the value can be selected from a drop-down menu. You can enter more than one filter at a time.
| Field | Description | Value |
|---|---|---|
| Name | Select to filter scan profiles by name. | Enter a value. |
| Target URL | Select to filter scan profiles by Target URL. | Enter a value. |
| Primary | Select to filter scan profiles by their status. | The drop-down options are: - (Not Set) - Yes - No |
| Shared | Select to filter scan profiles by their status. | The drop-down options are: - (Not Set) - Yes - No |
| Mine | Select to filter scan profiles by their creators. | The drop-down options are: - (Not Set) - Yes - No |
| Tags | Select to filter scan profiles by tags. | Enter a value. |
| Scan Policy | Select to filter scan profiles by scan policies. | Enter a value. |
Operator
This table lists and explains the Operators available for filtering columns. They work in conjunction with the Fields and Values.
| Operator | Description |
|---|---|
| Equal | This operator can be used for exact matching. |
| Not Equal | This operator can be used to exclude some results based on exact matching. |
| Contains | This operator can be used to include results if the filtered column contains the value. It does not matter where the value is. For example, you could filter for the word 'production'. |
| Not Contains | This operator can be used to exclude certain results. It does not matter where the value is. |
| Starts with | This operator can be used to filter for columns that begin with the value. |
| Ends with | This operator can be used to filter for columns that end with the value. |
Need help?
Invicti Support team is ready to provide you with technical help. Go to Help Center