Package: Invicti AppSec Core (on-demand)
Microsoft Azure Mail Integration
Microsoft Azure Mail enables sending email notifications through Microsoft's cloud infrastructure using Azure Active Directory (Microsoft Entra ID) OAuth authentication and the Microsoft Graph API. The Invicti AppSec integration with Microsoft Azure Mail allows security teams to receive real-time email notifications about vulnerability events — such as new critical findings, scan completions, or status changes — without requiring traditional SMTP credentials.
Purpose in Invicti AppSec
Microsoft Azure Mail is used in Invicti AppSec as a Notification Tool — enabling automated security event email notifications via Microsoft's cloud email infrastructure.
| Use Case | Description |
|---|---|
| Vulnerability notifications | Receive email alerts when new vulnerabilities are discovered or when severity thresholds are crossed |
| Scan completion alerts | Get notified by email when a security scan completes |
| Status change updates | Receive email updates when vulnerability statuses change (e.g., opened, resolved, re-opened) |
Where It Is Used
| Page | Navigation Path | Purpose |
|---|---|---|
| Integrations — Notification Tools | Integrations › Notification Tools | Admin activation and global configuration |
| Project Settings | Project › Settings › Alerts | Link Microsoft Azure Mail to a specific project for project-level notifications |
Prerequisites
Before activating the integration, register an application in Azure and gather the following credentials:
| Field | Description | Required |
|---|---|---|
| Tenant ID | The Azure Active Directory (Microsoft Entra ID) tenant ID | Yes |
| Client ID | The Application (client) ID of the registered Azure app | Yes |
| Client Secret | A client secret generated for the registered Azure app | Yes |
| From | The sender email address (must be a mailbox in your Microsoft 365 tenant) | Yes |
| To | The recipient email address where notifications will be delivered | Yes |
How to Obtain Credentials (on the Azure Side)
Step 1 — Register an Azure Application:
- Sign in to the Azure portal.
- Navigate to Microsoft Entra ID (formerly Azure Active Directory) › App registrations.
- Click New registration.
- Enter a name (e.g.,
invicti-aspm-mail), select Accounts in this organizational directory only, and click Register.
Tenant ID and Client ID:
- After registering the app, go to its Overview page.
- Copy the Directory (tenant) ID → this is your Tenant ID.
- Copy the Application (client) ID → this is your Client ID.
Client Secret:
- In the app registration, go to Certificates & secrets.
- Under Client secrets, click New client secret.
- Enter a description (e.g.,
invicti-aspm) and set an expiry period. - Click Add and immediately copy the generated Value — it will not be shown again.
API Permissions:
To allow the app to send emails, you must grant it the Microsoft Graph Mail.Send application permission:
- In the app registration, go to API permissions.
- Click Add a permission › Microsoft Graph › Application permissions.
- Search for and select Mail.Send.
- Click Add permissions.
- Click Grant admin consent for [your tenant] and confirm.
From (Sender Email):
- The sender address must be a valid mailbox in your Microsoft 365 tenant (e.g.,
notifications@acme.com). The registered app must haveMail.Sendpermission to send on behalf of this mailbox.
Activation Steps
Step 1: Navigate to Integrations
From the left sidebar, click Integrations.
Step 2: Open the Notification Tools Tab
On the Integrations page, click the Notification Tools tab.
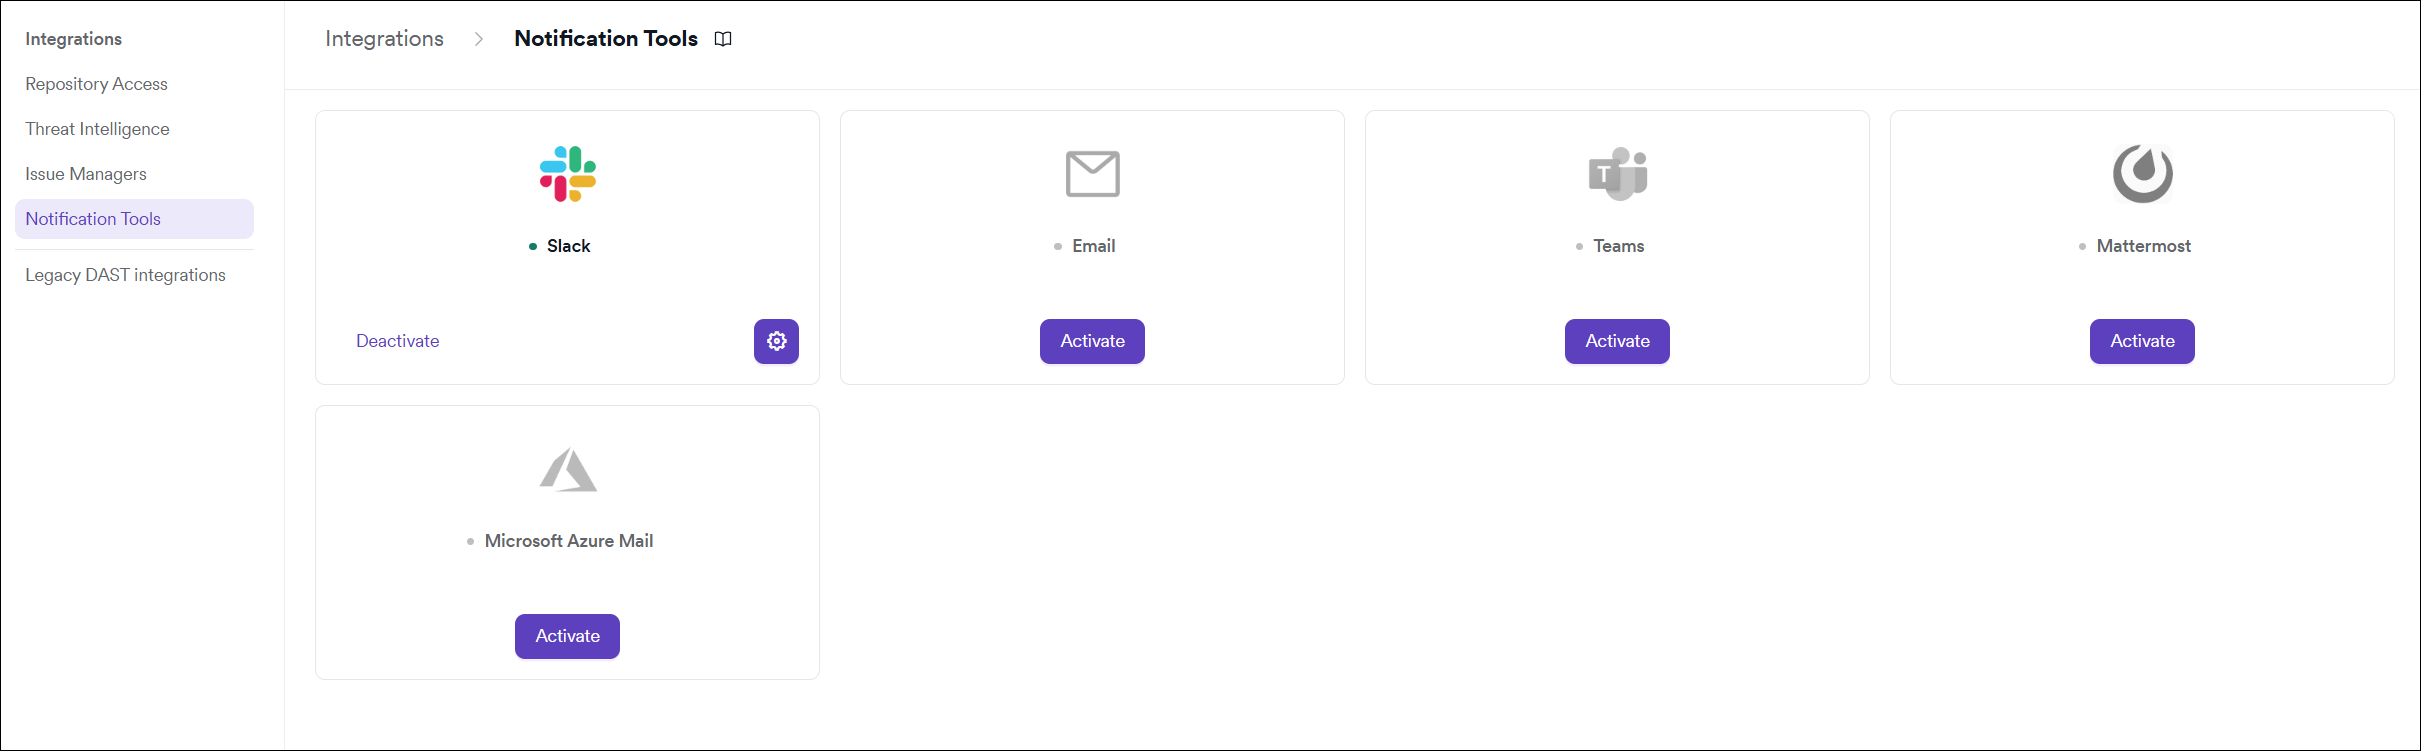
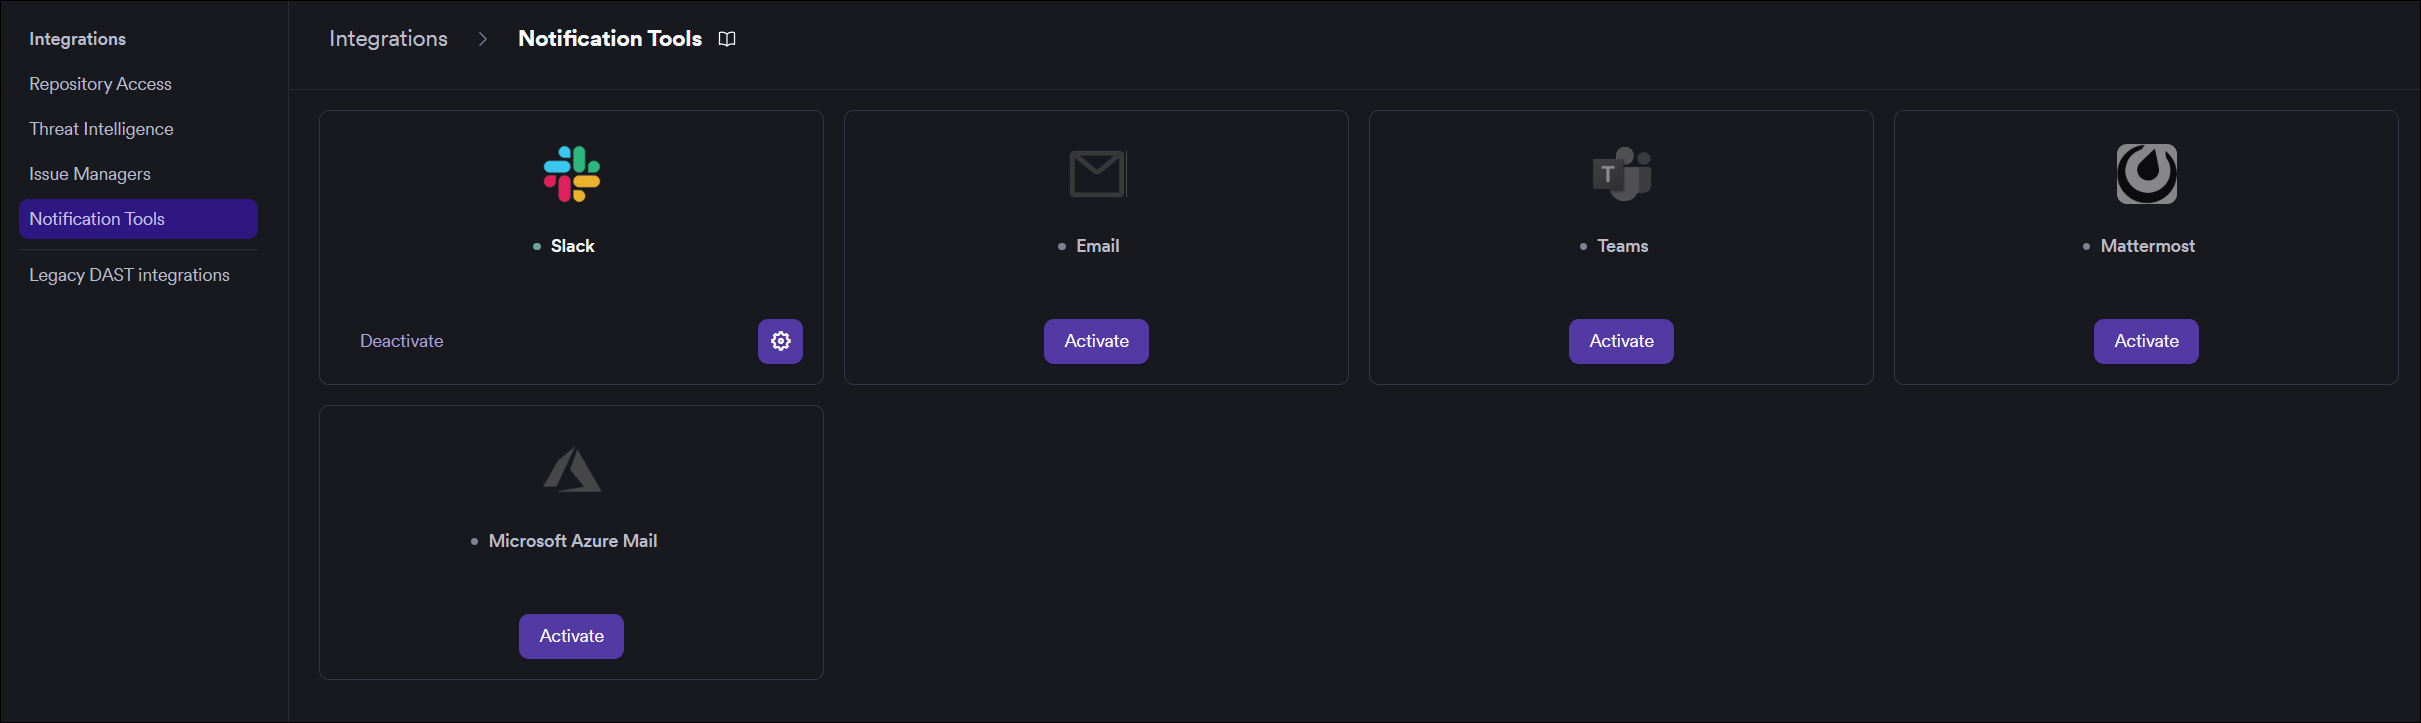
Step 3: Find and Activate Microsoft Azure Mail
Locate the Microsoft Azure Mail card.
- If it is not yet activated, click Activate to open the settings drawer.
- If it is already activated, click the gear icon to open the settings drawer and reconfigure.
Step 4: Fill In the Required Fields
In the settings drawer, enter the following:
| Field | Description | Required |
|---|---|---|
| Tenant ID | Your Azure Active Directory tenant ID | Yes |
| Client ID | Your registered application's client ID | Yes |
| Client Secret | The client secret generated for your Azure app | Yes |
| From | The sender email address (e.g., notifications@acme.com) | Yes |
| To | The recipient email address for notifications (e.g., security-team@acme.com) | Yes |
Step 5: Test the Connection
Click Test Connection. A green "Connection successful" message confirms that Invicti AppSec can authenticate with Azure and send emails using the provided credentials.
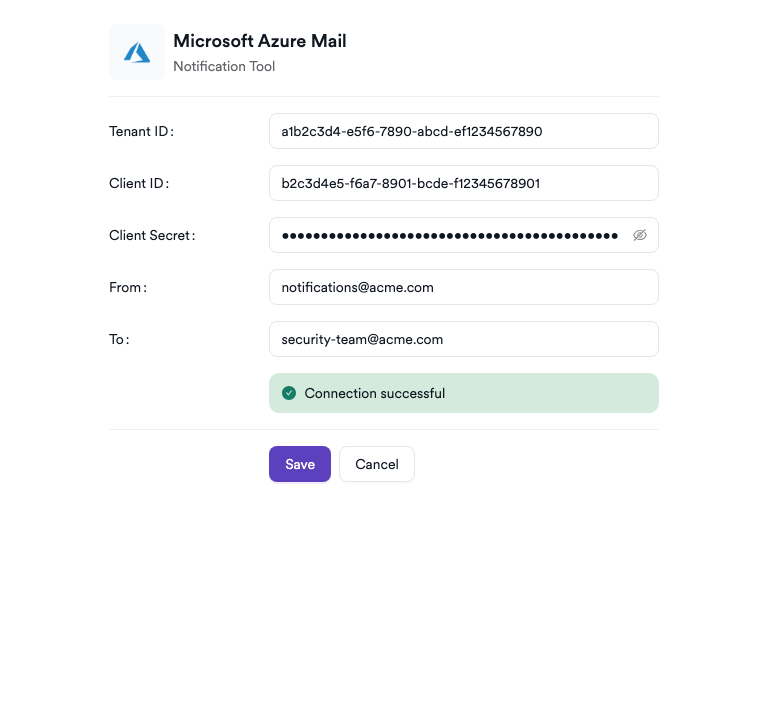
Step 6: Save
Click Save to complete the activation.
Summary
| Step | Action |
|---|---|
| 1 | Navigate to Integrations from the sidebar |
| 2 | Select the Notification Tools tab |
| 3 | Find Microsoft Azure Mail and click Activate (or the gear icon) |
| 4 | Enter Tenant ID, Client ID, Client Secret, From, and To |
| 5 | Click Test Connection — verify the success message |
| 6 | Click Save |
Troubleshooting
| Issue | Resolution |
|---|---|
| Connection failed | Verify that the Tenant ID, Client ID, and Client Secret are correct and that the Azure app registration is active. |
| Client secret expired | Client secrets have an expiry date. Generate a new secret in Azure and update the configuration in Invicti AppSec. |
| 401 Unauthorized | Ensure the Client ID and Client Secret match the registered application and that admin consent has been granted for the Mail.Send permission. |
| 403 Forbidden / Mail.Send not granted | The app does not have the Mail.Send application permission or admin consent has not been given. Re-check the API permissions in the Azure app registration. |
| Sender address not authorized | The From address must be a valid mailbox in your Microsoft 365 tenant. Shared mailboxes are also supported if the app has the required permissions. |
| Tenant ID not found | Verify the tenant ID matches the Directory (tenant) ID shown in the app registration's Overview page. |
Need help?
Invicti Support team is ready to provide you with technical help. Go to Help Center