Generating FortiWeb WAF Rules from Invicti Standard
FortiWeb protects web applications from attacks that target known and unknown vulnerabilities. FortiWeb takes a comprehensive approach to protecting web applications, including IP reputation, DDoS protection, protocol validation, application attack signatures, bot mitigation, and more to defend your application against a wide range of threats, including the OWASP Top 10.
If you can't immediately fix all vulnerabilities that Invicti has detected, you can cover them up and defer fixing them until another time. This is achieved by exporting Invicti’s findings as rules for the FortiWeb WAF.
This topic explains how to configure Invicti Standard to send a detected vulnerability to FortiWeb WAF.
For further information, see Web Application Firewalls.
FortiWeb WAF Fields
| Field | Description |
|---|---|
| Add | Click to add an integration. |
| Delete | Click to delete the integration and clear all fields. |
| Test Settings | Click to confirm that Invicti Standard can connect to the configured system. |
| Action | This section contains general fields about the Send To Action. |
| Display Name | This is the name of the configuration that will be shown on menus. |
| Mandatory | This section contains fields that must be completed. |
| Server Address | This is the name or IP address of the FortiWeb server, starting with http(s) and containing a port value. The default port value is 90. |
| Username | This is the username. |
| Password | This is the password of the user. |
| Policy Name | This is the policy name. |
How to Configure FortiWeb WAF Rules in Invicti Standard
- Open Invicti Standard.
- From the Home tab on the ribbon, click Options. The Options dialog is displayed.
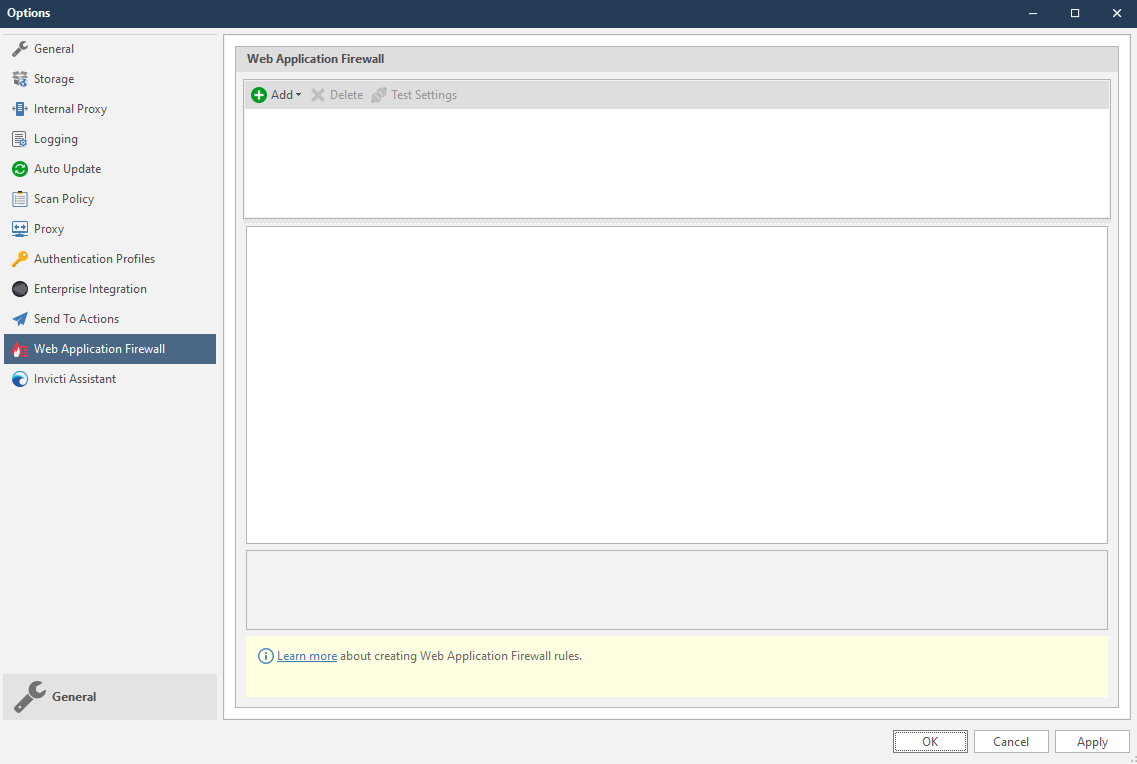
- Click Web Application Firewall.
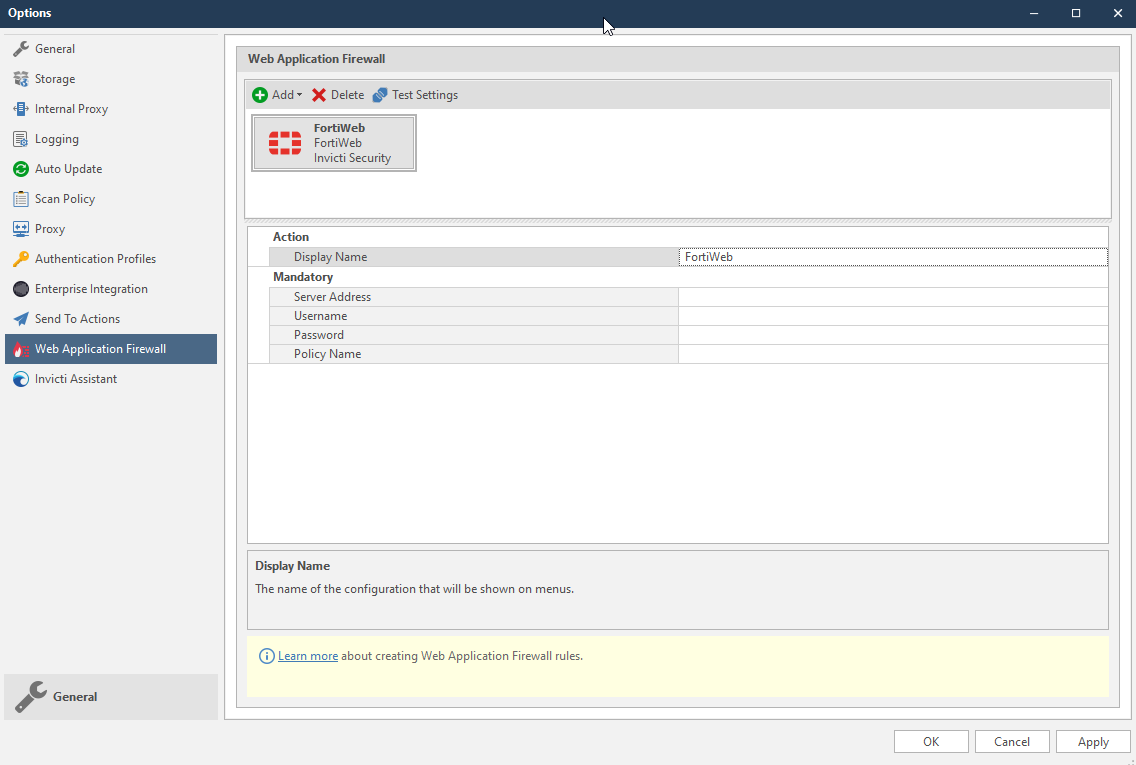
- From the Add dropdown, select FortiWeb. The FortiWeb fields are displayed.

- In the Mandatory section, complete the connection details:
- Server Address
- Username
- Password
- Policy Name
For information on the Policy, see Configuring an HTTP server policy and Configuring a protection profile for inline topologies.
- Click Test Settings to confirm that Invicti Standard can connect to the configured system and validate the configuration details. The WAF Settings Test dialog is displayed to confirm that the settings have been validated.
How to Generate FortiWeb WAF Rules from Invicti Standard Scan Results
- Open Invicti Standard.
- From the ribbon, select the File tab. Local Scans are displayed. Double-click the relevant scan to display its results.
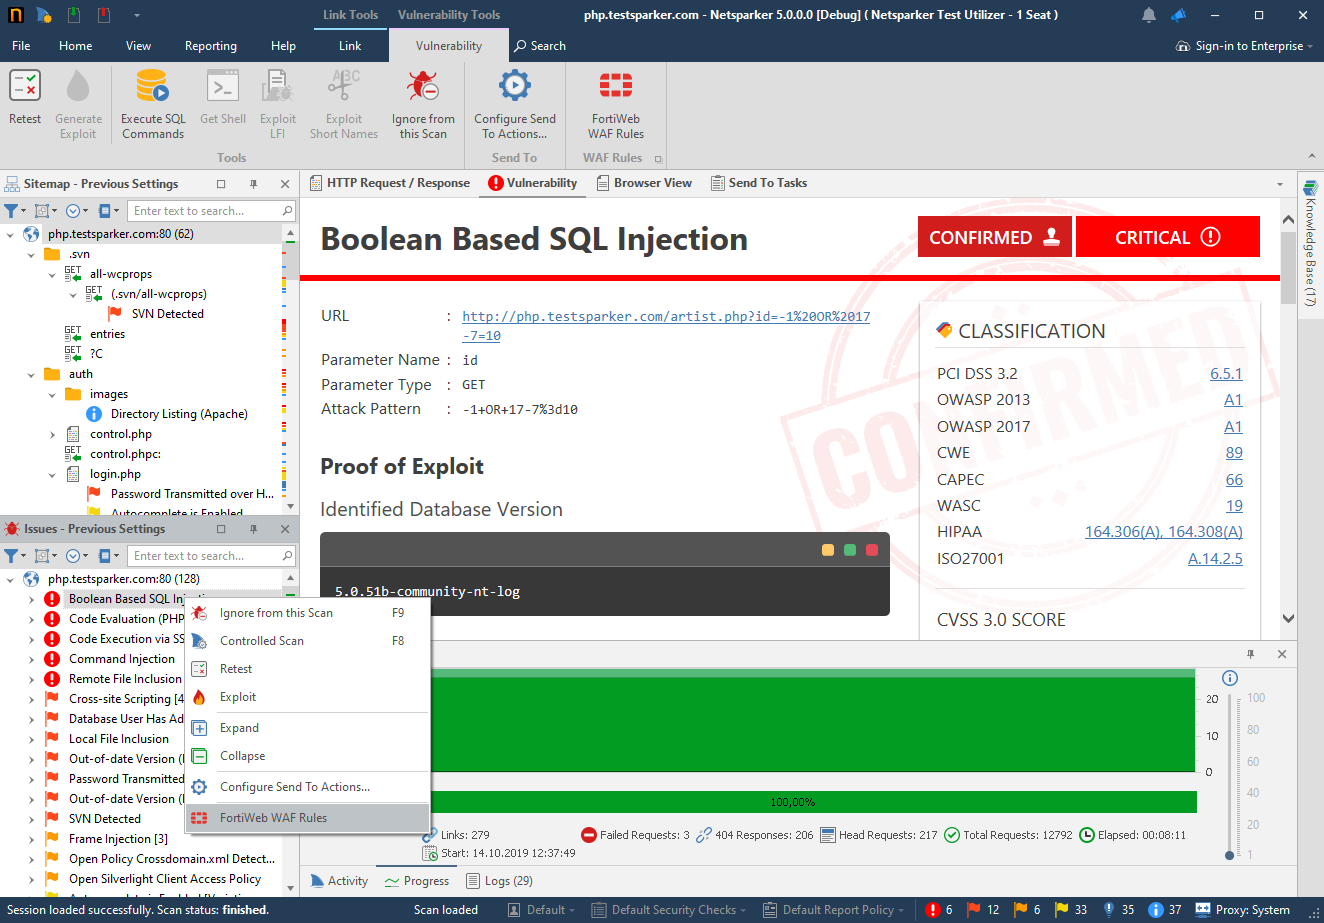
- In the Issues panel, right click the vulnerability you want to export and select FortiWeb WAF Rules. (Alternatively, from the ribbon, click the Vulnerability tab, then FortiWeb WAF Rules.) A confirmation message and link is displayed at the bottom of the screen.
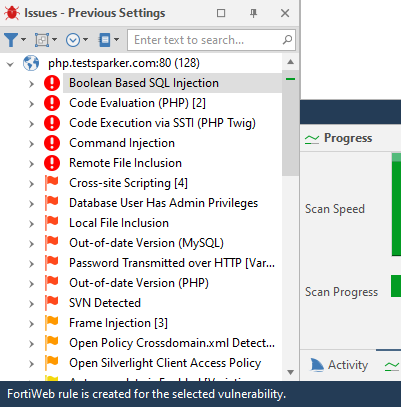
- FortiWeb rule is created for the selected vulnerability message is displayed when the rule is created successfully.
- The rule is automatically created in the FortiWeb WAF. You can view it in FortiWeb WAF’s Custom Policy menu in the Custom Rules tab.
- To retest the vulnerability from the ribbon in Invicti Standard, click the Vulnerability tab, then Retest. If the WAF blocks the request, Invicti will display a message: Vulnerability seems to be fixed and removed from the report.
Since FortiWeb does not provide an option for the request body, Invicti blocks the request method and URL. This causes non-vulnerable requests to be blocked.
Need help?
Invicti Support team is ready to provide you with technical help. Go to Help Center