Generating Amazon Web Services WAF Rules From Invicti
Amazon Web Services Web Application Firewall (AWS WAF) enables you to monitor the HTTP and HTTPS requests that are forwarded to an Amazon CloudFront, Application Load Balancer or API Gateway. With AWS WAF, you can create rules for traffic to allow or block requests. This function is only available in Invicti Standard.

If you can't immediately fix all vulnerabilities that Invicti has detected, you can cover them up and defer fixing them until another time. This is achieved by exporting Invicti’s findings as rules for the AWS WAF.
Since AWS WAF has limits for Regex patterns, be careful not to exceed them, otherwise Invicti cannot create the rule.For more information about AWS WAF, see AWS WAF, AWS Firewall Manager, and AWS Shield Advanced and AWS WAF Limits.
See the Web Application Firewalls before reading this document. It describes WAF rule creation process and how to configure Auto WAF Rule.
This topic explains how to configure Invicti Standard to send a detected vulnerability to AWS WAF.
AWS WAF Fields
The table lists and describes the AWS WAF fields in the Web Application Firewall tab.
| Field | Description |
|---|---|
| Add | Click to add an integration. |
| Delete | Click to delete the integration and clear all fields. |
| Test Settings | Click to confirm that Invicti Standard can connect to the configured system. |
| Action | This section contains general fields about the Send To Action. |
| Display Name | This is the name of the configuration that will be shown on menus. |
| Mandatory | This section contains fields that must be completed. |
| Access Key | This is the access key of the user. |
| Secret Key | This is the secret key of the user. |
| Web ACL ID | This is the Web Access List Control identifier. |
| Optional | This section contains optional fields. |
| Region | This is the region name, where the Web ACL is located. |
How to Configure AWS WAF Rules in Invicti Standard
- Open Invicti Standard.
- From the Home tab on the ribbon, click Options. The Options dialog is displayed.
- Click Web Application Firewall.
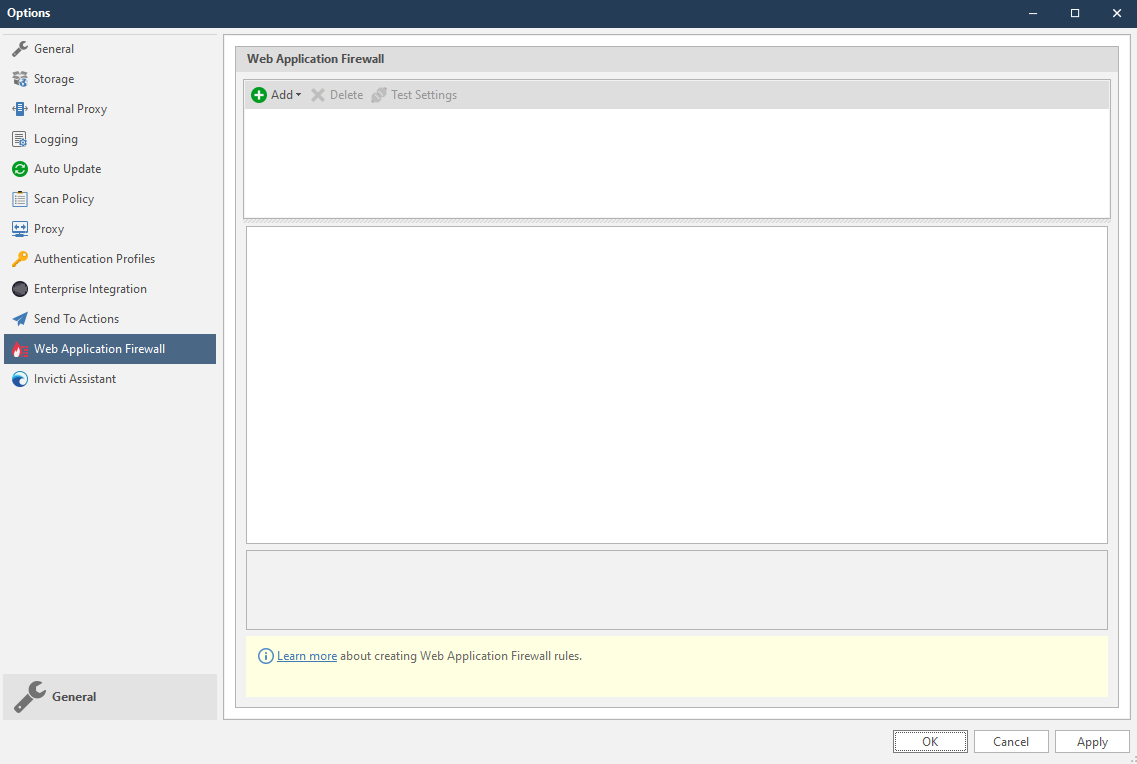
- From the Add dropdown, select AWS. The AWS fields are displayed.
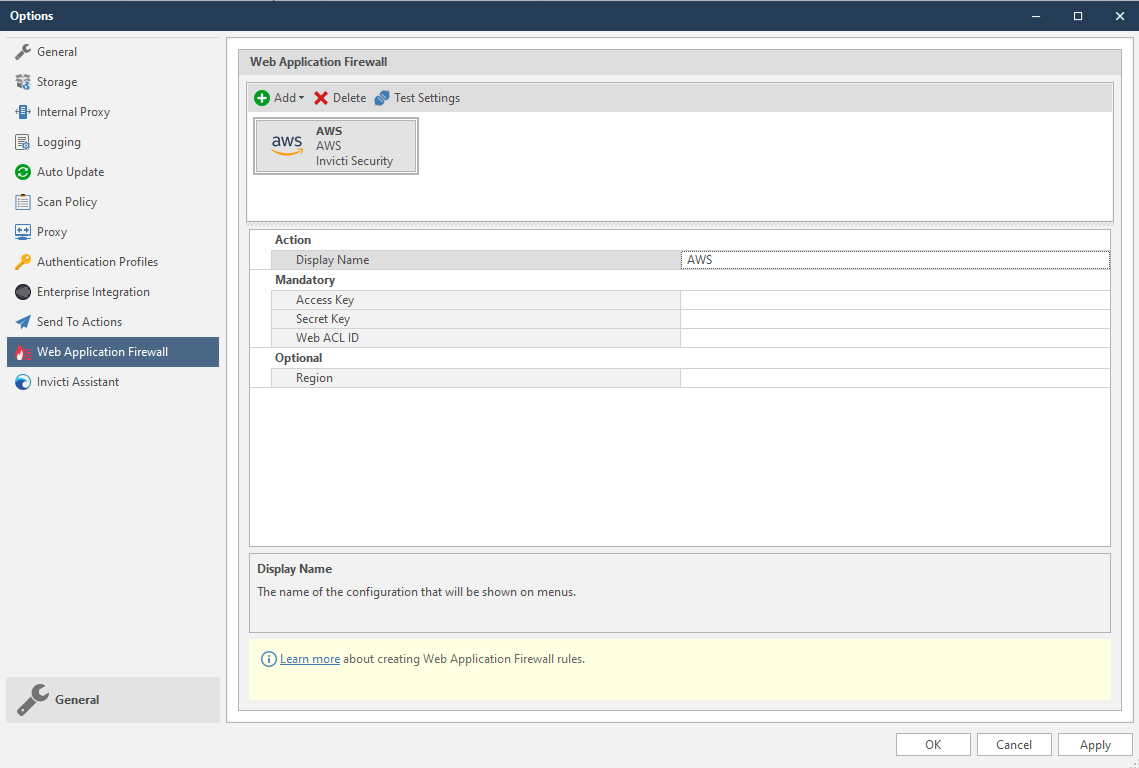
- In the Mandatory section, complete the connection details:
- Access Key
- Secret Key
- Web ACL ID
- In the Optional settings you can specify:
- Region
See the link for AWS Regions https://docs.aws.amazon.com/general/latest/gr/rande.html#apigateway_region
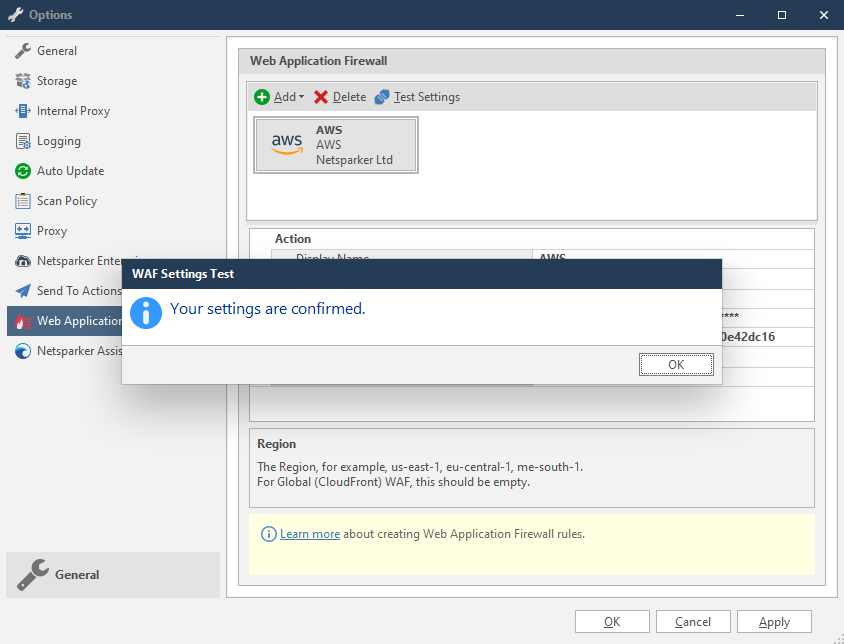
- Click Test Settings to confirm that Invicti Standard can connect to the configured system and validate the configuration details. The WAF Settings Test dialog is displayed to confirm that the settings have been validated.
How to Generate AWS WAF Rules from Invicti Standard
- Open Invicti Standard.
- From the ribbon, select the File tab. Local Scans are displayed. Double-click the relevant scan to display its results.
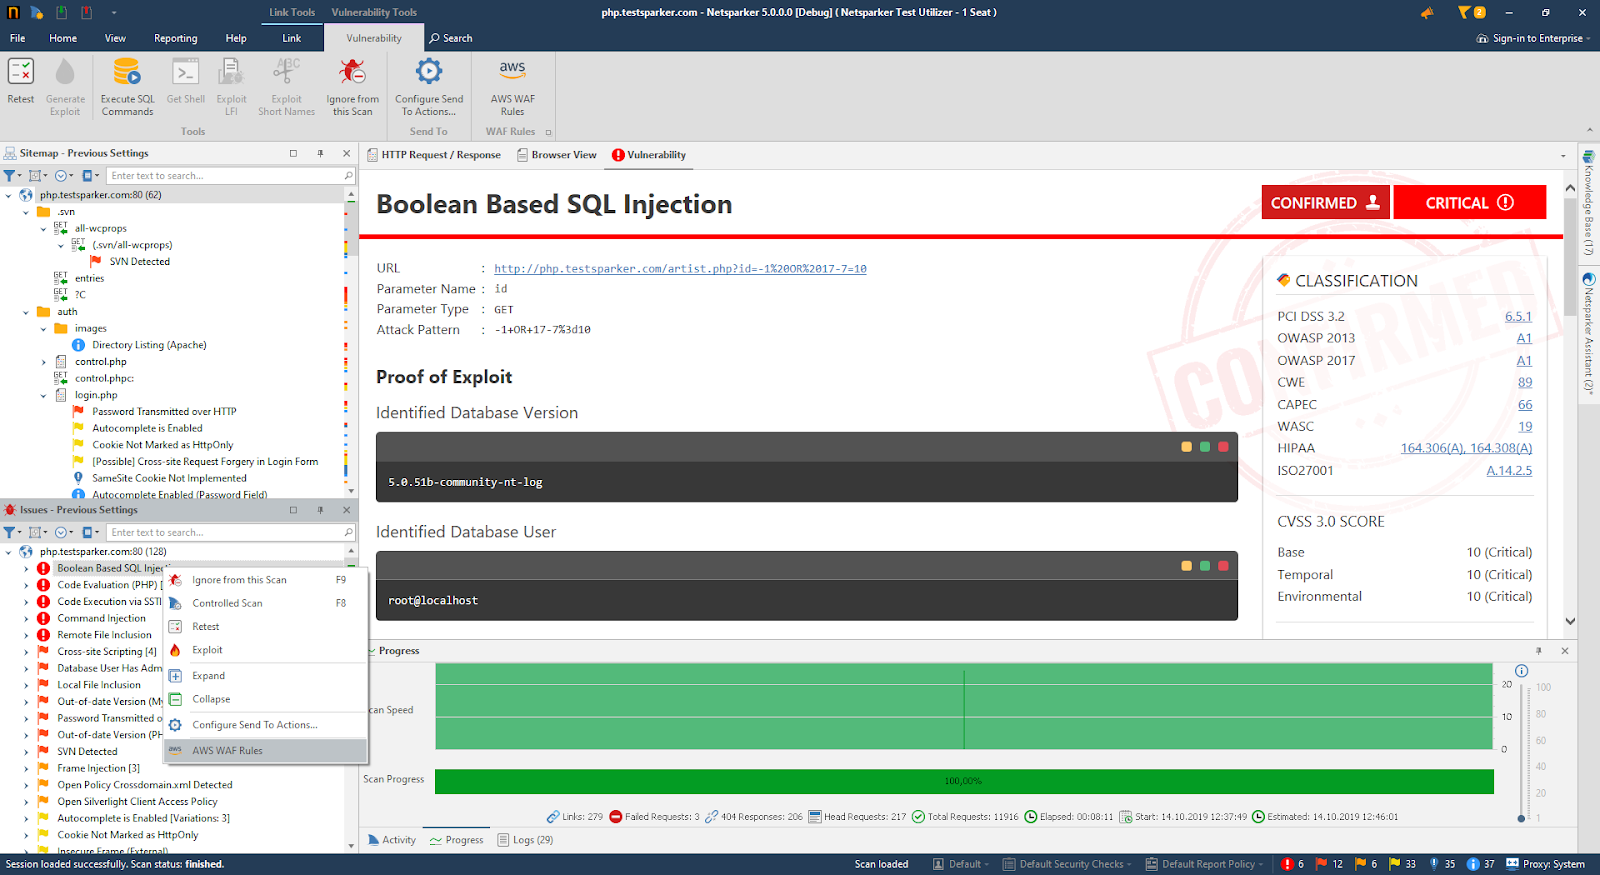
- In the Issues panel, right click the vulnerability you want to export and select AWS WAF Rules. (Alternatively, from the ribbon, click the Vulnerability tab, then AWS WAF Rules.) A confirmation message and link is displayed at the bottom of the screen.
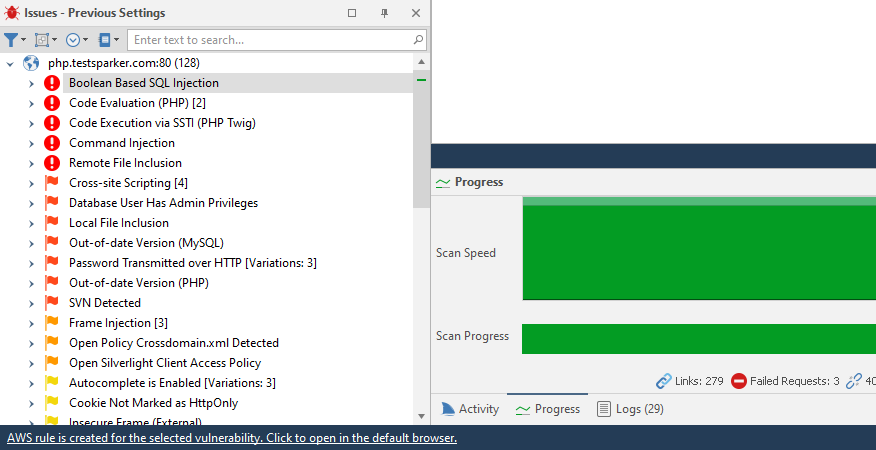
- Click the AWS rule is created for the selected vulnerability. Click to open in the default browser. link to view the newly-created rule.
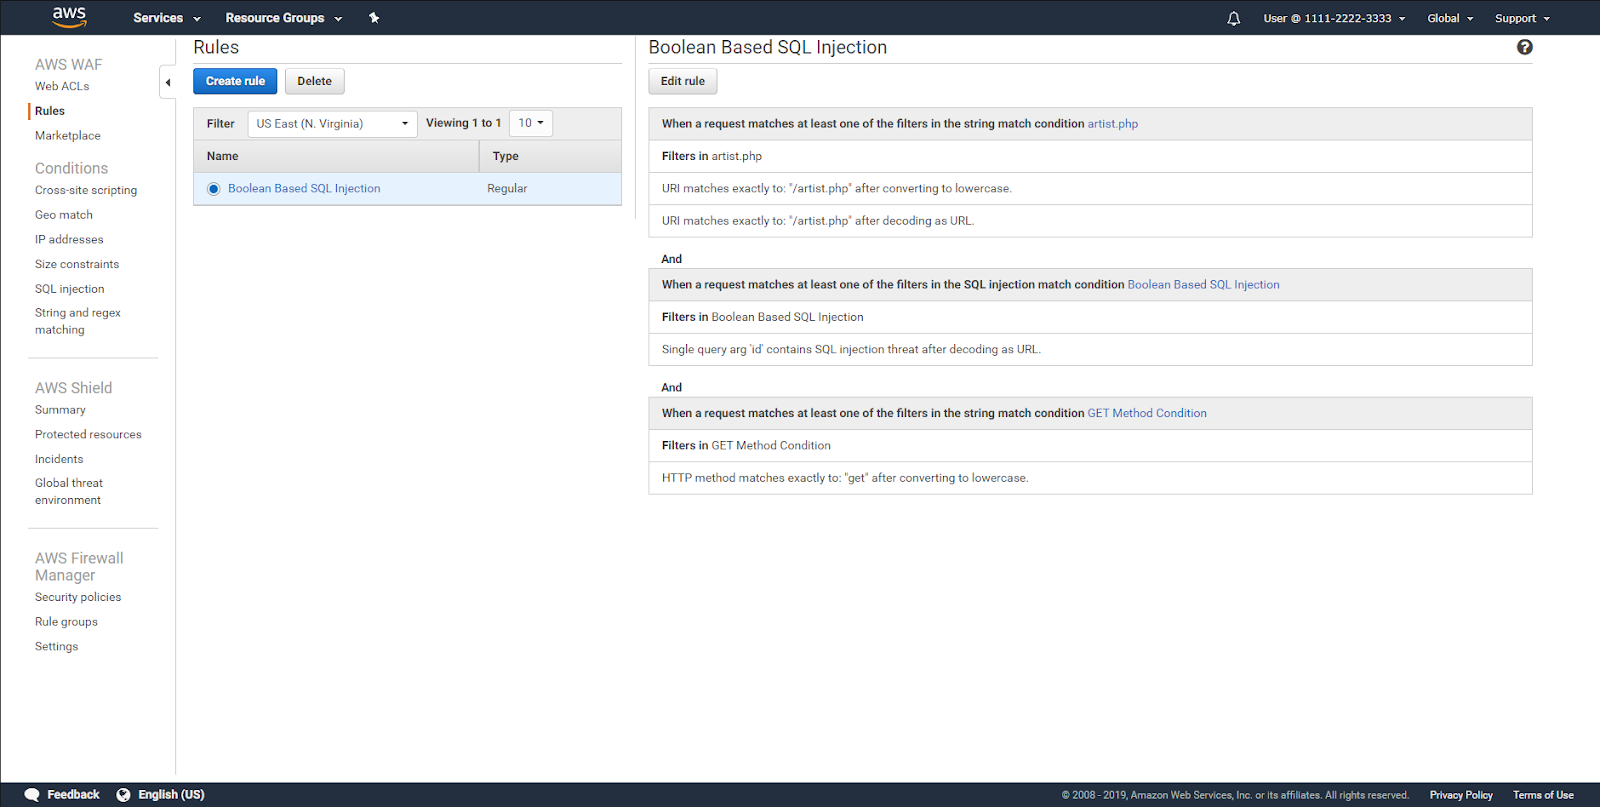
- The rule is automatically created in the AWS WAF. You can view it in AWS WAF’s Rules tab.
- Retest the vulnerability from the ribbon, click the Vulnerability tab, then Retest. If the WAF blocks the request, the status code of the response is 403-Forbidden and Invicti displays a message: Vulnerability seems to be fixed and removed from the report.
Need help?
Invicti Support team is ready to provide you with technical help. Go to Help Center