Generating Cloudflare WAF Rules from Invicti Standard
The Cloudflare WAF examines HTTP requests to your website. Cloudflare WAF is a type of reverse-proxy that means the WAF is located in front of web servers and forwards client requests to those web servers. It inspects the requests and applies rules to protect web applications from attacks, such as cross-site forgery, cross-site-scripting (XSS), file inclusion, and SQL injection.

If you can't immediately fix all vulnerabilities that Invicti has detected, you can cover them up and defer fixing them until another time. This is achieved by exporting Invicti’s findings as rules for the Cloudflare WAF.
After you import the rules, the Cloudflare WAF will then block any requests made by malicious hackers.
For further information, see Web Application Firewalls.
Cloudflare WAF Fields
The table lists and describes the Cloudflare WAF fields in the Web Application Firewall tab.
| Field | Description |
|---|---|
| Add | Click to add an integration. |
| Delete | Click to delete the integration and clear all fields. |
| Test Settings | Click to confirm that Invicti Standard can connect to the configured system. |
| Action | This section contains general fields about the Send To Action. |
| Display Name | This is the name of the configuration that will be shown on menus. |
| Mandatory | This section contains fields that must be completed. |
| Access Token | This is the access token of the user. |
| Zone ID | This is the zone identifier. |
| Optional | This section contains optional fields. |
| Allow Regex | This is the region name, where the Web ACL is located. The default setting is ‘True’. |
How to Configure Cloudflare WAF Rules in Invicti Standard
- Open Invicti Standard.
- From the Home tab on the ribbon, click Options. The Options dialog is displayed.
- Click Web Application Firewall.

- From the Add dropdown, select Cloudflare. The Cloudflare fields are displayed.
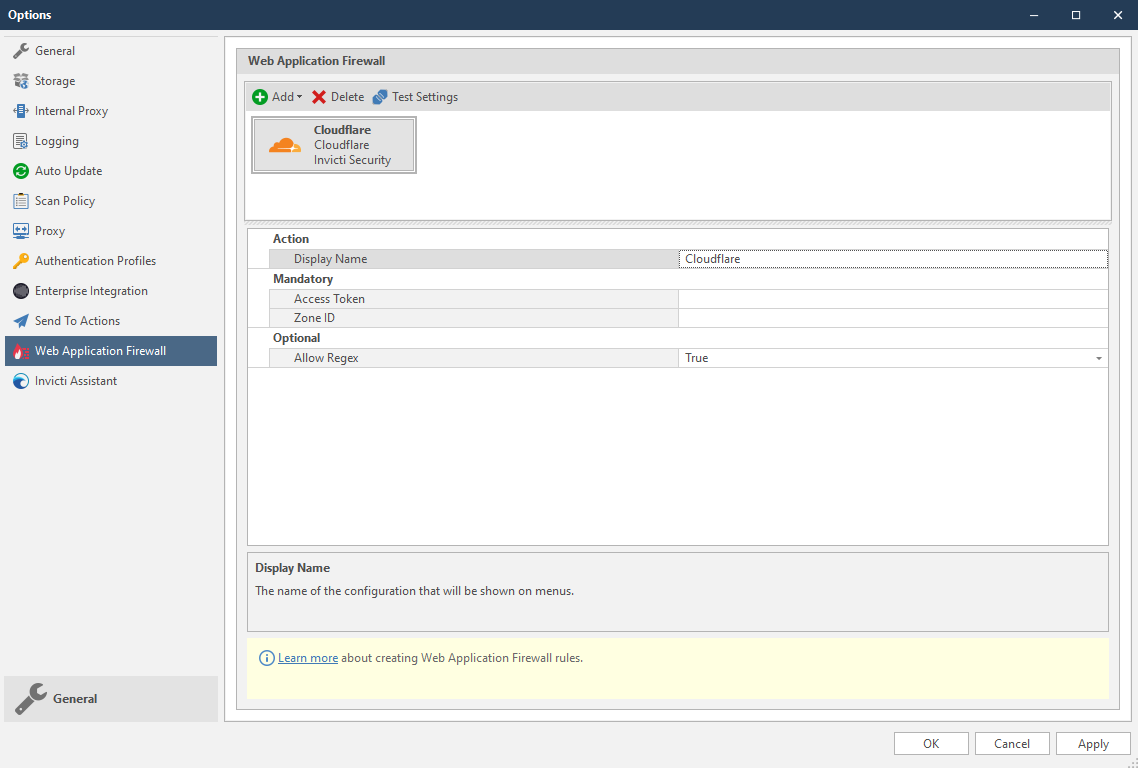
- In the Mandatory section, complete the connection details:
- Access Token
- Zone ID
- In the Optional settings you can specify:
- Allow Regex
Allow regex option enables Invicti to use regex patterns while creating rules.
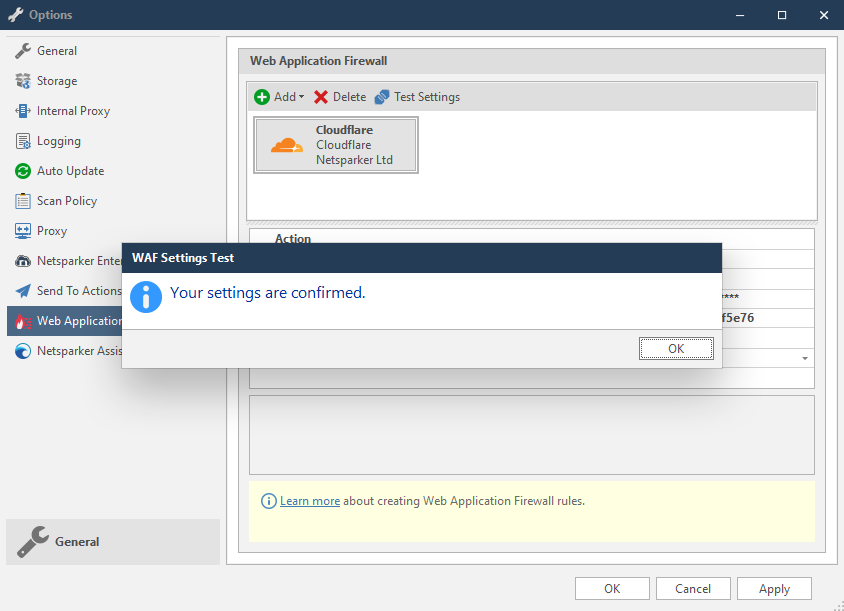
- Click Test Settings to confirm that Invicti Standard can connect to the configured system and validate the configuration details. The WAF Settings Test dialog is displayed to confirm that the settings have been validated.
How to Generate Cloudflare WAF Rules from Invicti Standard Scan Results
- Open Invicti Standard.
- From the ribbon, select the File tab. Local Scans are displayed. Double-click the relevant scan to display its results.

- In the Issues panel, right click the vulnerability you want to export and select Cloudflare WAF Rules. (Alternatively, from the ribbon, click the Vulnerability tab, then Cloudflare WAF Rules.) A confirmation message and link is displayed at the bottom of the screen.
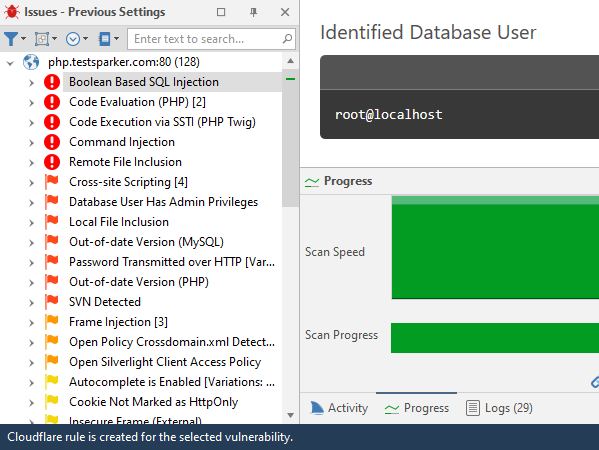
- Click the Cloudflare rule is created for the selected vulnerability link.
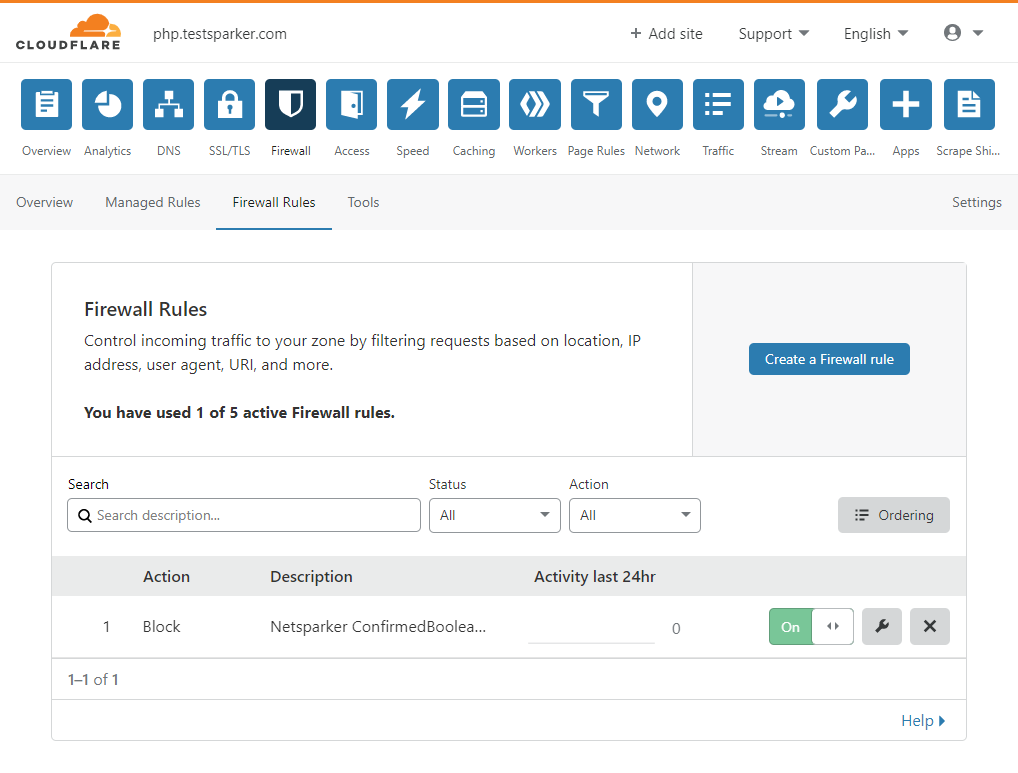
- The rule is automatically created in the Cloudflare WAF. You can view it in Cloudflare WAF’s Firewall Rules tab in the Firewall menu.
- To retest the vulnerability from the ribbon in Invicti Standard, click the Vulnerability tab, then Retest. If the WAF blocks the request, the status code of the response is '403-Forbidden' and Invicti will display a message: Vulnerability seems to be fixed and removed from the report.
Since Cloudflare does not provide an option for the request body, Invicti blocks the request method and URL. This causes non-vulnerable requests to be blocked.
Need help?
Invicti Support team is ready to provide you with technical help. Go to Help Center