Deployment: Invicti Platform on-demand, Invicti Platform on-premises
Microsoft Entra ID integration with SAML
Microsoft Entra ID (previously called Azure Active Directory) is a universal platform designed to protect and manage identities and accesses. The Entra ID service provides Single Sign-On (SSO) access to apps and services from anywhere.
This document explains how to configure Microsoft Entra ID and Invicti Platform for Single Sign-On.
Configure Entra ID with SAML
The process consists of two steps, with an optional third step to enable automatic user provisioning:
- Step 1: Add Invicti to Entra ID
- Step 2: Configure Entra ID Single Sign-On with SAML
- Step 3: Configure auto-provisioning (optional)
Step 1: Add Invicti to Entra ID
- In the Entra ID portal select Enterprise Applications.
- From the Enterprise Applications page, select + New application.
- From the Browse Microsoft Entra Gallery page, select + Create your own application.

- In the input name field on the right panel, enter a name for your application. (You can enter any name you want. This example uses Invicti.)
- Select Integrate any other application you don't find in the gallery (Non-gallery).

- Click Create to add the application. Wait for the app to be added to your tenant.
You can now configure Entra ID Single Sign-On Integration with SAML. You need an Invicti and Entra ID account to do this.
Step 2: Configure Entra ID Single Sign-On with SAML
- In Entra ID, select Enterprise Applications > Invicti.
- Select Set up single sign on, then SAML.

- Open another browser tab and log in to Invicti.
- Select Settings > SSO & provisioning from the left-side menu.
- Turn on the Enable SSO for your organization toggle.
- Select AzureAD from the SSO provider drop-down list.
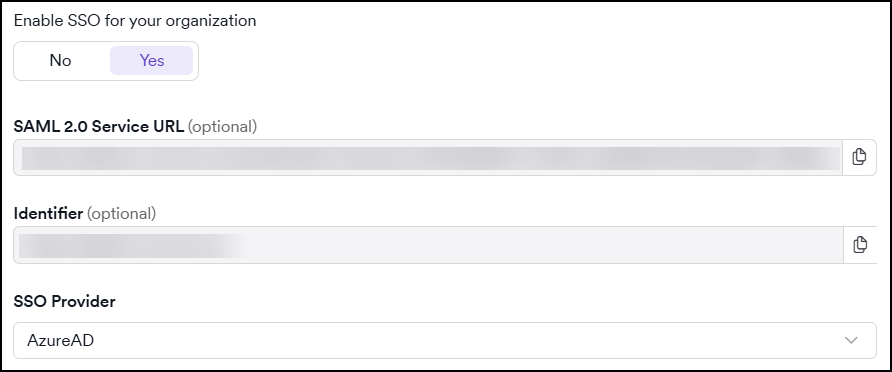
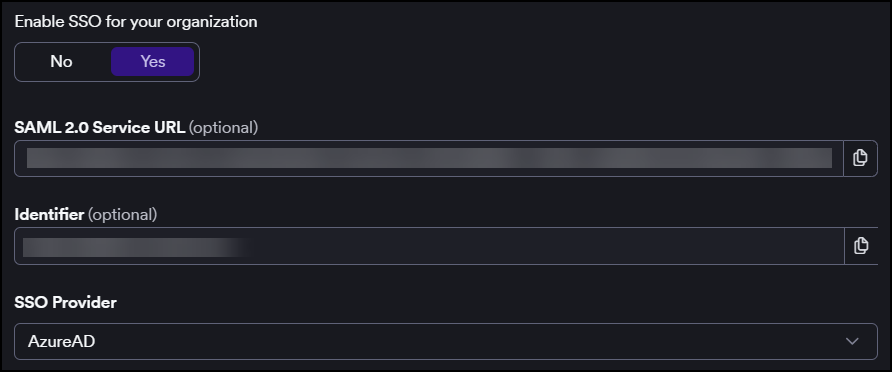
- Copy the URL from the SAML 2.0 Service URL field.
- Switch to the Entra ID browser tab and click Edit in the Basic SAML configuration section.

- Paste the copied SAML 2.0 Service URL into the Reply URL field.
- Switch to the Invicti browser tab to copy the URL from the Identifier field and paste it into the Identifier field in Entra ID.
- Click Save.
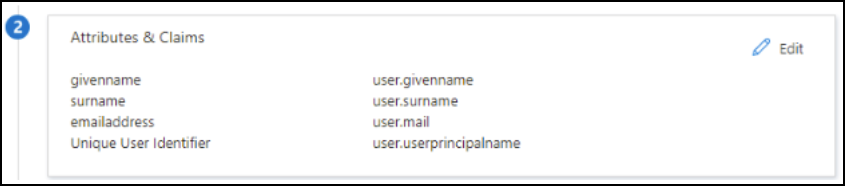
- Continue to the Attributes & Claims section to ensure it's set accordingly. Entra ID sets the following parameters by default:
- givenname - user.givenname
- surname - user.surname
- emailaddress - user.mail
- name - user.userprincipalname
- Unique User Identifier - user.userprincipalname
- In the SAML Certificates section, download the Certificate (Base64) and open the file in a text editor.
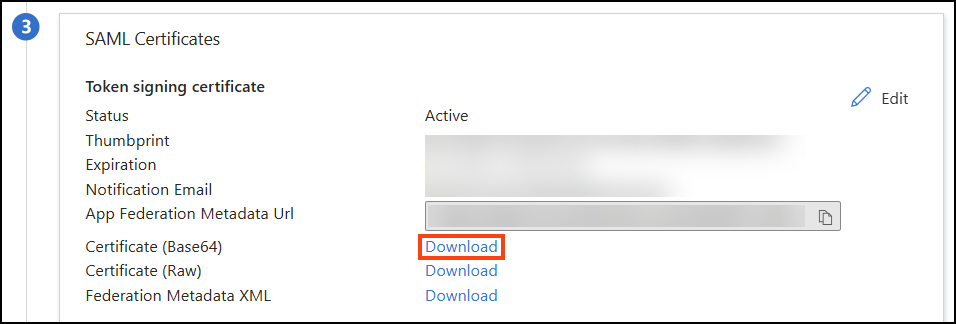
- Switch to the Invicti browser tab. Copy the certificate content from the text editor and paste it into the X.509 Certificate field.
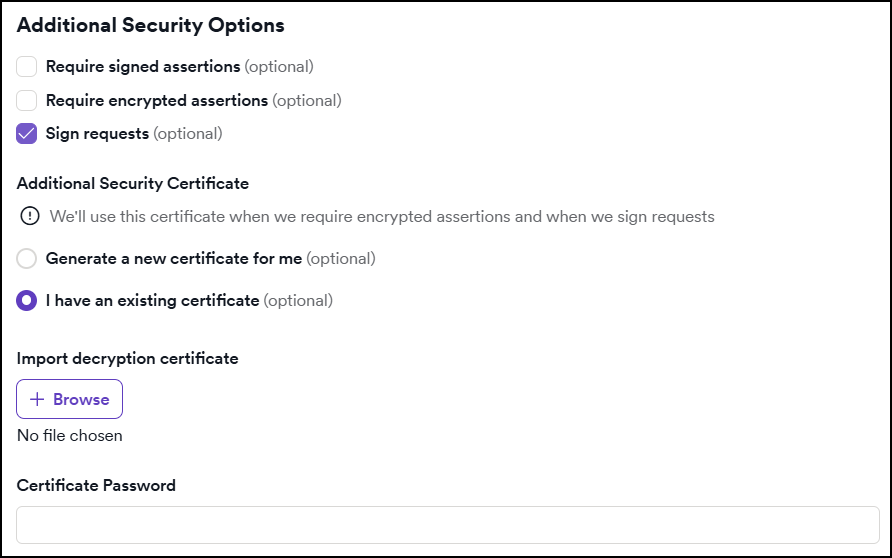
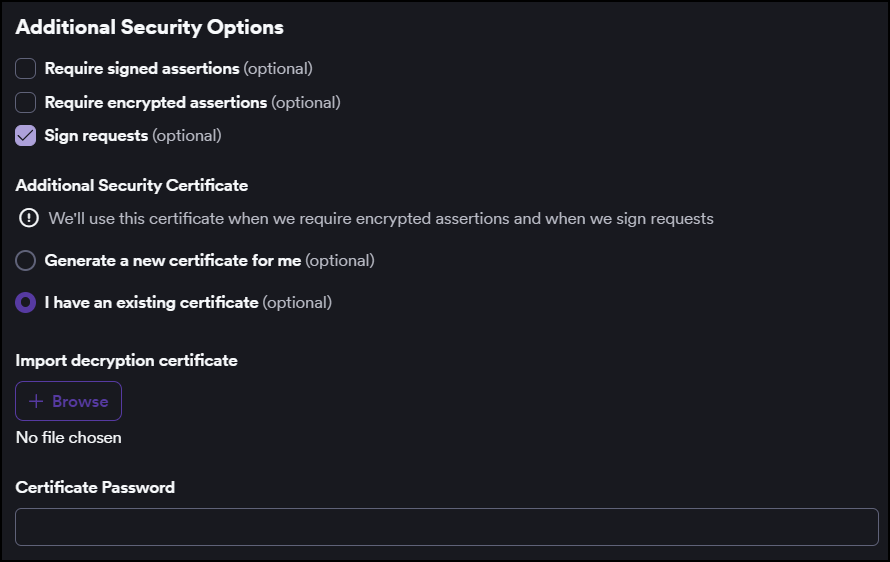
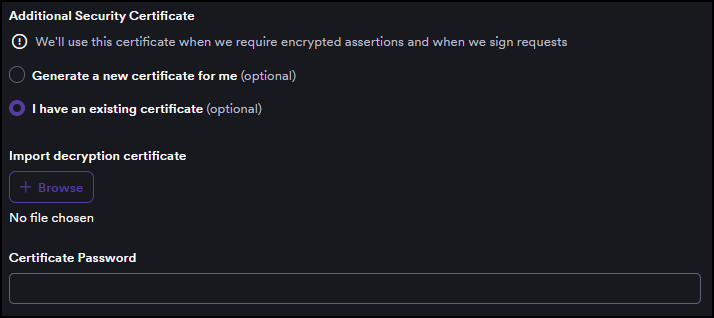
- If required, select Sign requests, then choose either:
- Generate a new certificate for me; OR
- I have an existing certificate, and upload your certificate and enter the certificate password.
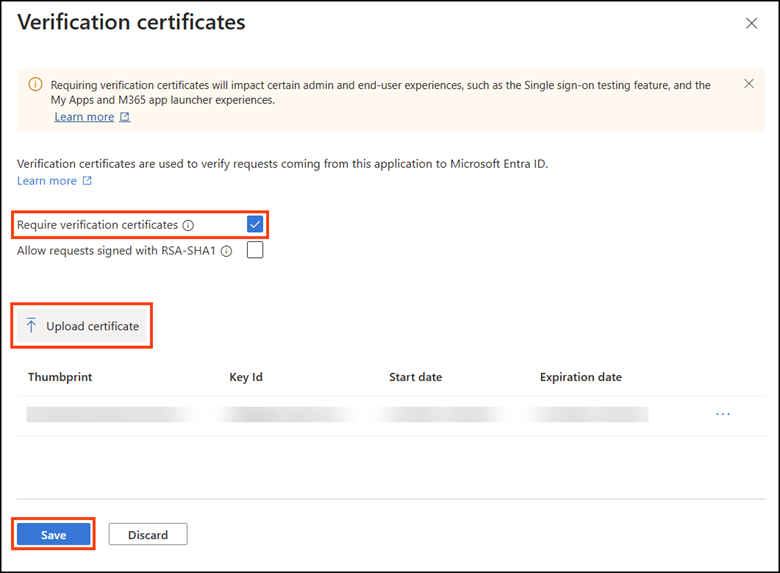
- Switch to the Entra ID browser tab. In the SAML Certificates > Verification certificates (optional) section, click the Edit button.

- Enable the Require verification certificates checkbox.
- Click Upload certificate, select your certificate, and then click Save.
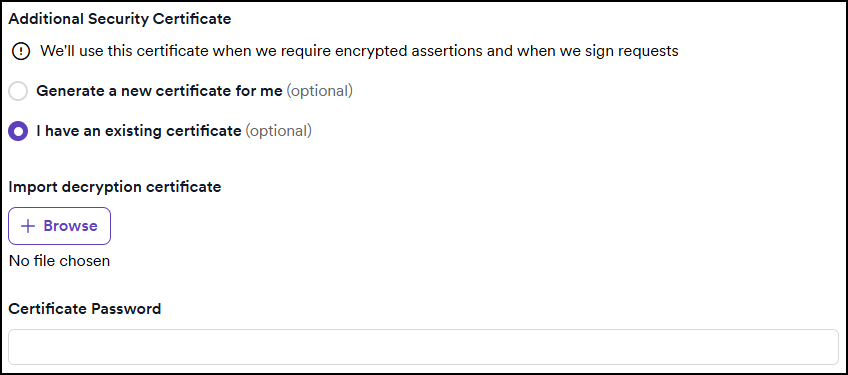
- Return to the Invicti browser tab. Upload the file of your Decryption certificate.
- Enter the Certificate password.
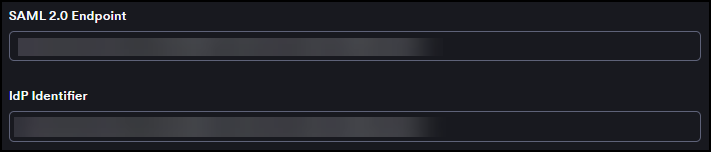
- Switch to the Entra ID browser tab. In the Set up Invicti section, copy the URL from the Microsoft Entra Identifier field.

- Switch to the Invicti browser tab. Paste the Microsoft Entra Identifier URL into the IdP Identifier field.
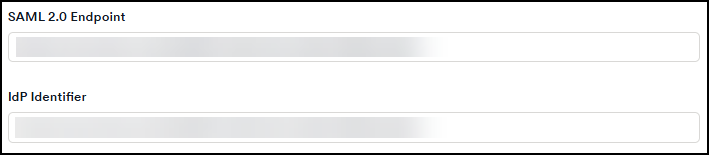
- Switch to the Entra ID browser tab. Copy the URL from the Login URL field.
- Switch to the Invicti browser tab. Paste the Login URL into the SAML 2.0 Endpoint field.
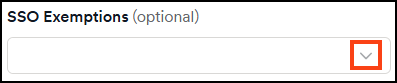
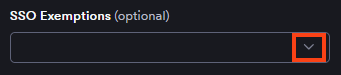
- Use the SSO exemptions drop-down to select any users who bypass SSO and log in with a password.
- Click Save to complete the Invicti configuration.
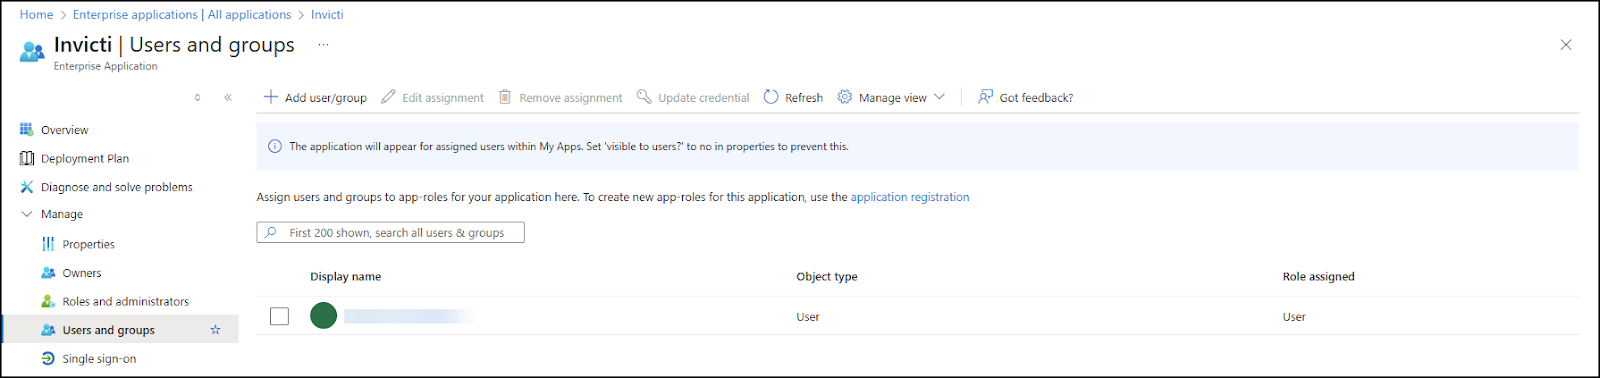
- In Entra ID, go to Users and groups to assign users to the application.
- On the Set up single sign-on page in Entra ID, select Test to verify the SSO configuration.
To automatically create Invicti accounts for users on first login, continue to Step 3: Configure auto-provisioning.
Step 3: Configure auto-provisioning
Auto-provisioning automatically creates user accounts in Invicti when users log in via Entra ID for the first time. To enable it, you must verify that Entra ID maps the attribute claims correctly so that Invicti receives the user's name and email, then enable provisioning in Invicti.
Configure attribute claims in Entra ID
In Step 2, step 12, you configured the Attributes & Claims section in Entra ID. For auto-provisioning to work, Invicti requires the following attributes in the SAML assertion:
| Required Invicti attribute | Entra ID source attribute |
|---|---|
FirstName | user.givenname |
LastName | user.surname |
EmailAddress | user.mail |
Verify that your Attributes & Claims configuration in Entra ID reflects the specified mapping.
Enable auto-provisioning in Invicti
- Select Settings > SSO & provisioning from the left-side menu.
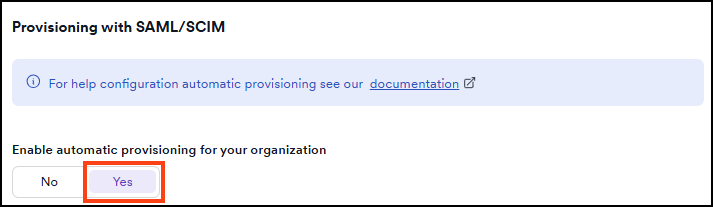
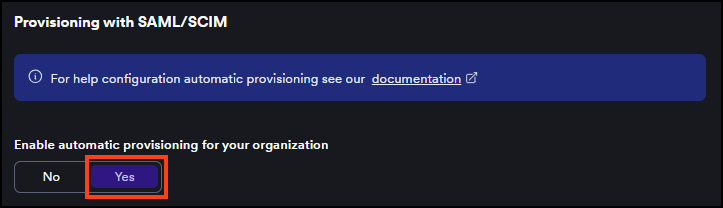
- In the Automatic provisioning section, set the Enable automatic provisioning for your organization toggle to Yes.
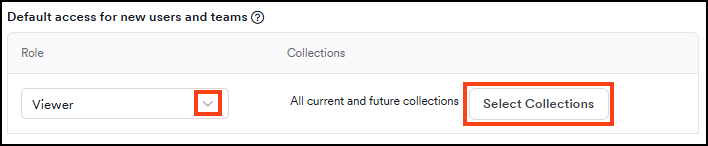
- In the Default access for new users and teams section, select a role from the Role drop-down to assign to newly provisioned users.
- Optionally, click Select collections to choose which collections new users can access. If none are selected, new users get access to all current and future collections by default.

- Click Save.
For more information about SSO fields and auto-provisioning behavior, refer to the Single Sign-On configuration document.
Need help?
Invicti Support team is ready to provide you with technical help. Go to Help Center