OneLogin Secure SSO integration with SAML
OneLogin is a cloud-based identity and access management company that offers enterprise-level companies and organizations a unified access management (UAM) platform.
This document explains how to configure OneLogin and Invicti Platform for Single Sign-On.
Configure OneLogin with SAML
There are three steps to this procedure:
- Step 1: Add Invicti to OneLogin
- Step 2: Configure OneLogin Single Sign-On Integration with SAML
- Step 3: Configure auto-provisioning with SAML (optional)
Step 1: Add Invicti to OneLogin
- Select Applications > Applications in the OneLogin administrator's main menu.
- Click Add App.

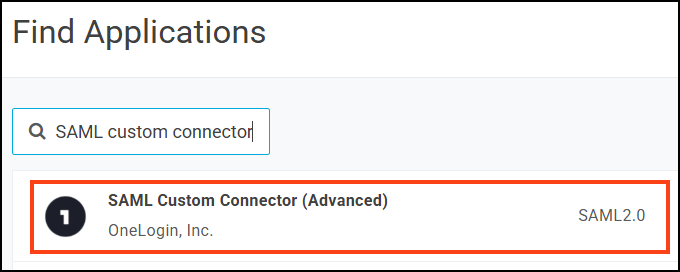
- On the Find Applications page, search for "SAML custom connector" and select SAML Custom Connector (Advanced) from the search results.
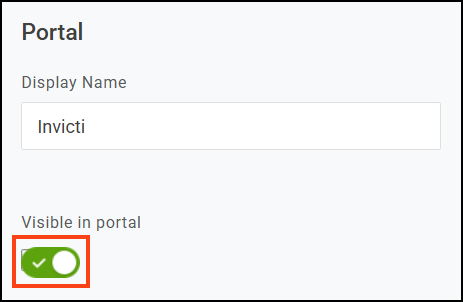
- On the Add SAML Custom Connector (Advanced) page, enter a name for your app and optionally change icons and enter a description.
- Enable the Visible in portal toggle.
- Click Save to add the application.
Step 2: Configure OneLogin SSO integration with SAML
- Select Applications > Applications in OneLogin.
- Click your app to edit it.
- In a new browser tab, select Settings > SSO & Provisioning from the Invicti left-side menu.
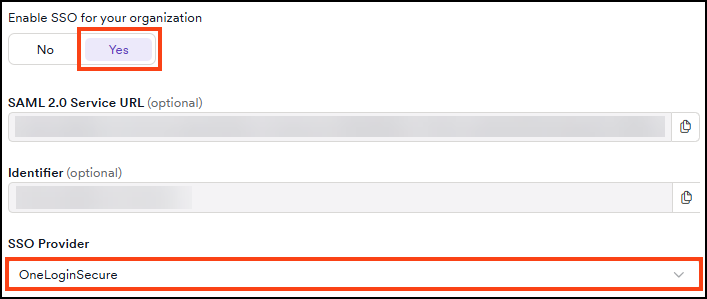
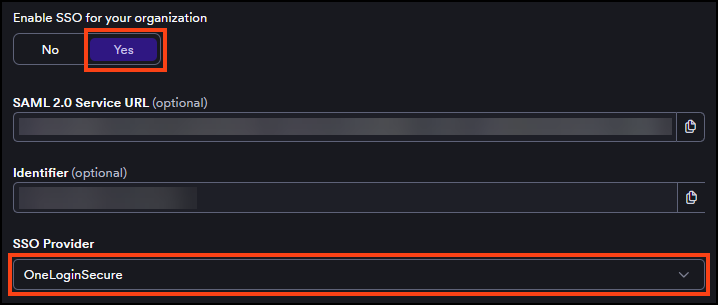
- Turn on the Enable SSO for your organization toggle.
- Select OneLoginSecure from the SSO provider drop-down list.
- In the OneLogin tab, select Configuration from the left-side menu.
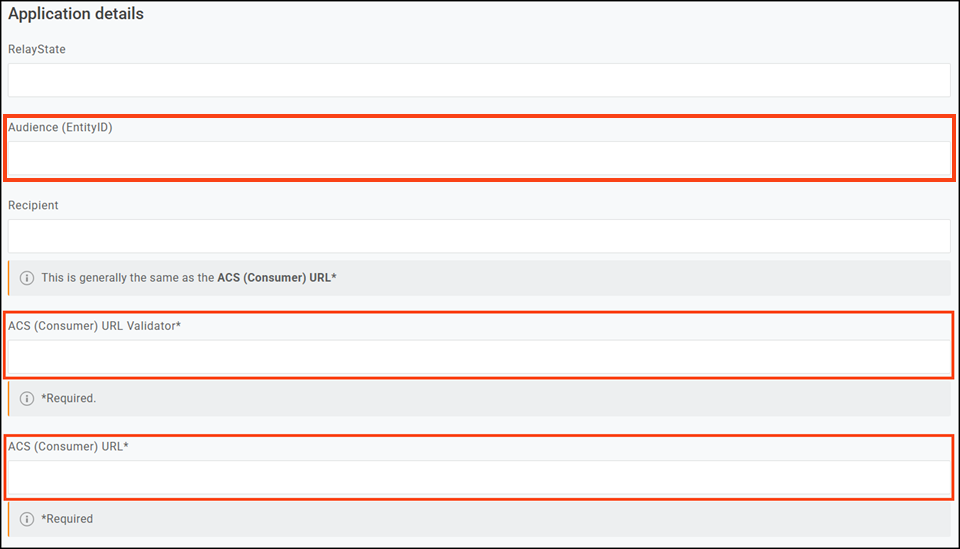
- In the Invicti tab, copy the Identifier and paste it into the Audience (EntityID) field on the OneLogin tab.
Although OneLogin doesn't mark this field as required, leaving it empty causes a SAML parsing error on login.
- In the Invicti tab, copy the SAML 2.0 Service URL and paste it into the ACS (Consumer) URL field on the OneLogin tab.
- In the ACS (Consumer) URL Validator field, do one of the following:
- Paste the same Identifier value; OR
- Enter a regular expression pattern to validate the ACS URL (for example,
^https:\/\/yourdomain\.example\.com\/saml\/consume$or^https:\/\/.*for testing purposes).
If using a regular expression pattern for the validator, ensure your regular expression includes the ^ and $ anchors denoting the beginning and end of the URL for security purposes.
- Click Save.
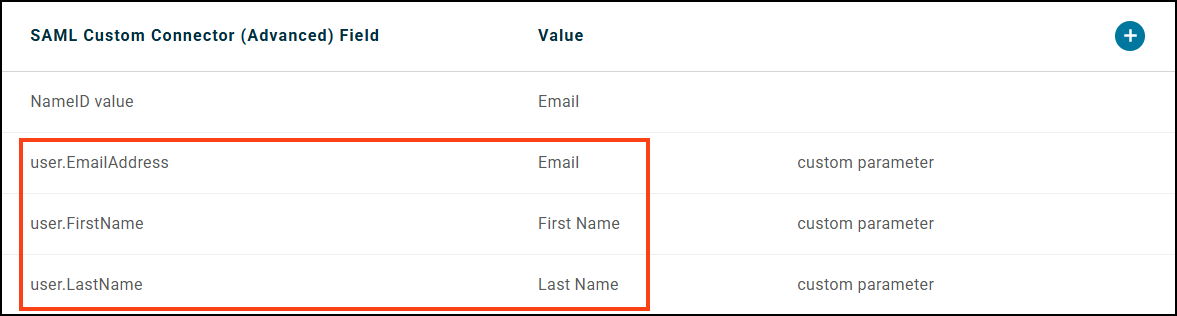
- Select Parameters from the left menu in the OneLogin tab.
- Click + (the plus sign) to add a new parameter.
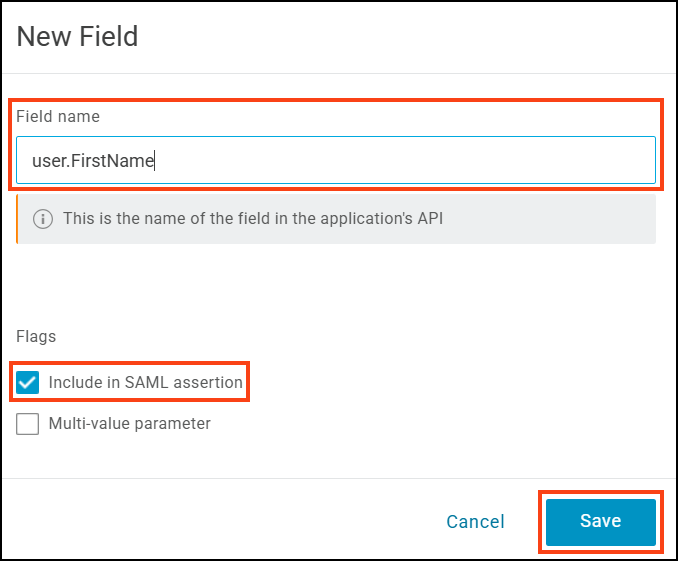
- On the New Field dialog, enter
user.FirstNameto the Field name. - Select Include in SAML assertion and click Save.
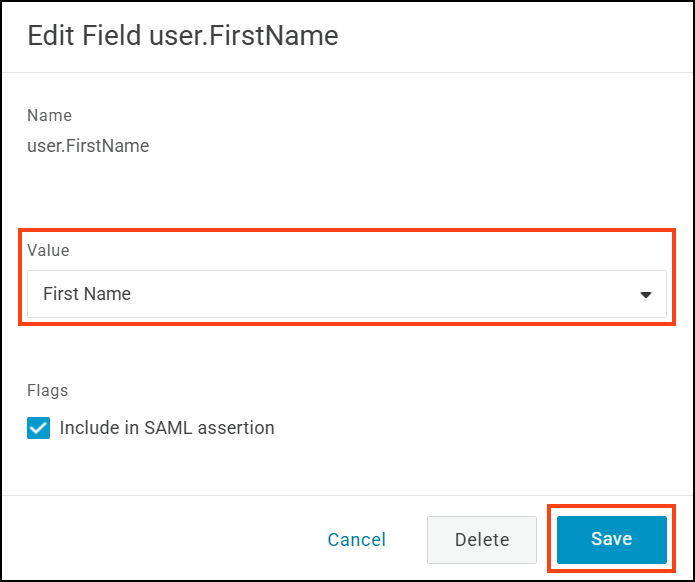
- On the Edit Field
user.FirstNamedialog, select First Name from the Value drop-down. Then click Save.
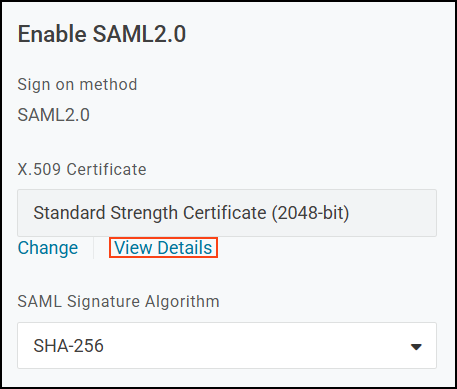
- On the SAML Custom Connector (Advanced) page, select SSO.
- From the SAML signature algorithm drop-down, select SHA-256 and click Save.
- Copy the Issuer URL field into the IdP identifier field in Invicti.
- In the OneLogin tab, copy the SAML 2.0 endpoint (HTTP) URL. Then paste it into the SAML 2.0 endpoint field in Invicti.
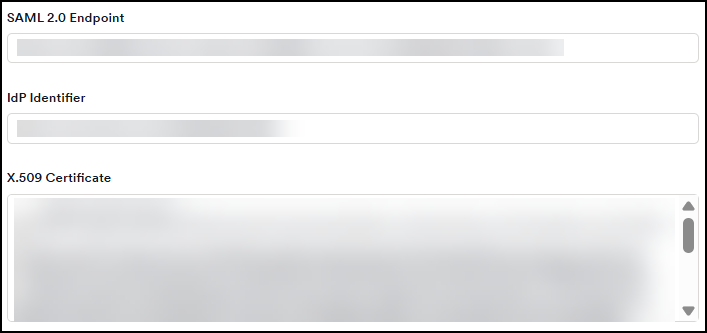
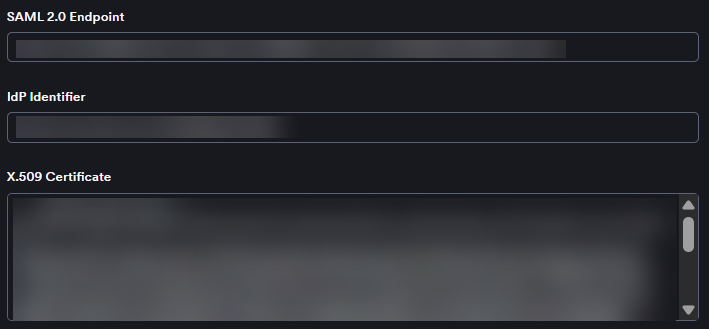
- In the OneLogin tab, select View Details in the X.509 Certificate section.
- Copy the X.509 Certificate information and paste it into the X.509 Certificate field in Invicti.
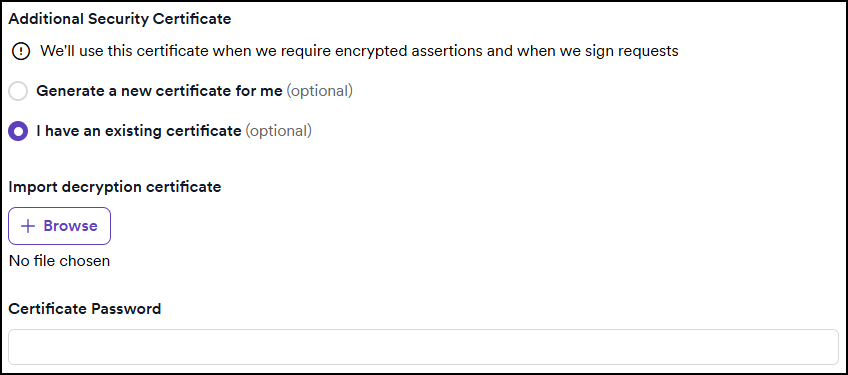
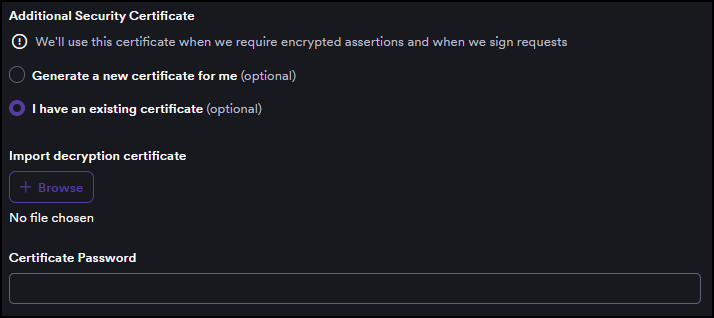
- In Invicti, select the checkboxes for signed assertions, encrypted assertions, or sign requests as needed.
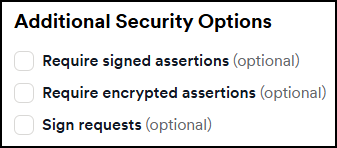
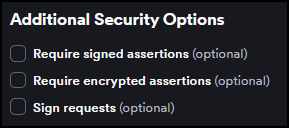
- If you enable any assertions or requests, a new section appears where you can do one of the following:
- Select Generate a new certificate; OR
- Select I have an existing certificate, then upload your certificate and enter the certificate password.
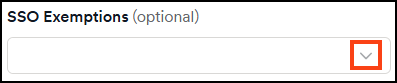
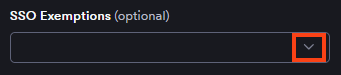
- From the Invicti SSO exemptions drop-down, you can select specific users to exempt them from SSO. This means the selected users can log in to Invicti via password.
- Click Save on the Invicti tab to complete the integration.
Users with existing Invicti accounts who are assigned the Invicti application in OneLogin can now log in using Single Sign-On.
To automatically create Invicti accounts for users on first login, continue to Step 3: Configure auto-provisioning with SAML.
Step 3: Configure auto-provisioning with SAML
Auto-provisioning automatically creates user accounts in Invicti when users log in via OneLogin for the first time. To enable it, you must add the remaining attribute statements in OneLogin so that Invicti receives the user's last name and email, then enable provisioning in Invicti.
Add attribute statements in OneLogin
- Open your application and select Parameters from the left-side menu.
- Click + (the plus sign) to add a new parameter.
- On the New Field dialog, enter
user.LastNameto the Field name. - Select Include in SAML assertion and click Save.
- On the Edit Field
user.LastNamedialog, select Last Name from the Value drop-down. Then click Save. - Click + again to add another parameter.
- On the New Field dialog, enter
user.EmailAddressto the Field name. - Select Include in SAML assertion and click Save.
- On the Edit Field
user.EmailAddressdialog, select Email from the Value drop-down. Then click Save.
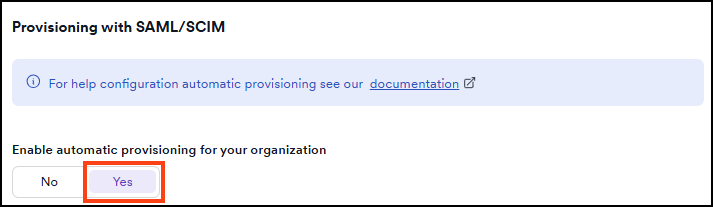
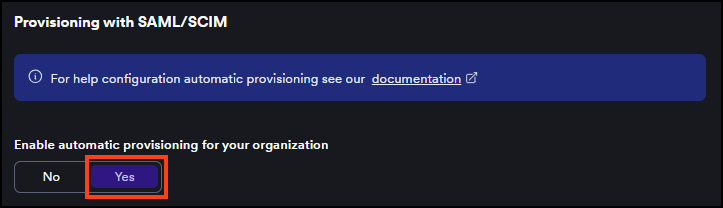
Enable auto-provisioning in Invicti
- Select Settings > SSO & provisioning from the left-side menu.
- In the Automatic provisioning section, set the Enable automatic provisioning for your organization toggle to Yes.
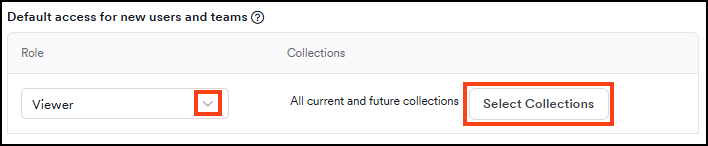
- In the Default access for new users and teams section, select a role from the Role drop-down to assign to newly provisioned users.
- Optionally, click Select collections to choose which collections new users can access. If none are selected, new users get access to all current and future collections by default.

- Click Save.
For more information about SSO fields and auto-provisioning behavior, refer to the Single Sign-On configuration document.
Need help?
Invicti Support team is ready to provide you with technical help. Go to Help Center