Deployment: Invicti Platform on-demand, Invicti Platform on-premises
Single Sign-On configuration
Invicti Platform supports Single Sign-On (SSO) via Security Assertion Markup Language (SAML), allowing users to access multiple applications with a single login. An Identity Provider (IdP) centralizes user and application management, eliminating the need to handle individual credentials for each service. Invicti supports both IdP-initiated and Service Provider (SP)-initiated SAML authentication.
This document explains how to enable SSO in Invicti Platform.
Enabling SSO in Invicti doesn't automatically provision users by default. You must add them manually or enable automatic provisioning for specific SSO providers (Active Directory Federation Service, Entra ID, Google, Okta, OneLoginSecure, and PingIdentity). For more information on manual user creation, refer to the Create user document.
You must also configure the integration on your SSO provider. For detailed instructions, refer to your SSO provider's documentation in the following:
- Active Directory Federation Service
- Entra ID (Formerly Azure Active Directory)
- Okta
- GeneralSAMLv2
- OneLoginSecure
- PingIdentity
Why this matters
Centralize authentication through your existing Identity Provider so users sign in to Invicti Platform with the credentials they already use elsewhere. Admins manage one source of truth instead of two and don't reset Invicti passwords for individual users. With auto-provisioning enabled, Identity Provider users get an Invicti account automatically on their first sign-in - no manual onboarding step required.
Configure Single Sign-On settings
To access the SSO configuration you need to be an Owner of the organization or have a custom role with System rights. Enabling SSO makes it mandatory for the whole organization, unless you exempt a user.
- Select Settings > SSO & provisioning from the left-side menu.
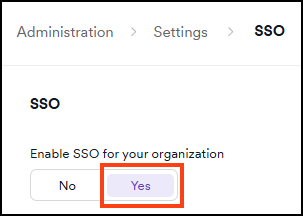
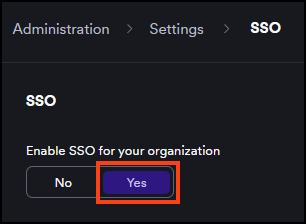
- Turn on the Enable SSO for your organization toggle.
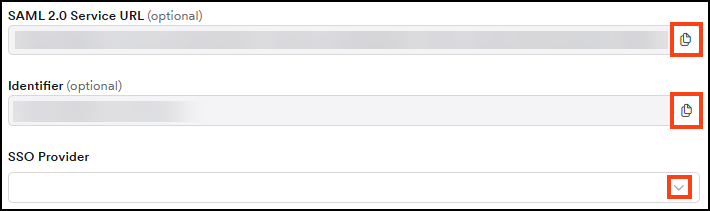
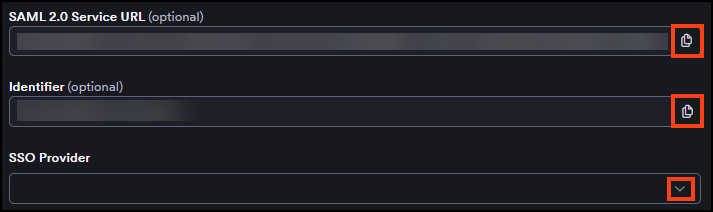
- From the SSO provider drop-down list, choose your SSO provider.
- Copy the information from the SAML 2.0 Service URL and Identifier fields and enter it into your SSO provider configuration.
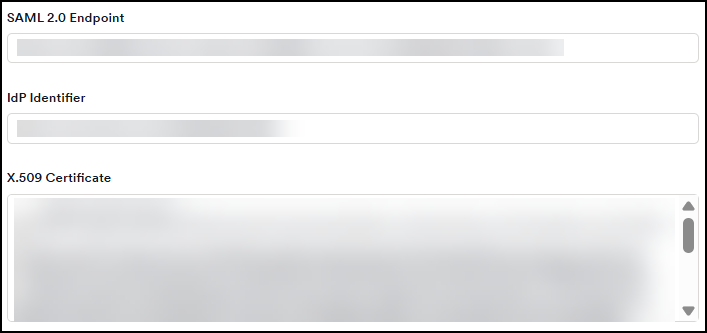
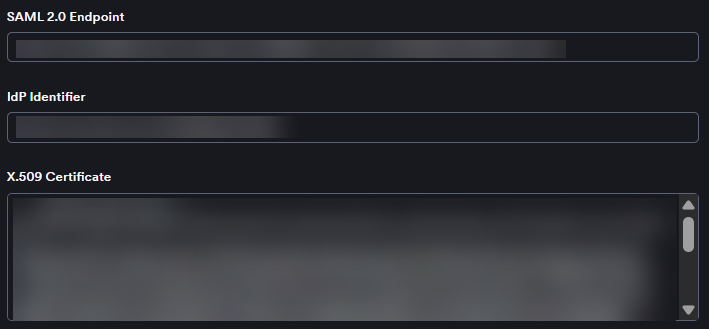
- Enter the required information into the SAML 2.0 Endpoint, IdP Identifier, and X.509 Certificate fields.
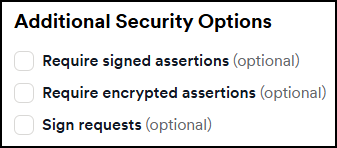
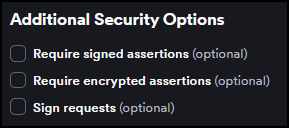
- Choose the signed assertions, encrypted assertions, or sign requests checkboxes as needed.
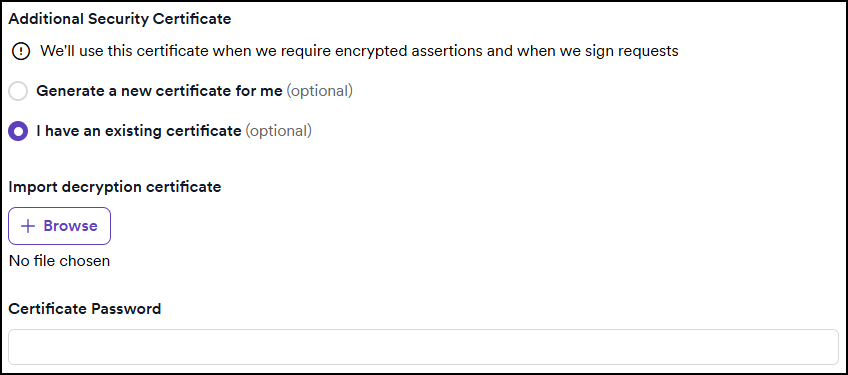
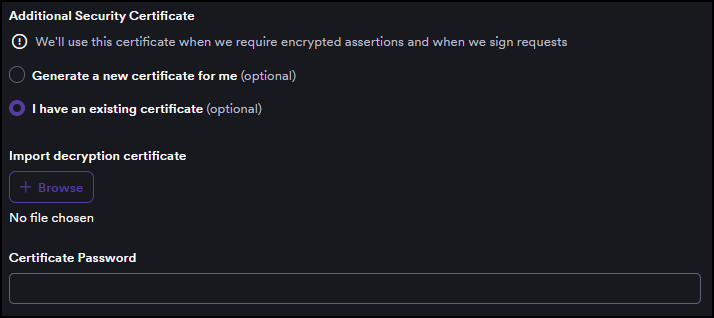
- If you enable any assertions or requests, a new section appears to do one of the following:
- Choose Generate a new certificate; OR
- Choose I have an existing certificate, then upload your certificate and enter the Certificate password.
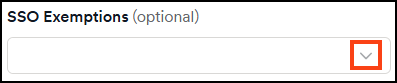
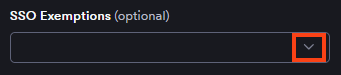
- From the SSO exemptions drop-down, choose specific users to exempt them from SSO. Doing this means the selected users can log in to Invicti Platform using password. The Owner is always exempted, while all other users are forced to use SSO when it's enabled.
- Click Save to save your settings and add the users manually.
To provision users automatically, configure auto-provisioning in both Invicti Platform (covered in the following section) and your SSO provider's administration tool.
Configure automatic provisioning
You need permission to manage Users to configure automatic provisioning.
Invicti Platform supports automatic user provisioning for specific SSO providers. Auto-provisioning automatically creates new user accounts when they authenticate through the Identity Provider, eliminating the need to manually add them to the platform.
Required SAML attributes
For auto-provisioning to work, the SAML assertion sent by your Identity Provider must include:
- The user's email, sent as the SAML Name ID. Most IdPs default to using the primary email, so you don't need extra attribute mapping. Invicti doesn't read the email from a separate
EmailAddressattribute. - The user's first name and last name, sent as SAML attributes. The exact attribute names that Invicti looks for are provider-specific and case-sensitive. Refer to the provider-specific document for the values you need to configure.
If first name or last name is missing from the assertion, or if the attribute name doesn't match the value listed in the provider-specific document (the match is case-sensitive), Invicti rejects the login and doesn't create a user.
Configure provisioning settings
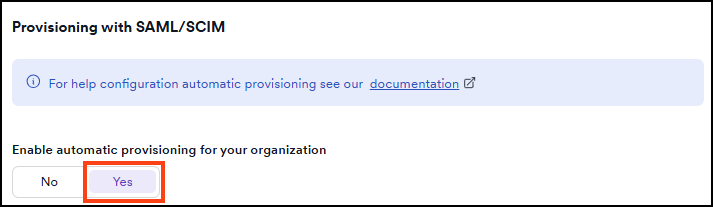
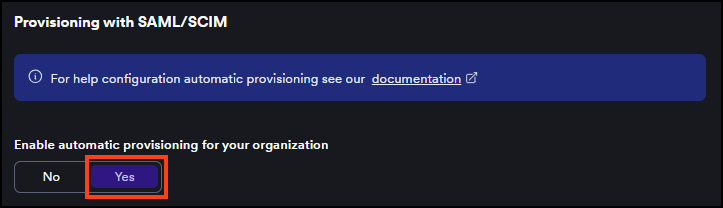
- In the Automatic provisioning section, set the Enable automatic provisioning for your organization toggle to Yes.
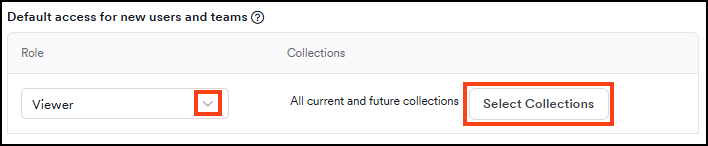
- In the Default access for new users and teams section, select a role from the Role drop-down to assign to newly provisioned users.
- Optionally, click Select collections to choose which collections the new users can access. If you don't select any, new users get access to all current and future collections by default.

- Optionally, click Download SAML metadata to download the file for your IdP configuration.
- Click Save to apply your provisioning settings.
Once you enable automatic provisioning, Invicti Platform automatically creates accounts for new users who successfully authenticate through your Identity Provider, with the default role and collection access you configured.
To change a user's first name, last name, and email, edit their profile in your Identity Provider. To edit a user's role and access to collections, refer to the Edit, delete, or suspend user document.
Auto-provisioning behavior
When a user authenticates through your Identity Provider, Invicti Platform handles the request based on the following conditions:
| Condition | Outcome |
|---|---|
| User with matching email already exists in the tenant | Invicti logs the user in. Email matching is case-insensitive, so Invicti doesn't create a duplicate account. |
| User doesn't exist in the tenant | Invicti creates a new user account with the default role configured in Default access for new users and teams. |
| Required SAML attributes are missing | Invicti rejects the login, doesn't create a user, and displays the error: "We encountered some issue with SSO login, please contact your administrator (and check whether e.g. configuration/certificate is still valid.)" |
| Auto-provisioning is disabled | Invicti denies login for users who don't have an existing account and doesn't create a user. |
Troubleshooting
SSO login is rejected by Invicti
The assertion reached Invicti but was rejected. Check the following in order:
- IdP Identifier doesn't match the IdP's Entity ID. In Invicti, the IdP Identifier field must contain the
entityIDattribute on the root<EntityDescriptor>in the IdP's metadata XML - not the SSO or login URL. The two values are often similar and easy to confuse. - X.509 Certificate is wrong or malformed. Re-download the metadata XML from your IdP and copy the
<X509Certificate>content verbatim. The certificate in Invicti must start with-----BEGIN CERTIFICATE-----, end with-----END CERTIFICATE-----, and have no leading or trailing whitespace. - Test user has no Invicti account and auto-provisioning is off. Either enable auto-provisioning, or create the user manually. For more information, refer to the Create user document.
To inspect the assertion directly, open the browser's Network tab during the test, find the POST to Invicti's ACS URL, copy the SAMLResponse form field, and decode it at samltool.io.
Need help?
Invicti Support team is ready to provide you with technical help. Go to Help Center