Creating Notifications
You can create notifications in Invicti Enterprise to be informed about scans launched or failed and issues identified.
Not all web applications and vulnerabilities have the same criticality. The urgency of fixing cross-site scripting (XSS) external vulnerability on a staging website is different from that of a cross-site scripting vulnerability on a live website. The live website needs immediate attention because it is available to the public and attackers can easily find vulnerabilities and exploit them.
As an automated application security tool, Invicti can scan your web application. Further, the tool can inform you about the scans – when launched and finished – via email and SMS. The tool can also notify recipients external to Invicti, following a Scan Completed event. So, you and your team members can be notified about the status of a web application security scan or when specific vulnerabilities are identified on the web applications you are scanning.
Sending Issues Automatically
Invicti can also send issues identified to an issue tracking system. If you integrate Invicti with an issue tracking system, such as Jira, and configure the notification, Invicti can import issues automatically. This helps developers to start fixing vulnerabilities right away. For further information, see Configuring notifications to report vulnerabilities to an issue tracking system external documentation.
This topic explains how to create and configure notifications. Managing notifications? See Managing Notifications external documentation.
How to Create a Notification
Follow these steps to create a new notification in Invicti Enterprise:
- Log in to Invicti Enterprise.
- From the main menu, select Notifications > New Notification.
-
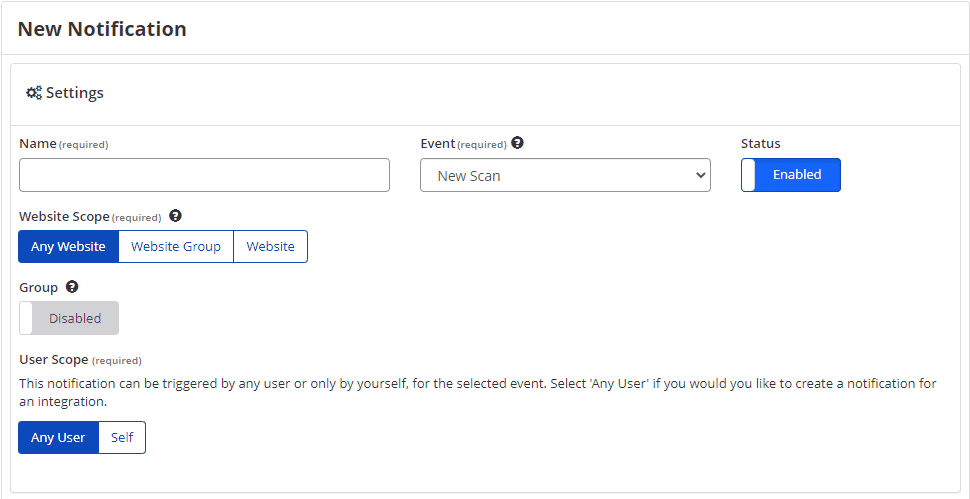
In the Settings section, configure the following fields:
- In the Name field, enter the name of the new notification.
- In the Status field, select enable or disable.
- From the Event drop-down, select the relevant option.
- In the Group field, select enable or disable.
- From the Website Scope field, select the relevant option.
- From the User Scope field, select the relevant option.
-
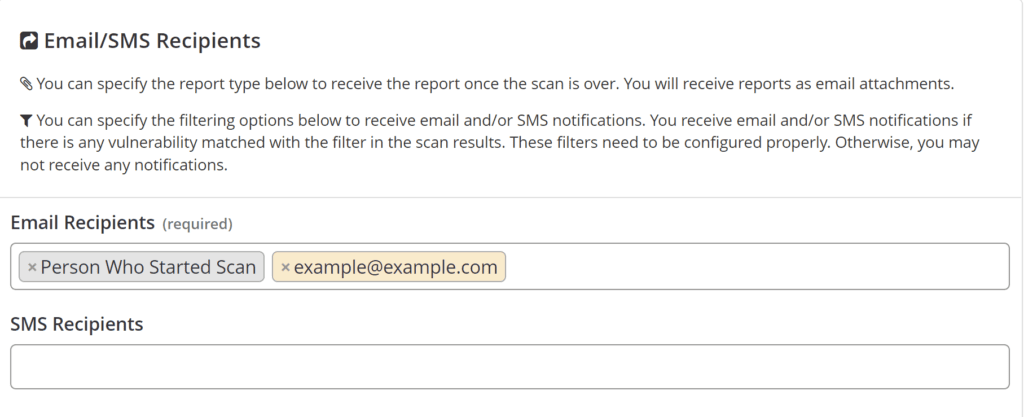
In the Email/SMS Recipients section, configure the following fields:
- In the Email Recipients field, select or enter a recipient. You can add any recipients.
- In the SMS Recipients field, select or enter a recipient.

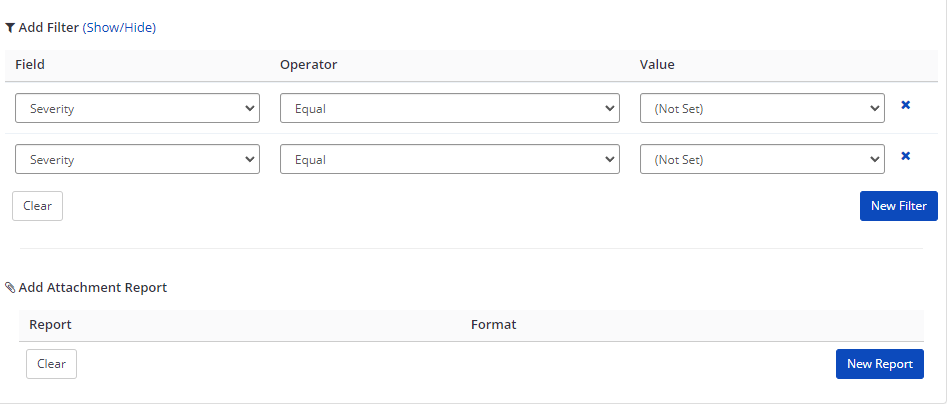
- If you selected Scan Completed from the Event drop-down, the Add Filter and Add Attachment Report options are activated. Set your filters, if required. For further information, see Filters for Email/SMS Recipients and Integration endpoint.
- In the Excluded Recipients field, select and enter a recipient.
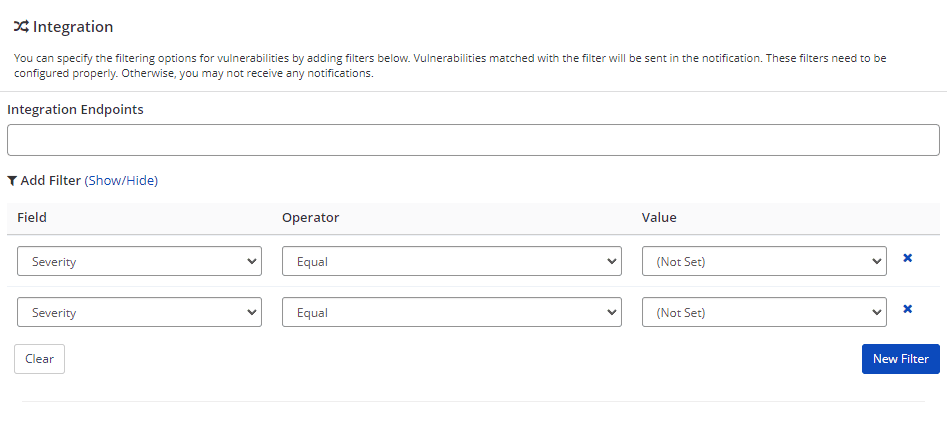
- In the Integration Endpoints field, select an integration, if required. You can add a filter when Scan Completed from the Event drop-down is selected. For further information, see Filters for Email/SMS Recipients and Integration endpoint.
- Select Save.
New Notification Fields
This table lists and explains the columns on the New Notification page.
| Column | Description |
|---|---|
| Name | This is the name of the Notification. The default Notification names are descriptive, corresponding to the Event reported. When you create your own notification, you can enter whatever name you wish. |
| Event | This is the scan event that triggers the Notification. The options are: New Scan, Out-of-date Technology, Scan Cancelled, Scan Failed, Scan Completed, Scheduled Scan Launch Failed |
| Status | This indicates whether the Notification is Enabled or Disabled. |
| Group | This is an option that enables users to get one summary notification instead of separate notifications within a specified period. When the option is enabled, a slider is displayed, which ranges from 10 to 240 minutes. The options are: Disabled, Enabled |
| Website Scope | This indicates that the notification will be sent if the scan is related to the website or website group. The options are: Any Website – Notification definitions will be applied to all websites; Website Group – Notifications will be sent if the Scan is related to any Website in the group; Website – Notifications will be sent if the Scan is related to the selected website |
| User Scope | This option indicates who receives the notification. There are two options: Any User: Any members within the account receive the notification; Self: The user who created the notification receives the notification. |
| Email Recipients | This is a list of the names and email addresses of the recipients that will receive an email notification. The following are specific recipients: Website Technical Contact, Person Who Started Scan, All Authorized, Account Admins |
| SMS Recipients | This is a list of the names and phone numbers of the recipients that will receive an SMS notification. For further information about the SMS configuration, see Configuring the User Profile for Notifications external documentation. |
| Add Attachment Report | This is a field that is displayed when the Scan Completed option is selected in Event. It enables you to specify various reports by adding information on report types and formats. Reports will be sent as email attachments. |
| Excluded Recipients | This is a list of the names of recipients that will not receive notifications related to this rule. |
| Integration Endpoints | Enter the Integration Endpoint name if required. This is a list of configured integrations and is currently only available if you select the New Scan or Scan Completed option in the Event drop-down. |
| Add Filter | This is a field that is displayed when the Scan Completed option is selected in Event. It enables you to specify the filtering options for vulnerabilities by adding filters. Vulnerabilities matched by the filter will be sent in the notification. |
How the Scope Affects Notification
Website scope and user scope determine who receives notifications for which websites and website groups. So, it is crucial to determine these said scopes carefully.
For example, if 'Any Website' and 'Any User' is selected, notifications will be sent out for all websites on the account, regardless of whether the user has access to that website.
The following table shows who receive notifications under which scope:
| Website Scope | User Scope | Notification |
|---|---|---|
| Any website | Any User | All users |
| Any website | Self | Only creator |
| Website Group | Any User | Authorized users to website group |
| Website Group | Self | Only creator |
| Website | Any User | Authorized users to a website |
| Website | Self | Only Creator |
Be careful when setting scope configurations. 'Any Website' and 'Any User' combinations will send notifications to all users for all websites, regardless of their access permissions.
Filters for Email/SMS Recipients and Integration Endpoint
While creating a notification, you can configure it to send email and SMS notifications for selected events. Also, you can apply filters to email and SMS notifications.
For example, you may want to receive an email notification only if Invicti Enterprise identified a vulnerability whose severity level is High or above. If so, Invicti will send notification(s) only if it detects such vulnerabilities. Otherwise, it will not send any notifications. If you do not set any filters, you can receive all notifications about vulnerabilities.
Similarly, integrations are sent according to the filters you specify. If you do not specify any filters, all detected issues are sent to the integrations you selected. You can create more effective and dynamic filters with this option.
This table lists and explains the fields in the field column of Add Filter.
| Column | Description |
|---|---|
| Severity | Specify a Severity level. Clarify this level with the help of logical operators. For further information about severity levels, see Vulnerability Severity Levels external documentation. |
| Is Confirmed | Use the Is Confirmed filter if you want to be notified of verified issues. |
| Certainty | Provide a Certainty percentage (between 0-100) according to the accuracy of the issue. Clarify the precision with the help of logical operators. |
| State | Specify a State level. Use this filter if you want to receive a notification about the status of issue(s). The state levels are: New, Not Found, Not Fixed, Fixed, Revived |
Use filters to reduce notification noise and focus on the most critical vulnerabilities. For example, set severity filters to "High" or above to only receive alerts for the most serious security issues.
How to Configure a Notification to Email a Report After a Scan
Follow these steps to configure email report attachments:
- Log in to Invicti Enterprise.
- From the main menu, select Notifications > Manage Notification.
- For any notification with an Event of Scan Completed, select Edit.

- If required, in the Email Recipients field, enter additional registered recipients or a valid email address of an external recipient.
- In the Add Attachment Report field, select New Report. New Report and Format drop-downs are displayed.
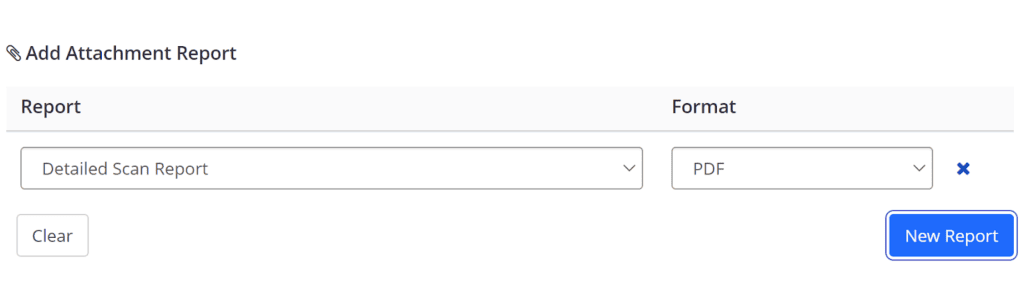
- From the Report and Format drop-downs, select an attachment(s) report to add to the email notification (a maximum of three report types is allowed).
- Select Save.
The specified reports following configured scans that are completed will now be sent as email attachments in the email notification sent to the specified recipients.
Need help?
Invicti Support team is ready to provide you with technical help. Go to Help Center