Configure internal agents for secrets management services
Invicti Enterprise internal agents can connect with secrets and encryption management services such as CyberArk or HashiCorp to centrally manage privileged account identities. These services protect critical systems, prevent unauthorized access, and secure credentials across on-premises, hybrid, and cloud environments, including rotating passwords and SSH keys.
These services can be integrated on both Invicti Enterprise on-demand and Invicti Enterprise on-premises.
This document explains how to authenticate a form using on-premises secrets and encryption services using HashiCorp Vault together with an internal authentication verifier agent.
Prerequisites
It is highly recommended that the secrets and encryption management service, the scan agent, and the authentication verifier agent have network connectivity among themselves.
- Have a secrets and encryption management service (CyberArk, HashiCorp, or Azure Key Vault) installed
- Have a scan agent installed
- Have an authentication verifier agent installed to test the connection between the agent and the service
- Configure an agent for a website. For more information, refer to Adding a Target.
Trustlist requirements
Refer to these documents to trustlist the correct IP addresses based on your region:
- Invicti Enterprise on-demand - United States region
- Invicti Enterprise on-demand - United States-2 region
- Invicti Enterprise on-demand - EU region
- Invicti Enterprise on-demand - CA region
- Invicti Enterprise on-premises
Authenticate a form using the authentication verifier agent with HashiCorp Vault
- In Invicti Enterprise, select Scans > New Scan from the left-side menu.
- Fill in the Target URL field.
- In the Authentication section, click Form.
- Enable the checkbox labeled Form Authentication.
- In the Login Form URL field, enter the path for your target's login page.
- Expand the New Persona dropdown to display your available secret and encryption management services.
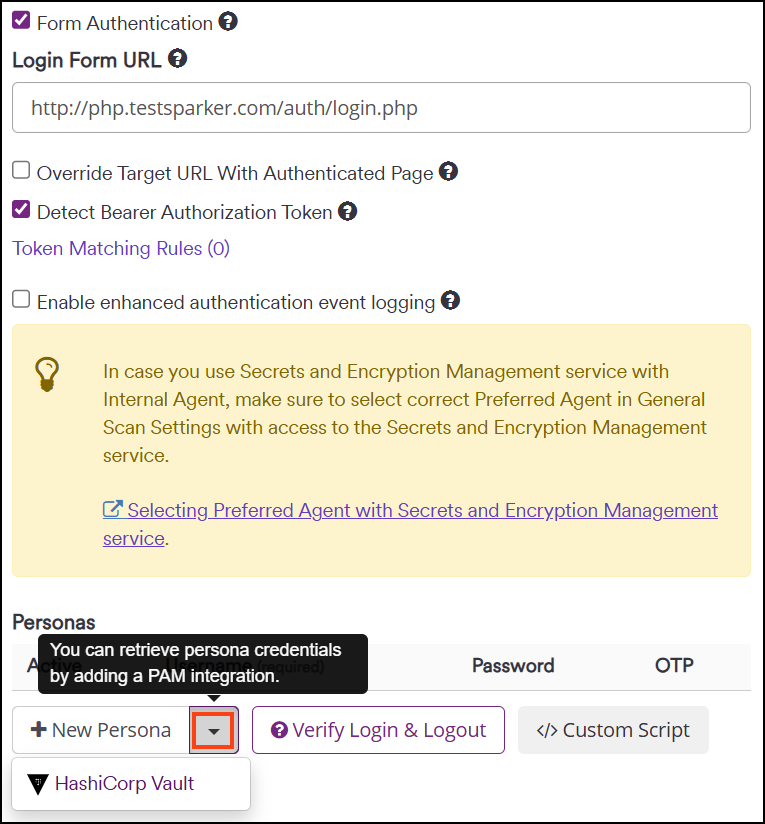
-
In the drop-down, select your secret and encryption management service (in this example HashiCorp Vault).
tipRefer to official HashiCorp documentation for more information about configuring Vault.
-
Fill in the fields in the settings dialog as follows:
- Integrations: This is the name of your secrets management service (in this example HashiCorp Vault).
- KV Version: Leave the default value V2.
- Secret Engine: This is the name of your secrets engine in HashiCorp (in this example
eng-secrets). - Secret: This is the name of the set of credentials you entered in HashiCorp for the target website (in this example
passcodes). - Use static username: leave this checkbox turned off.
- Username key: This is the key name for the username in HashiCorp (in this example
Username). - Password key: This is the key name for the password in HashiCorp (in this example
Password).
-
Select Test Vault Settings to verify the username and password are indeed correct.
-
Click Save.
-
Select Verify Login & Logout to test the New Persona.
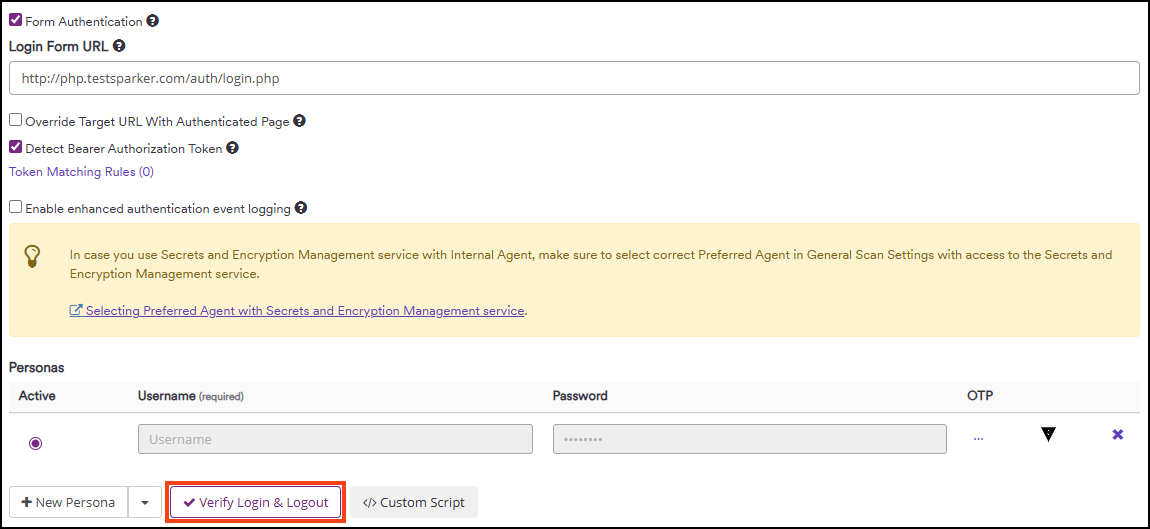
- This launches the login verification page, showing the login process. This takes you to the authenticated part of the target.
- At the bottom of the login verification page, click the OK button.
- Scroll to the bottom of the New Scan page and click the Launch button to start your scan.
Need help?
Invicti Support team is ready to provide you with technical help. Go to Help Center