This feature is available with Invicti API Security Standalone or Bundle.
Integrate MuleSoft Anypoint Exchange for on-demand
Integrating Invicti Enterprise on-demand with MuleSoft Anypoint Exchange allows you to fetch Swagger2, OpenAPI3, and RAML specification files from MuleSoft to build an inventory of API endpoints that can be scanned for vulnerabilities with the DAST scanners. The integration leverages Connected Apps, where Invicti Enterprise is the application that integrates via user account with MuleSoft Anypoint Echange.
This document explains how to set up an integration between MuleSoft Anypoint Exchange and Invicti Enterprise on-demand. If you are using Invicti Enterprise on-premises, refer to the Integrating MuleSoft Anypoint Exchange with Invicti Enterprise on-premises document.
Integrate Invicti Enterprise on-demand with MuleSoft Anypoint Exchange
This integration has three steps. Follow the steps in each section to prepare your MuleSoft Anypoint Exchange account for integration with Invicti Enterprise on-demand.
- Only Swagger2, OpenAPI3, and RAML specification files are imported.
- RAML specifications are converted to OpenAPI2.x after import, and therefore show up as OpenAPI in the list.
Step 1: Ensure you have a MuleSoft Anypoint Exchange account
In order for Invicti Enterprise to successfully fetch your Swagger2, OpenAPI3, and RAML specification files from MuleSoft, you need to have a MuleSoft Anypoint Exchange account that contains your API specification files. This account is used to facilitate creating a Connected App integration between Invicti Enterprise and MuleSoft Anypoint Exchange, which imports and syncs your API specifications.
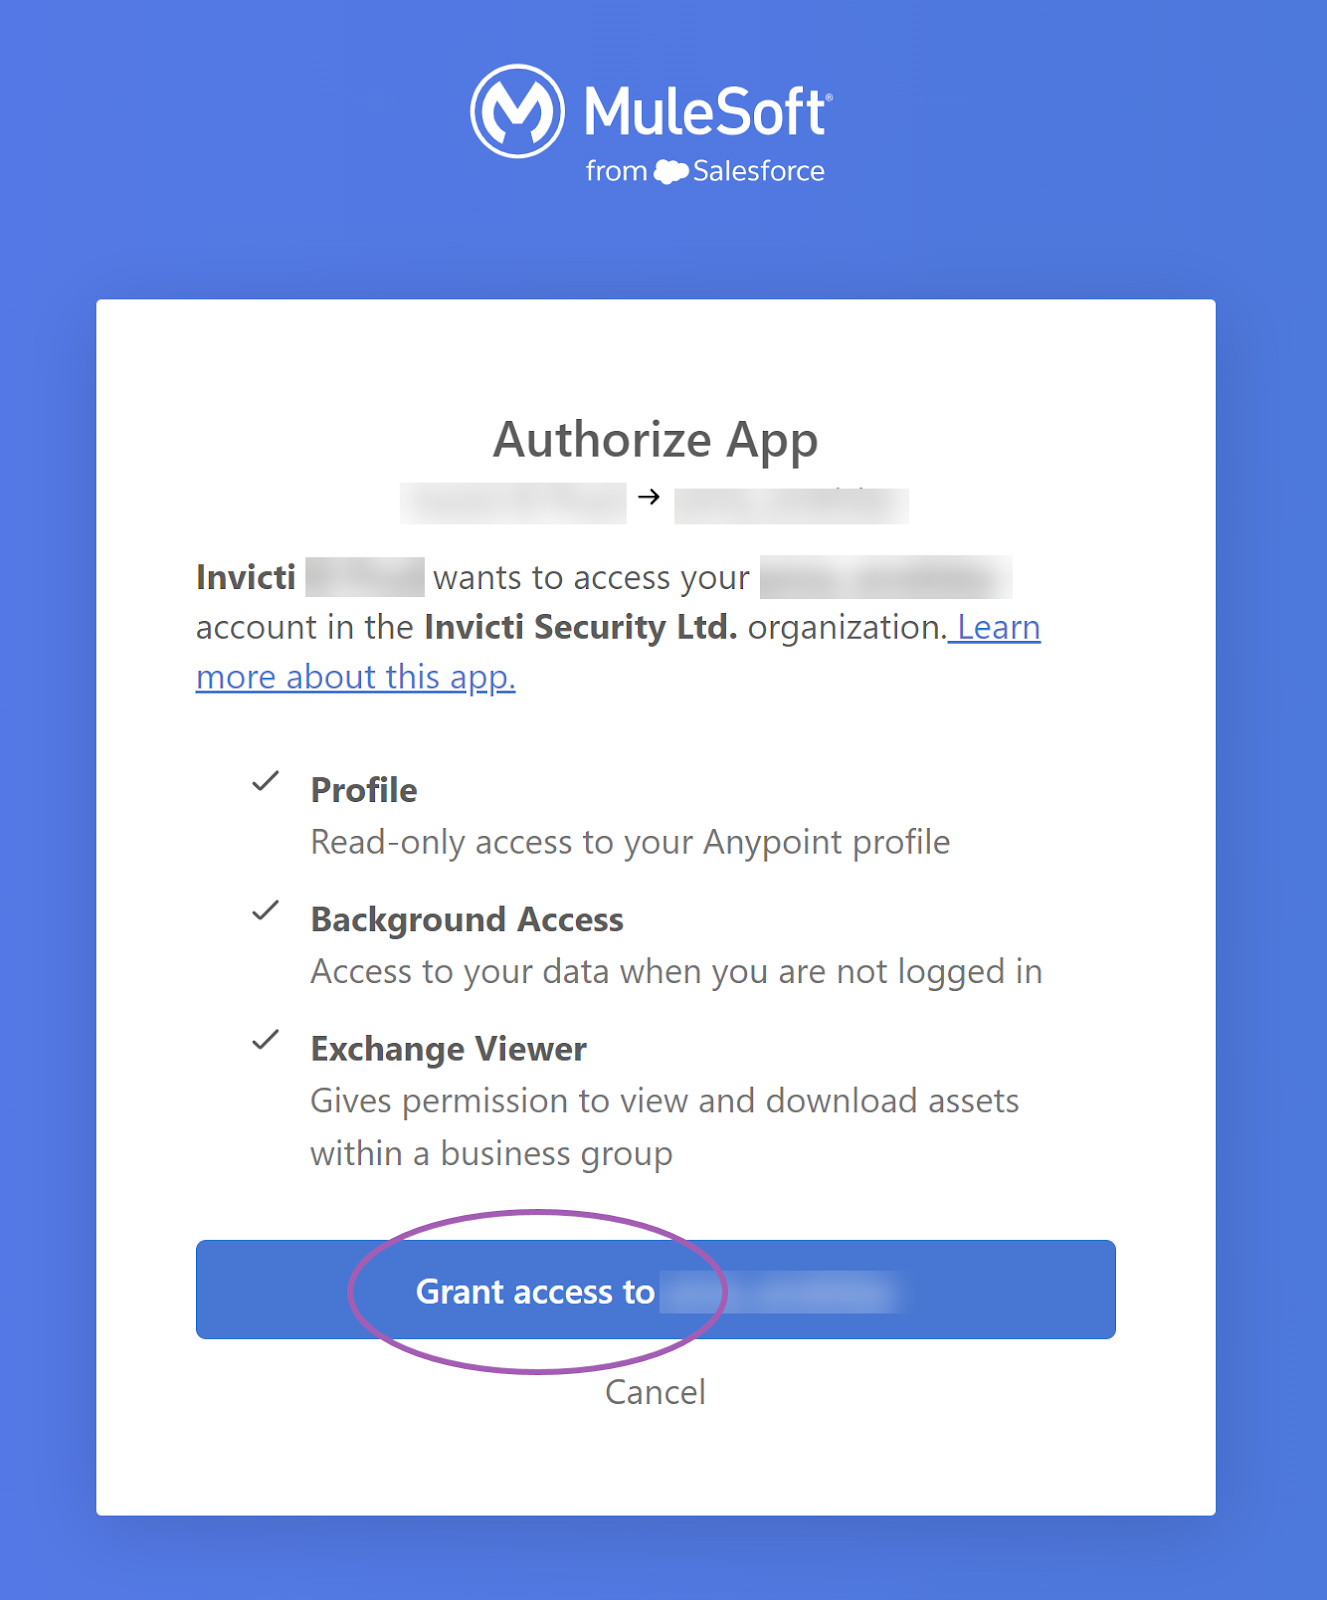
The integration uses the Connected App to access the following filter scopes:
- Exchange Viewer
- Profile
- Background Access (this is necessary for the refresh token capability)
Once you have a MuleSoft Anypoint Exchange account, continue with step 2 to configure the API import source.
Step 2: Configure the API import source in Invicti Enterprise
Now that you have access to MuleSoft Anypoint Exchange, you are ready to set up the MuleSoft integration in Invicti Enterprise to import your API specification files.
- Select APIs > Sources from the left-side menu.
- Click Add new source.
- Enter a name for the API integration and select MuleSoft as the source type.

- Click Authenticate and Save. You are directed to your MuleSoft account to authorize the integration, after which you are returned to Invicti Enterprise.
- Log in to MuleSoft Anypoint Exchange with the account that contains your API specification files.
- Click Grant access to to authorize the integration.
Once complete, you see a short message displayed in Invicti Enterprise: Authorization was successful. Your MuleSoft integration now appears on the APIs > Sources page in Invicti Enterprise. Continue with the final step to synchronize the API import.
Step 3: Synchronize the API import
- On the APIs > Sources page in Invicti Enterprise, click the sync icon to start importing your API specification files from MuleSoft into your Invicti Enterprise API Inventory.
 >
> - When the sync is complete, your API specification files are displayed on the API Inventory page in Invicti Enterprise. From this page, you can link your API specification files to targets so they can be scanned for vulnerabilities. For more information, refer to theLinking and unlinking discovered APIs to targets document.
Your MuleSoft Anypoint Exchange account is now integrated with Invicti Enterprise. After the initial synchronization, the integration automatically syncs your API specifications once every 24 hours.
To synchronize API specifications on demand, click the sync icon on the APIs > Sources page. To turn off automatic synchronization, click the toggle in the Sync Automatically column on the APIs > Sources page.
Need help?
Invicti Support team is ready to provide you with technical help. Go to Help Center