Add multiple targets
Creating a new target in Invicti Platform allows you to define a specific website or API that you want to scan for vulnerabilities. Targets are the websites and web applications that you would like to scan using Invicti Platform. They can be added either from the Website Discovery page or directly from the Targets page.
This document guides you through the process of adding new targets, configuring their details, and preparing them for accurate and secure scanning. If you would like to create a single target, refer to the linked document.
Steps to add multiple targets
- Select Inventory > Targets from the left-side menu.
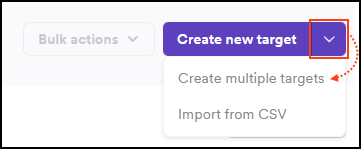
- Click the down arrow next to Create new target and select Create multiple targets.
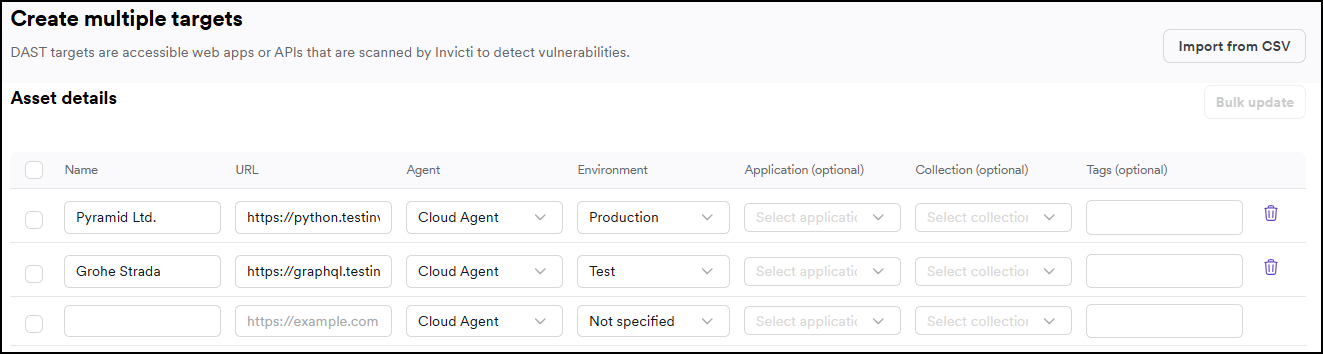
- Enter the names and URLs of the targets you want to add. You can enter multiple URLs, each on a new line. The URLs mustn't contain any whitespace or spaces, as this is going to cause a warning message to appear. If you add a space before or after the URL, it is going to be automatically removed.
- By default, new targets use the Invicti Cloud Agent, which can scan any publicly available site without additional configuration. Choose the agent that best matches your scan environment and security requirements.
- Invicti Cloud agent (default): This is Invicti’s managed cloud-based agent, suitable for scanning publicly accessible websites. It requires no setup and is ideal for most internet-facing applications.
- Private agent: You can also use your own installed scan agent to scan internal or restricted environments not accessible from the public internet.
- Assign the targets to environments (for example, development, staging, production) to help organize and manage scans. Environments are defined in Settings > Environments and must be created there before use.
- Select applications to group the targets with related assets. Applications serve as central units for managing vulnerabilities and improving analysis across connected targets.
- Choose collections to organize the targets based on business context or custom criteria. Collections support tailored security management and reporting.
- Add tags to further group and filter targets. Submit each tag by pressing Enter after typing. Tags assist with quick identification, categorization, and filtering in reports and views.
- Confirm the target creation by pressing Create targets.

Before running your first scan, make sure to read our authorized target scan policy. To get started safely with the Invicti Platform, you can use our testing website, which allows you to explore scanning features without using your own FQDNs or affecting live environments.
- The Targets page is updated with your new targets.

Once your targets are setup, you can run the first scan.
Alternative: Bulk create targets from API Discovery
If you have discovered APIs through Invicti's API discovery functionality, you can use the bulk create targets feature directly from the API discovery page. This method is particularly efficient when working with APIs that already have specification files, as it can leverage baseURLs and other information from the API specs.
For more information, refer to Create targets from API Discovery.
Need help?
Invicti Support team is ready to provide you with technical help. Go to Help Center