Integrating Invicti Enterprise with Splunk
Splunk is a Security Information and Event Management (SIEM) software that is used to read and store machine-generated data. Splunk aims to collect data like operating system logs, antivirus events, etc in a single central location to generate graphs, reports, and alerts. Integrating with Splunk helps you to increase information security so that you can collect identified issues or vulnerabilities.
This article explains how to integrate Splunk with Invicti Enterprise.
There are four stages:
- Install Splunk Add-on
- Configure Add-on Settings
- Configure Input
- Search for Vulnerabilities
Invicti adopted a unified app strategy to simplify the installation process. You now use a single add-on package that supports both Splunk Enterprise (On-premises) and the Splunk Cloud platform.
Install Splunk add-on
-
First, locate the Netsparker Enterprise Add-on in Splunkbase: https://splunkbase.splunk.com/app/5511/ .
-
For Splunk Enterprise: Download the file and install it via Apps > Manage Apps > Install app from file.
-
For Splunk Cloud: Install the app directly via the Splunk Cloud web interface or request installation through Splunk Support.
-
Once the Invicti Enterprise add-on is installed, it should be configured to collect issues from the Invicti Enterprise API (see How to Configure Add-on Settings).
Configure Add-on settings
Add-on settings must be configured in order to authenticate the API.
- In Splunk, navigate to Invicti Enterprise Add-On, then Configuration.
- Select the Add-on Settings tab.
- Complete the Base URL, User ID, and Token fields. (The Base URL is the Invicti Enterprise URL.)
| Field | Description |
|---|---|
| Base URL | The Invicti Enterprise URL (e.g., https://www.netsparkercloud.com or your on-premises URL) |
| User ID | Your Invicti Enterprise user ID for API authentication |
| Token | Your API token for secure authentication with Invicti Enterprise |
User ID and Token values can be found at API Settings.
- Select Save.
Configure input
- In Splunk, navigate to the Invicti Enterprise Add-On, then Inputs.
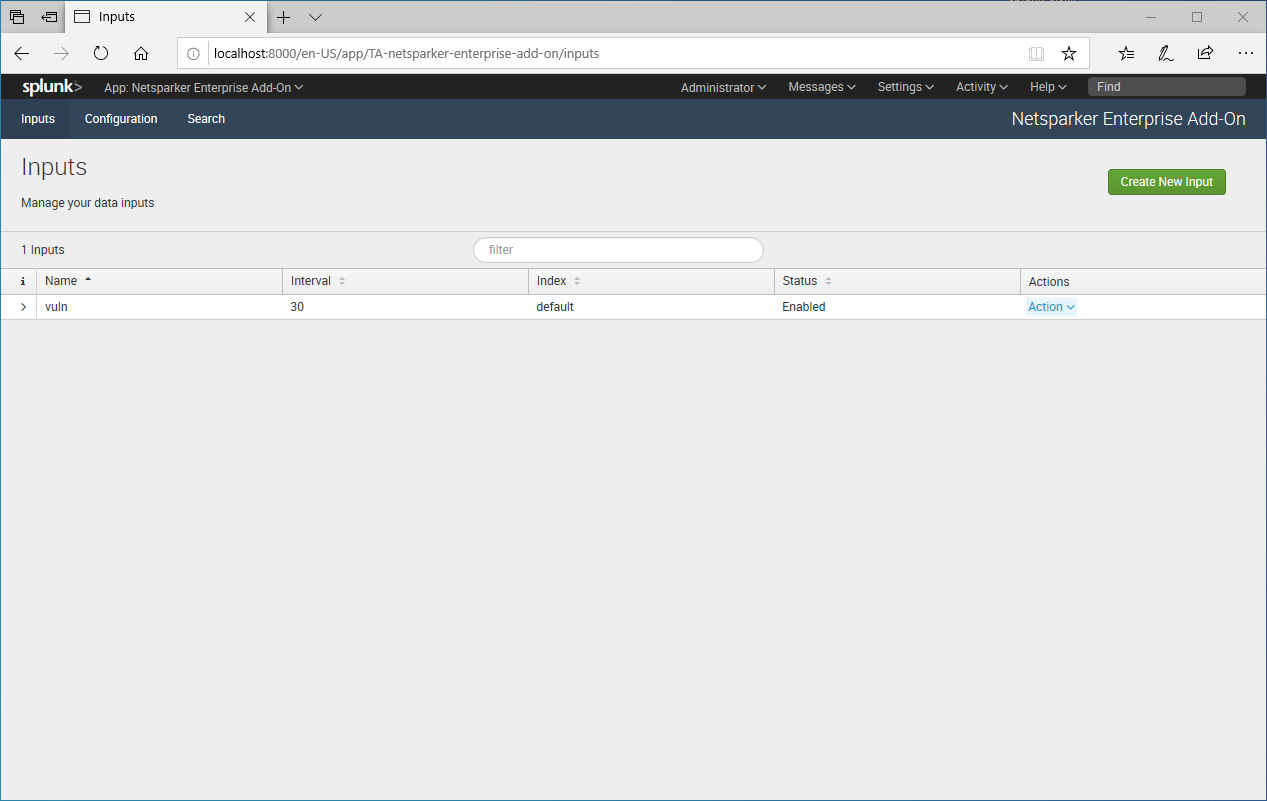
- To edit an existing Input, in the Actions column, click the Action dropdown, then the Edit link. (Alternatively, to create a new Input, select Create New Input.) The Update Vulnerability dialog is displayed.
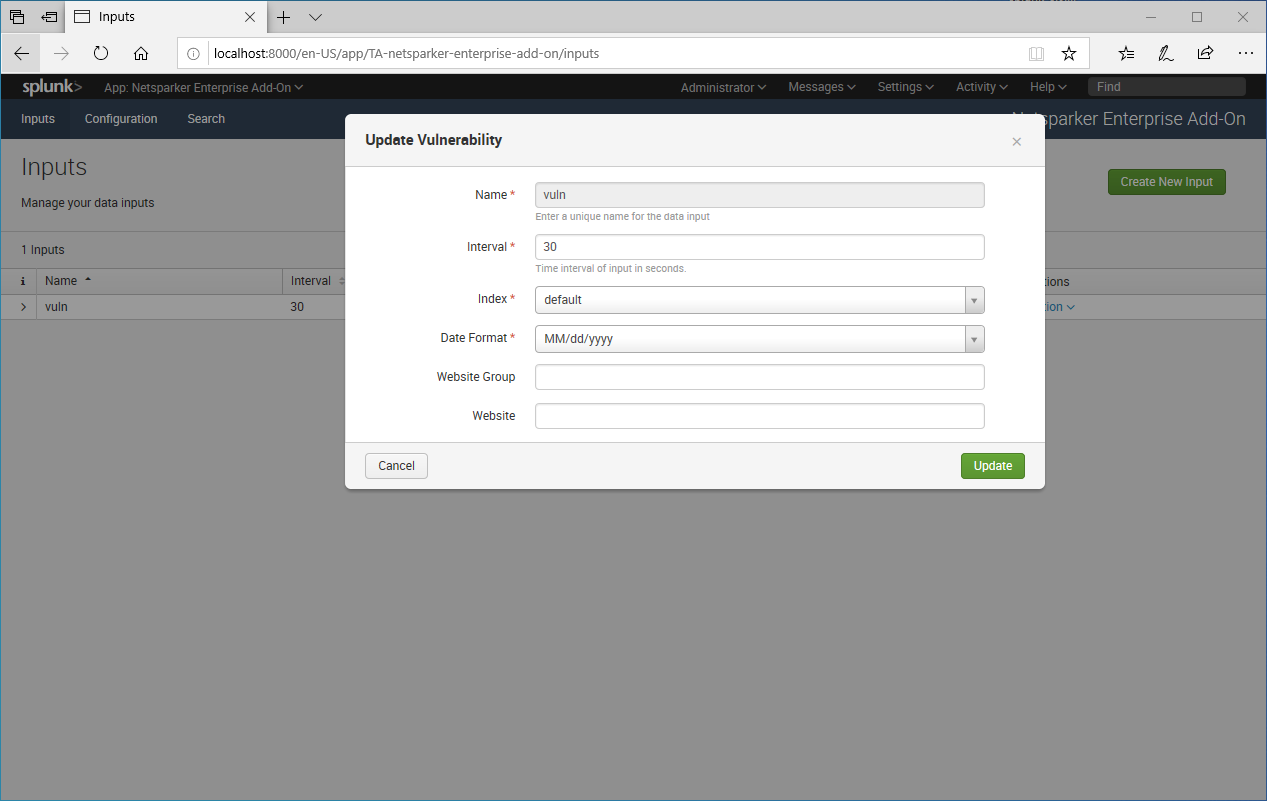
- The Date Format should be equal to the value defined on the Change Account Settings page in Invicti Enterprise.
- In Splunk, the Website Group and Website fields are optional. (These values can be found on the Website Groups page in Invicti Enterprise.)
- Select Update (or Add).
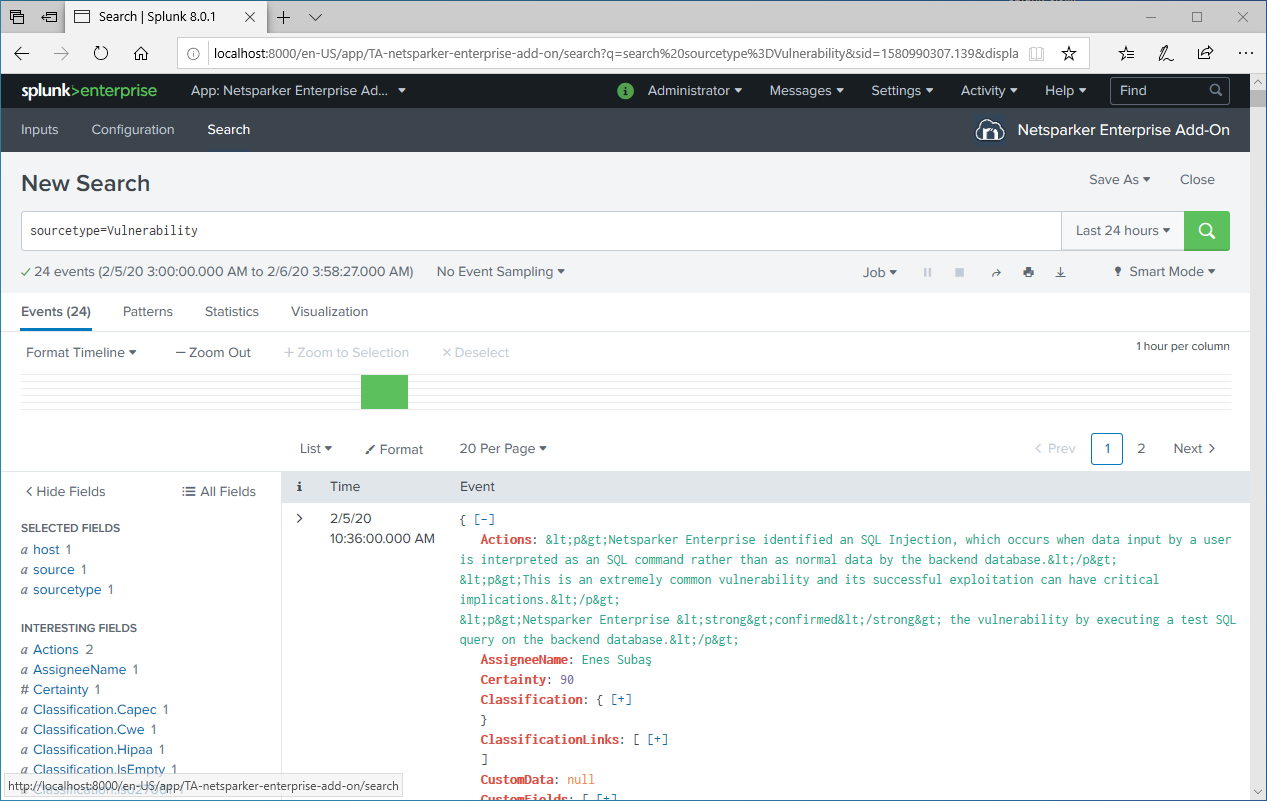
Search for vulnerabilities
Once the Add-on Settings and Input have been configured, Splunk starts to import data from the Invicti Enterprise API.
- In Splunk, navigate to the Invicti Enterprise Add-on, then select the Search tab to view the imported data.
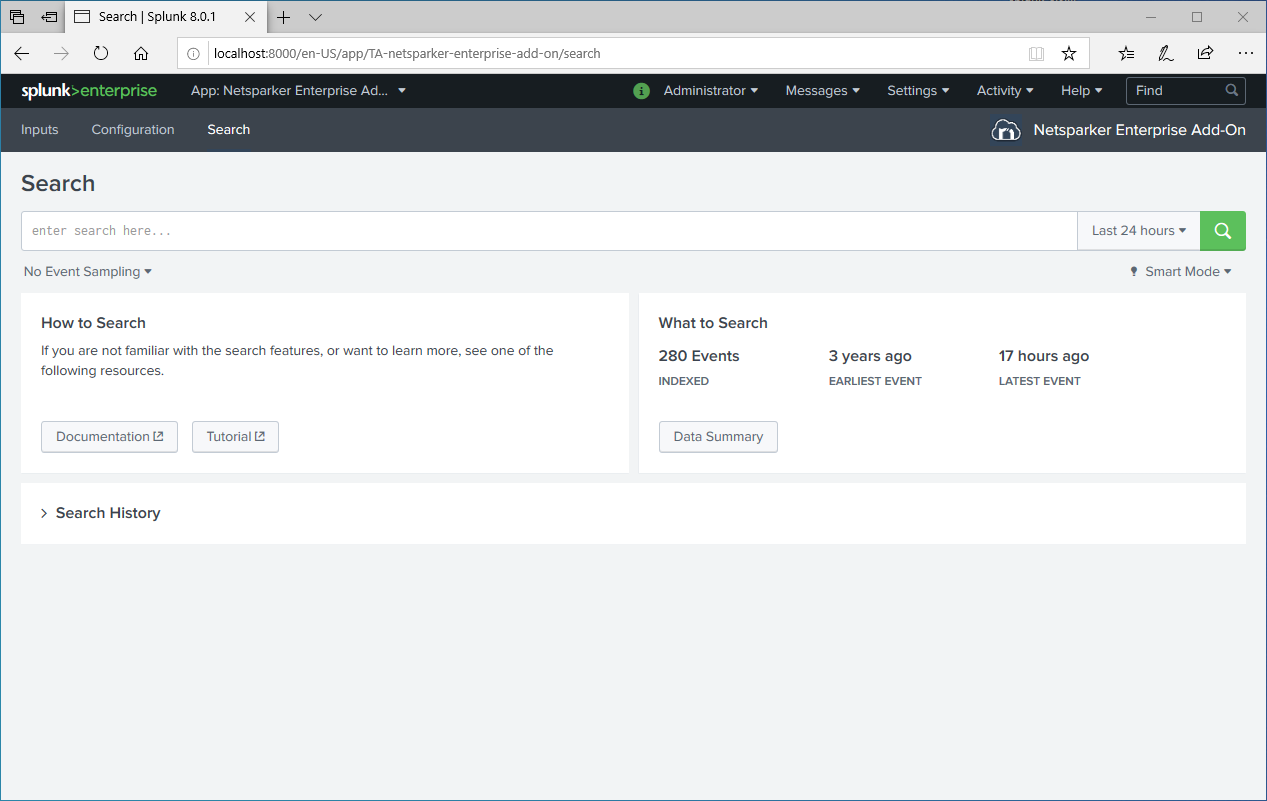
- Select Data Summary. The Data Summary dialog is displayed.
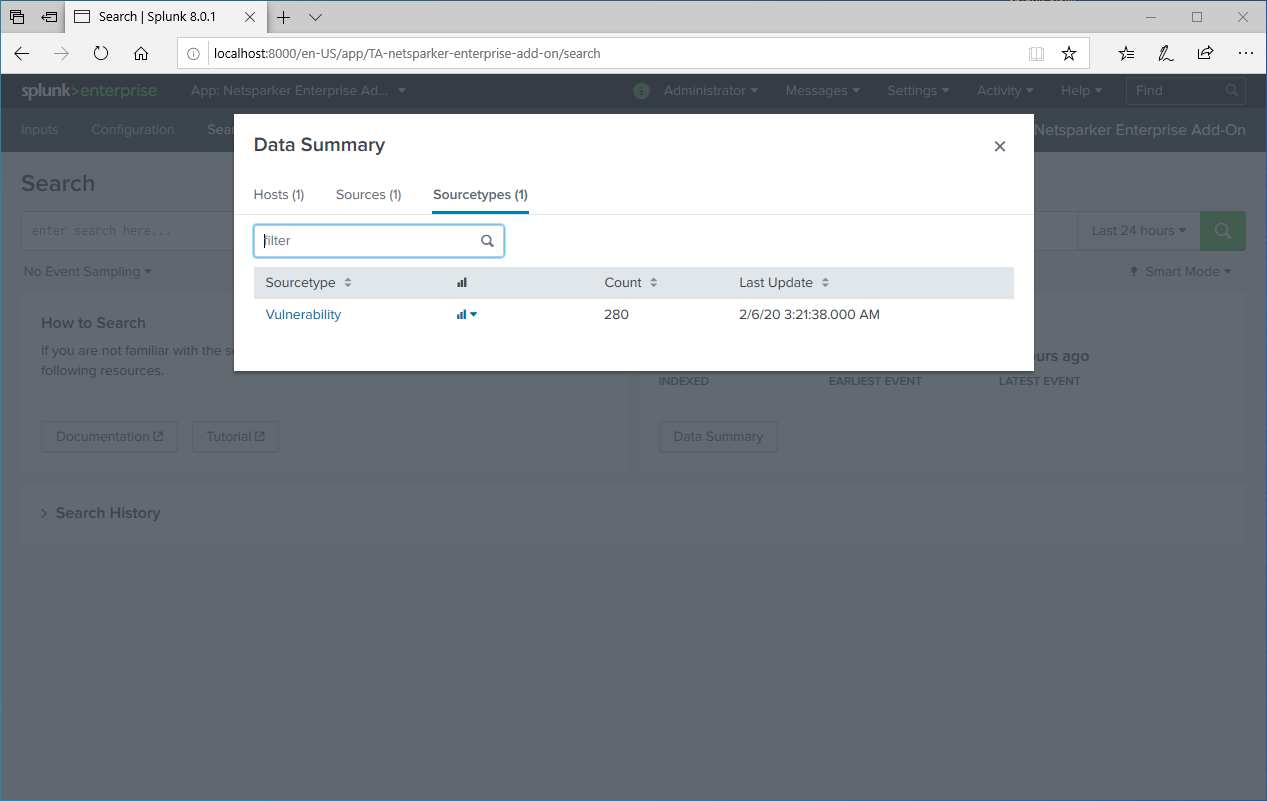
- Select the Hosts, Sources, or SourceTypes tab to display issues.
Need help?
Invicti Support team is ready to provide you with technical help. Go to Help Center