Package: Invicti AppSec Enterprise (on-premise, on-demand)
Fortify SAST
Invicti AppSec supports Fortify (OpenText Fortify Static Code Analyzer) as a SAST (Static Application Security Testing) scanner. This guide explains how to activate and import Fortify scan results.
Fortify SCA performs static analysis of source code to identify security vulnerabilities across 30+ programming languages.
Fortify is an import-based scanner. Scan results are imported from Fortify FPR (Fortify Project Results) files via the Kondukto agent, KDT CLI, file import, or UI import. No direct connection configuration is required in Invicti AppSec.
Prerequisites
Before starting the integration, ensure you have the following:
- A Fortify scan report file (FPR format) generated from a Fortify SCA scan
- The Kondukto CLI tool (KDT) installed and configured, or the Kondukto agent set up
Since Fortify does not require connection settings in Invicti AppSec, no Token, URL, or credentials are needed. You will import scan results using one of the supported import methods.
Step 1: Navigate to Integrations
From the left sidebar menu, click Integrations.
Step 2: Select the SAST Tab
On the Integrations page, you will see the Scanners section with multiple tabs. Click the SAST tab (it is selected by default).
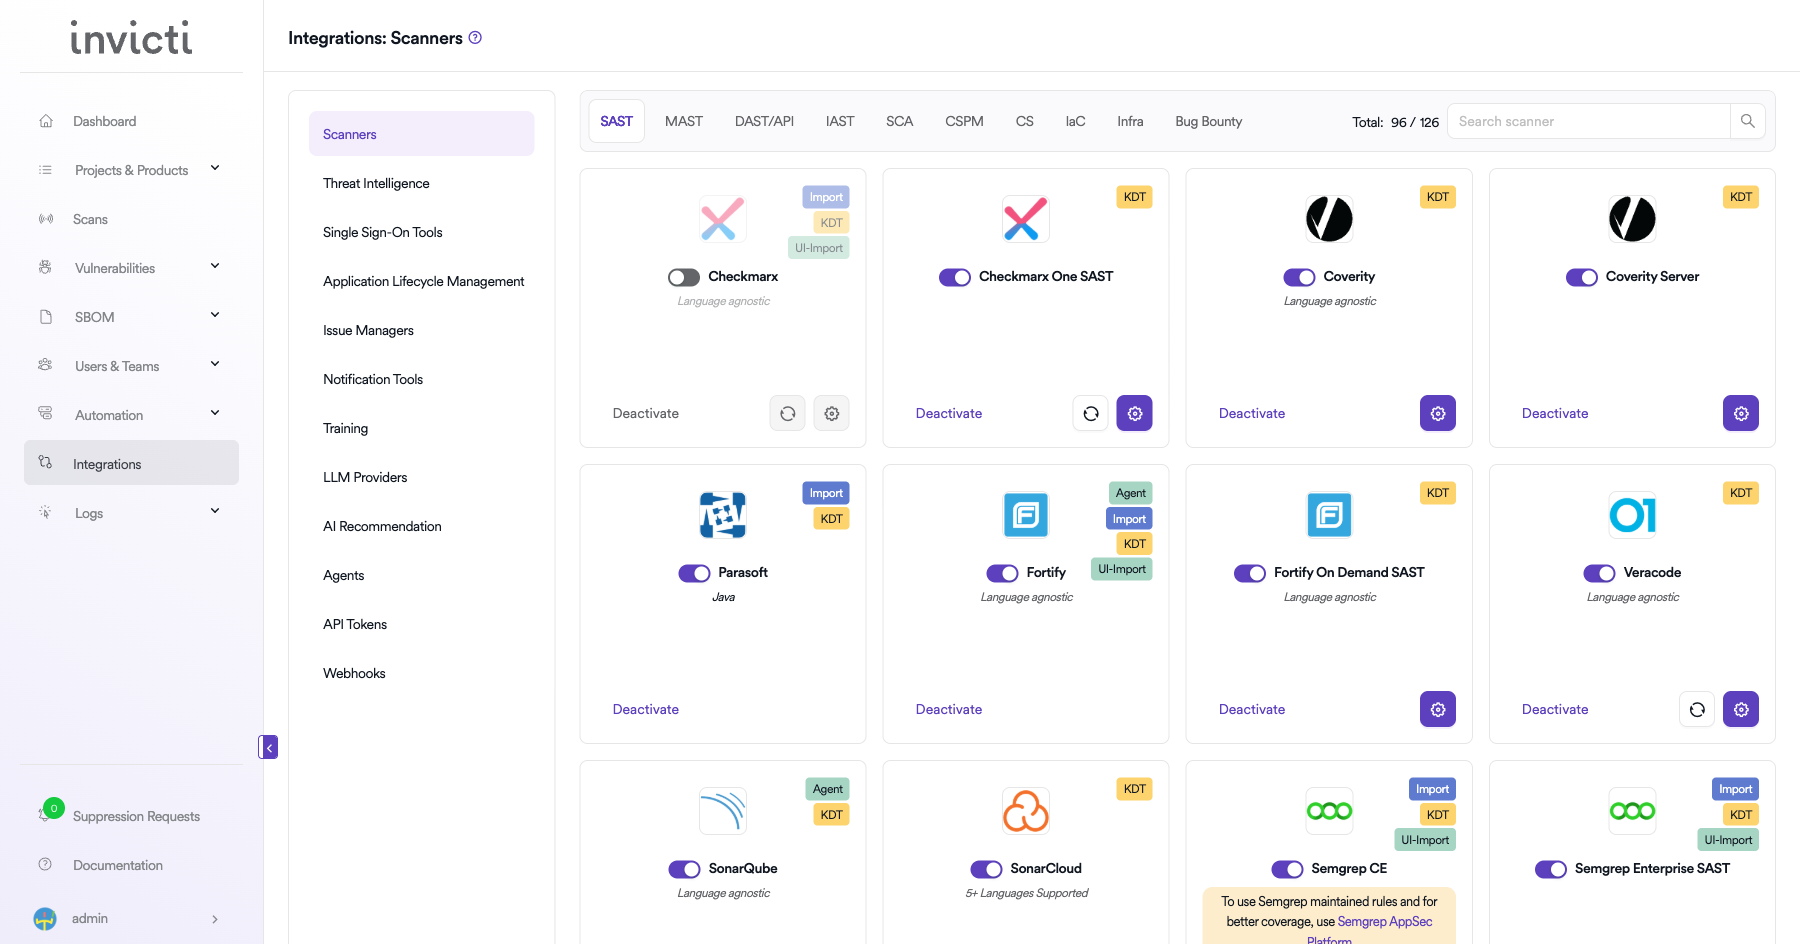
Step 3: Find and Activate Fortify
Scroll through the list of SAST scanners to find Fortify.
- If Fortify is not activated, you will see an "Activate" button. Click it to enable the integration.
- If Fortify is already activated, you will see a toggle switch in the ON position and a "Deactivate" button.
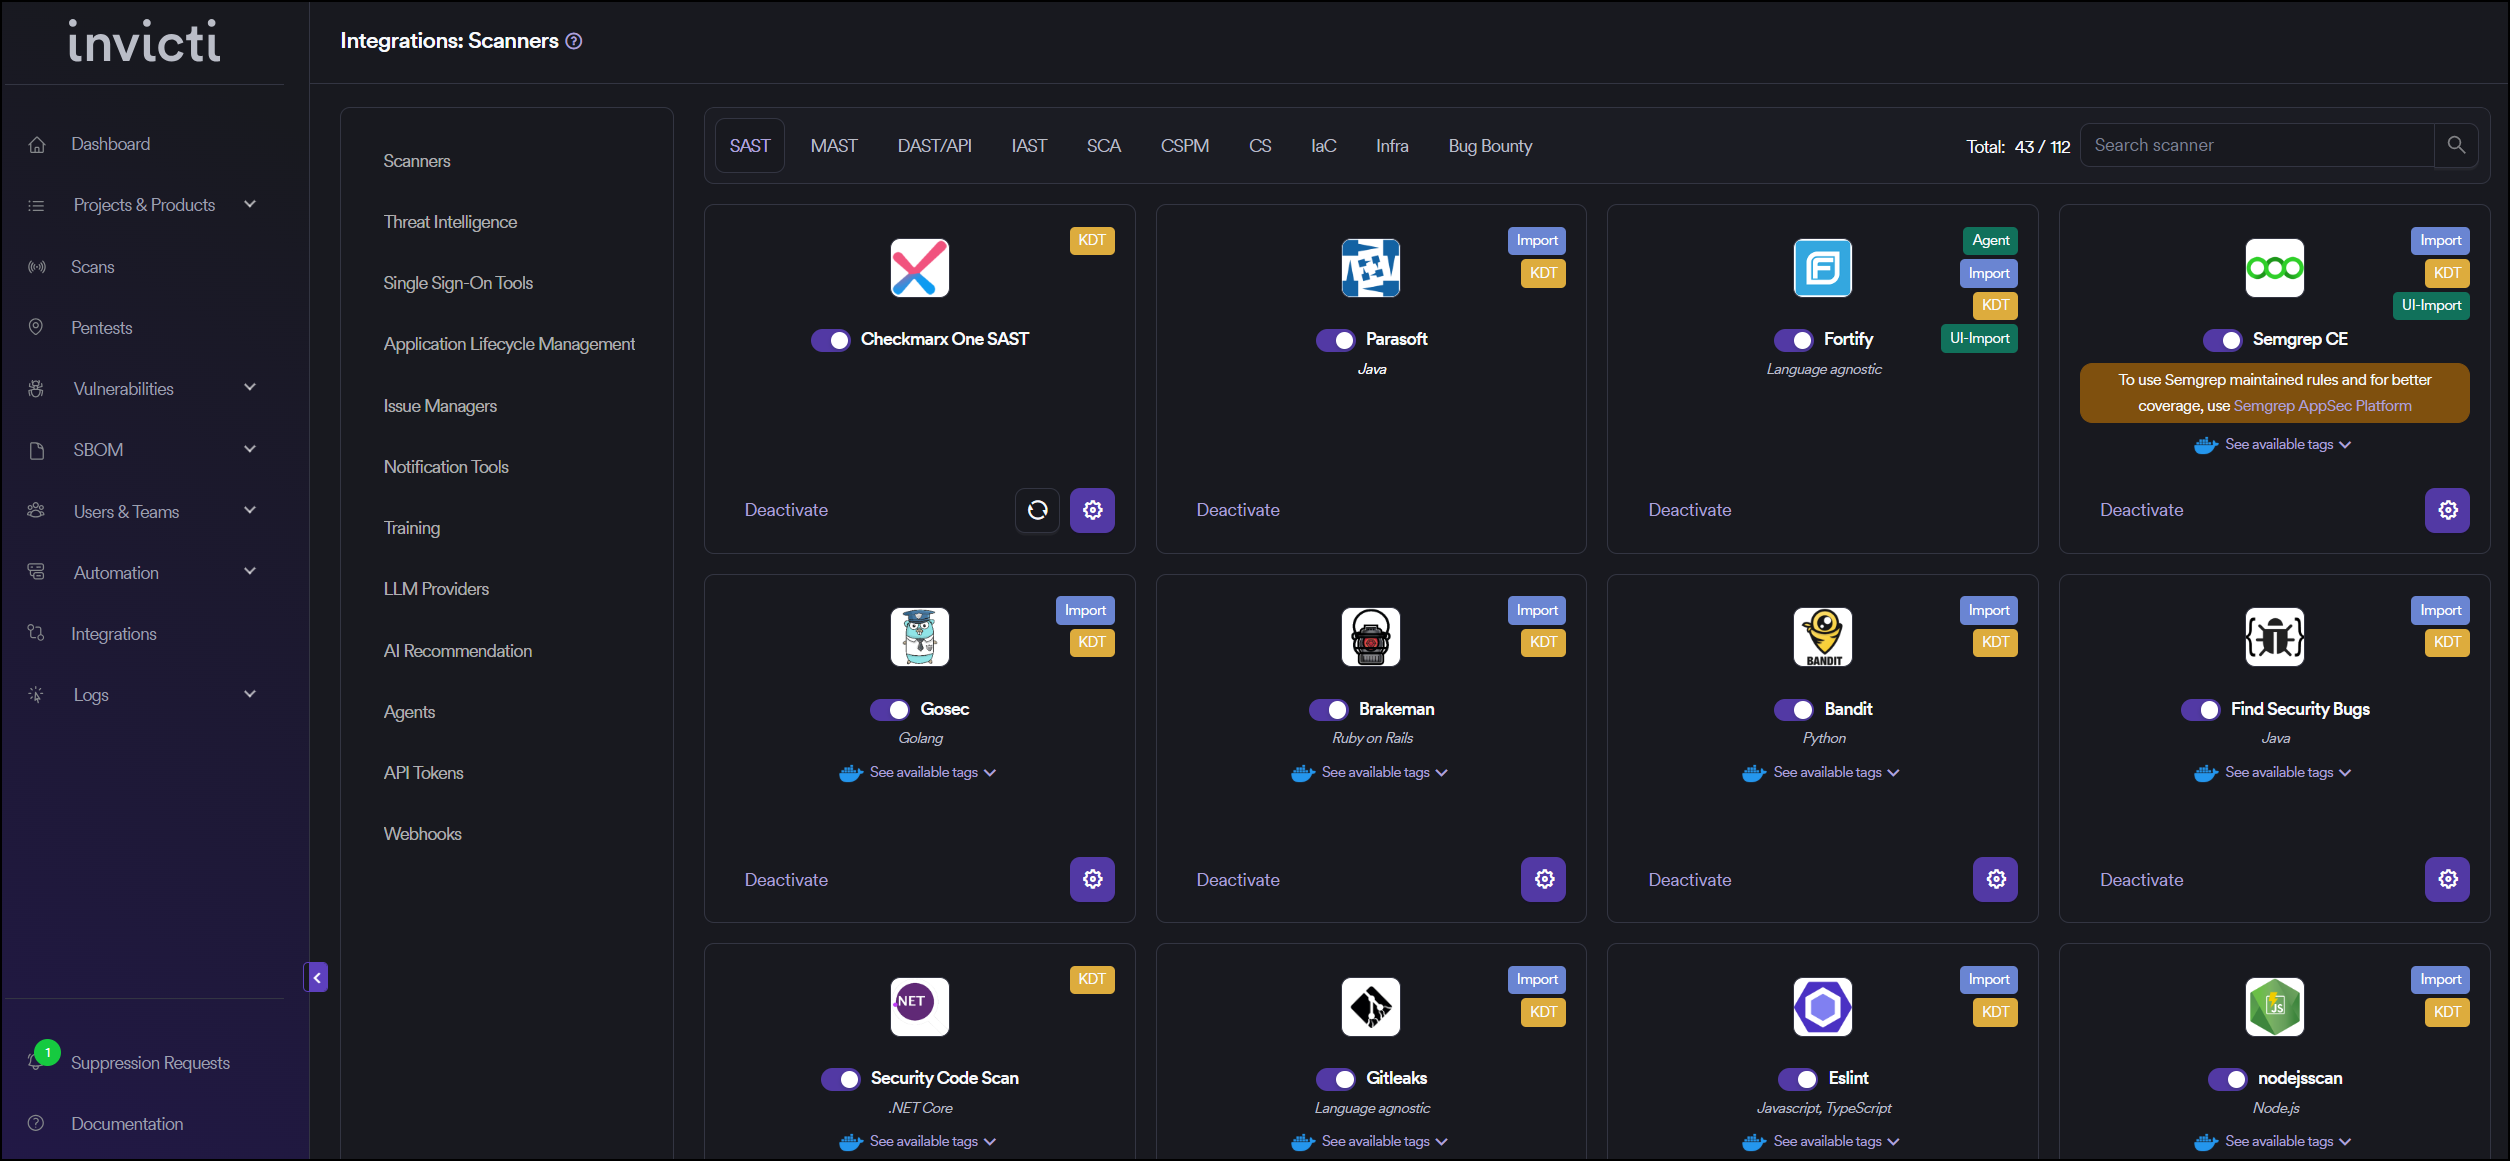
The scan method badges on the Fortify card show Agent, Import, KDT, and UI-Import, which means scan results can be imported through multiple methods. Fortify supports Language agnostic analysis covering 30+ programming languages.
Fortify does not have a gear icon for connection settings since it is an import-based scanner. No configuration is needed beyond activation.
Step 4: Import Scan Results
After activating Fortify, import scan results using one of the following methods:
Method 1: Import via Kondukto Agent
The Kondukto agent can be configured to automatically import Fortify scan results:
- Set up the Kondukto agent on your CI/CD pipeline or build server.
- Configure the agent to watch for Fortify FPR output files.
- The agent will automatically push results to Invicti AppSec.
Method 2: Import via KDT CLI
Use the Kondukto CLI tool to import Fortify scan results:
kdt scan -p <project-name> -t fortify -b <branch-name> -f <path-to-fortify-report.fpr>
Example:
kdt scan -p MyProject -t fortify -b main -f ./reports/fortify-results.fpr
Method 3: Import via Web Interface (UI-Import)
- Navigate to your Project in Invicti AppSec.
- Go to the Scans section.
- Click Import Scan.
- Select Fortify as the scanner.
- Upload your Fortify FPR report file.
- Click Import to process the results.
Method 4: Import via API
Use the Invicti AppSec API to programmatically import scan results as part of your CI/CD pipeline.
Step 5: Verify Import
After importing, verify that the scan results appear correctly:
- Check the Scans page for the newly imported scan.
- Review the Vulnerabilities tab to confirm findings were imported successfully.
- Verify severity levels and vulnerability details are accurate.
Summary
| Step | Action |
|---|---|
| 1 | Navigate to Integrations from the sidebar |
| 2 | Select the SAST tab under Scanners |
| 3 | Find Fortify and click Activate (if not already active) |
| 4 | Import results via Agent, KDT CLI, UI-Import, or API |
| 5 | Verify imported results in the project's Scans and Vulnerabilities sections |
Create a Scan
Fortify supports both import-based and scanner-based workflows. You can either import FPR files directly or configure Fortify as a scanner in your project settings.
Option 1: Configure via Project Scanners
- Go to your Project page.
- Click the Settings tab.
- Select Scanners from the left sidebar.
- In the scanner type dropdown, select SAST.
- In the scanner dropdown, search for and select Fortify.
- Click the Add button to open the scan configuration drawer.
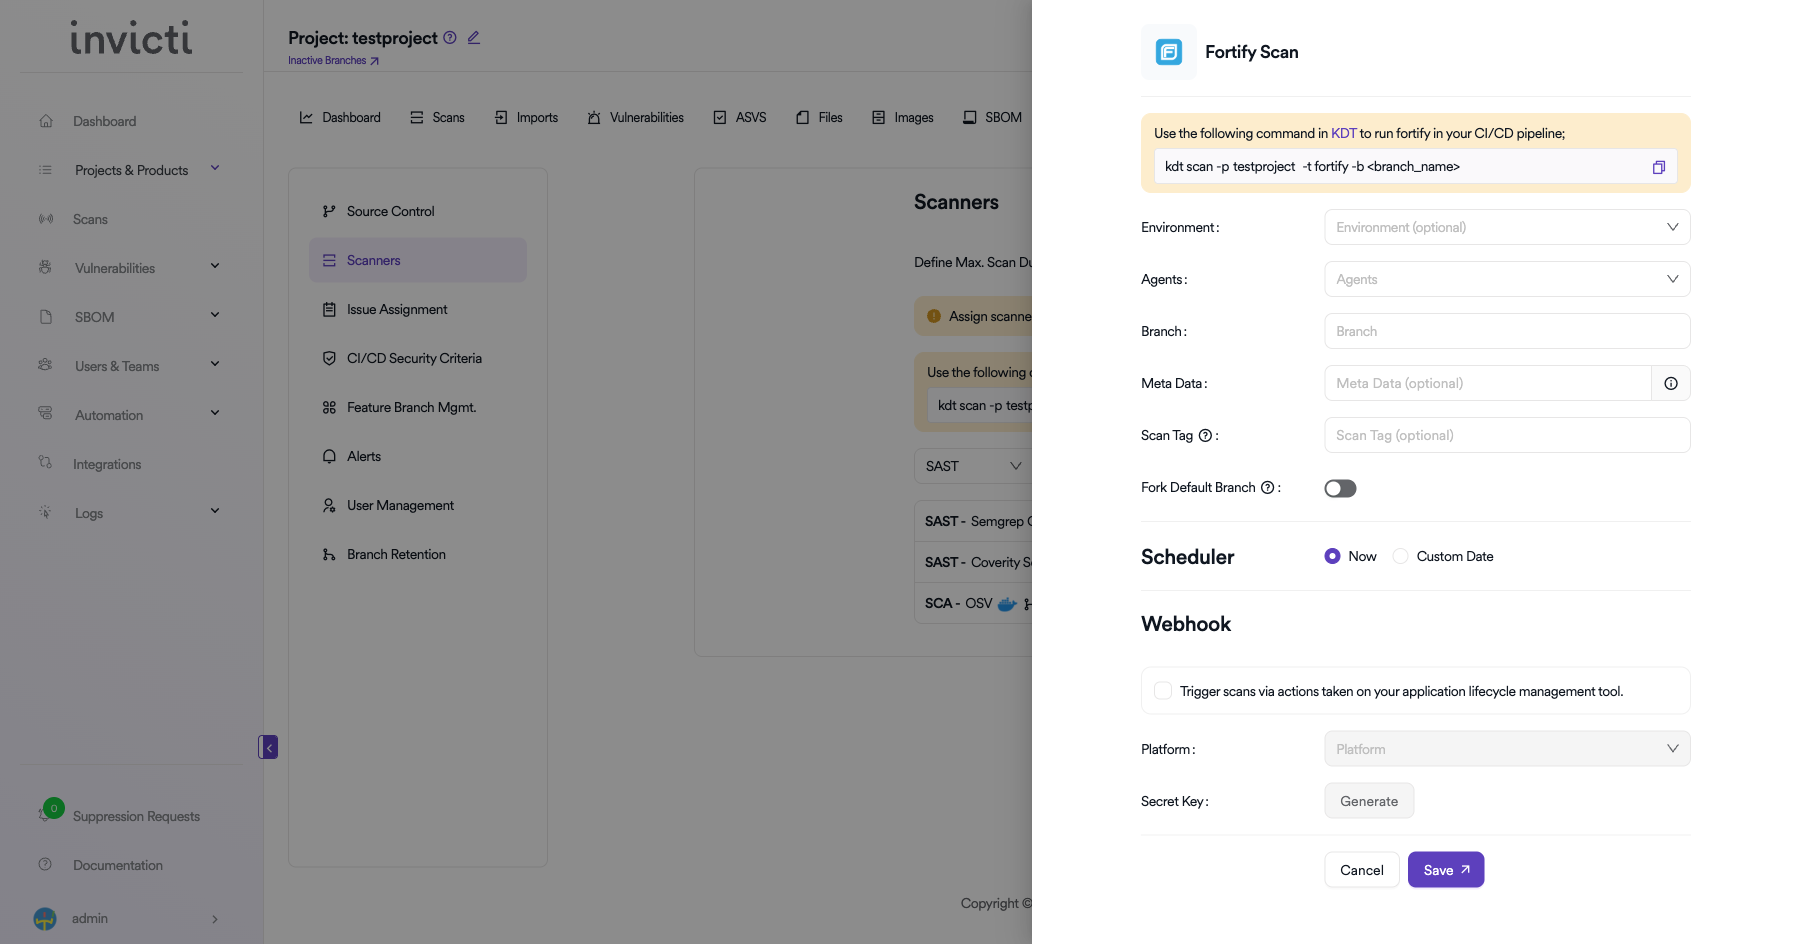
Scan Configuration Fields
| Field | Description | Required |
|---|---|---|
| Environment | Select the environment for the scan (optional) | No |
| Branch | Specify the branch to scan | No |
| Meta Data | Additional metadata for the scan (optional) | No |
| Scan Tag | Tag to identify the scan (optional) | No |
| Fork Default Branch | Enable to fork the default branch before scanning | No |
Scheduler
- Now: Run the scan immediately after saving.
- Custom Date: Schedule the scan for a specific date and time.
Webhook (Optional)
Enable webhook to trigger scans via actions taken on your application lifecycle management tool:
- Check the Trigger scans via actions checkbox.
- Select the Platform (e.g., GitHub, GitLab, Bitbucket).
- Click Generate to create a Secret Key for webhook authentication.
Option 2: Import via KDT CLI
Use the Kondukto CLI tool to import Fortify scan results:
kdt scan -p <project_name> -t fortify -b <branch_name> -f <path-to-fortify-report.fpr>
Example:
kdt scan -p MyProject -t fortify -b main -f ./reports/fortify-results.fpr
Troubleshooting
Import Issues
- Invalid FPR File: Ensure the file is a valid Fortify FPR (Fortify Project Results) format. Corrupted or incomplete files will fail to import.
- File Too Large: Very large FPR files may take longer to process. Consider splitting scans into smaller modules.
- KDT Connection: Verify the KDT CLI is properly configured with a valid API token and can reach the Invicti AppSec server.
- Project Not Found: Ensure the project name specified in the KDT command matches an existing project in Invicti AppSec.
Result Issues
- Missing Vulnerabilities: Ensure the Fortify scan completed successfully before exporting the FPR file.
- Incorrect Severity: Severity mappings are based on Fortify's classification. Review Fortify's audit settings if severity levels appear incorrect.
Best Practices
- Automate Imports: Integrate KDT scan imports into your CI/CD pipeline for consistent and automated result tracking.
- Use Latest FPR Format: Always use the latest Fortify SCA version to generate FPR files for best compatibility.
- Verify Before Import: Review the FPR file in Fortify Audit Workbench before importing to ensure completeness.
- Consistent Naming: Use consistent project and branch naming between Fortify and Invicti AppSec for accurate tracking.
Limitations
- Import-Based Only: Fortify is an import-based scanner. Invicti AppSec does not trigger Fortify scans directly.
- FPR Format Required: Only Fortify FPR format files are supported for import.
- No Real-Time Sync: Results are imported as point-in-time snapshots. There is no continuous synchronization with Fortify.
Need help?
Invicti Support team is ready to provide you with technical help. Go to Help Center