Deployment: Invicti Platform on-demand, Invicti Platform on-premises
Scheduled scans
Scheduled scans in Invicti Platform run automatically on a recurring basis according to the frequency you define. Using DAST scan schedules, you can set a custom name, start date, frequency, and optional end date for each scan. For a one-time scheduled scan, refer to the Future scan document.
This document describes how to create scheduled scans in Invicti Platform.
All scans must comply with the Authorized target scanning policy. Review this document before executing the scans.
Create a schedule
After configuring your targets, you're ready to begin scanning.
- Select Scans > DAST scan schedules from the left-side menu.
- Click New scan schedule to open the scan settings.
- In the Scan target drop-down, enable the checkbox to mark the target you want to scan.
- Select a Scan profile from the list of available default or custom profiles.
- Optionally, from the Report drop-down menu, choose your preferred report type.
- Optionally, in the Tags field, add tags to label and organize the scan.
- In the Would you like the scan to be incremental? option, select Yes to focus on scanning only the changes. The default is No.
For more information, refer to the incremental scanning document.
- Optionally, enter a Schedule name to differentiate the schedule.
- In the Start fields, specify when you want the scan to begin.
- Select Frequency: daily, weekly, monthly, quarterly, yearly, or custom.
- In the Is there an end date for the schedule? option, select Yes to set an end date. The default is No.
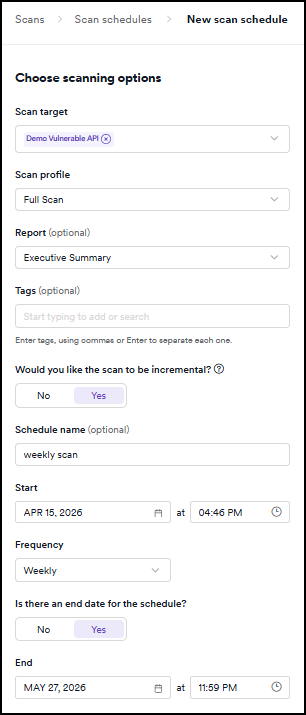
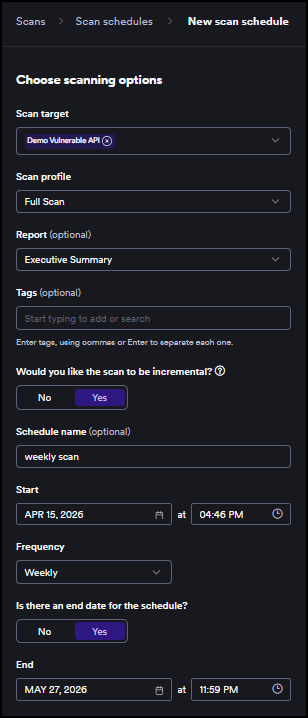
For more information on schedule frequency and custom schedule options, refer to the DAST scan schedules document.
- Click Schedule scan to confirm.
The scan starts automatically as per the set schedule. You can access the scan results by clicking on the relevant line in the list of scans on the DAST scan schedules page. Refer to the Review scan results document for more information.
Invicti automatically turns off a scan schedule when consecutive scans fail, based on the scan schedule failure limit configured in Settings > Scanning. Running Scan again from a failed scan doesn't affect the failure count or re-enable the schedule. To turn a schedule back on after it has been automatically turned off, refer to the DAST scan schedules document.
An administrator can also suspend all scanning organization-wide. When active, no new or scheduled scans start.
Delete a schedule
- Select Scans > DAST scan schedules from the left-side menu.
- Find the relevant scan and click the trash bin icon.
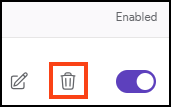
- In the confirmation dialog, enable the Delete associated scan sessions and their results checkbox to delete the schedule and the scan results. Click Delete schedule to proceed.
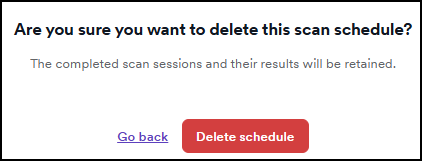
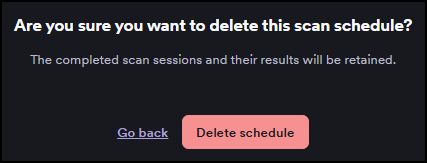
- Invicti retains completed scan sessions and their individual results, available to view in the DAST scans page, unless you choose to delete the scan results.
- Invicti deletes the Past scans tab information from the Scan summary page.
Alternative scan options
- Instant scan - starts a scan immediately on the selected target.
- Future scan - schedules a one-time scan for a specific date and time.
- Recurring scan - sets up automated recurring scans from the DAST scans page.
- Incremental scan - scans only newly discovered or modified pages.
- Scan dynamic URL target - triggers scans on ephemeral targets via API or CI/CD.
- PCI ASV scan - runs official PCI DSS compliance scans through Clone Systems.
Need help?
Invicti Support team is ready to provide you with technical help. Go to Help Center