Package: Invicti AppSec Enterprise (on-premise, on-demand)
OSV-Scanner SCA integration
Invicti AppSec supports OSV-Scanner as an SCA (Software Composition Analysis) scanner. This guide explains how to activate and use the OSV-Scanner integration.
OSV-Scanner is an open-source vulnerability scanner developed by Google that uses the OSV (Open Source Vulnerabilities) database. It scans project dependencies to find known vulnerabilities across multiple ecosystems, including npm, PyPI, Maven, Go, Cargo, and more.
Prerequisites
Before starting the integration, ensure you have the following:
| Requirement | Description |
|---|---|
| Docker | Docker installed and running in your CI/CD environment |
| OSV-Scanner Docker image | The OSV-Scanner Docker image for running scans |
| KDT CLI or UI access | Access to the Kondukto CLI tool (KDT) or the Invicti AppSec web interface for importing results |
| Project dependencies | A project with dependency manifest files (e.g., package-lock.json, go.sum, requirements.txt) |
OSV-Scanner runs inside a Docker container and does not use a traditional Test Connection flow. Instead, configuration is done through the Docker activation dialog.
Step 1: Navigate to Integrations
From the left sidebar menu, click on Integrations.
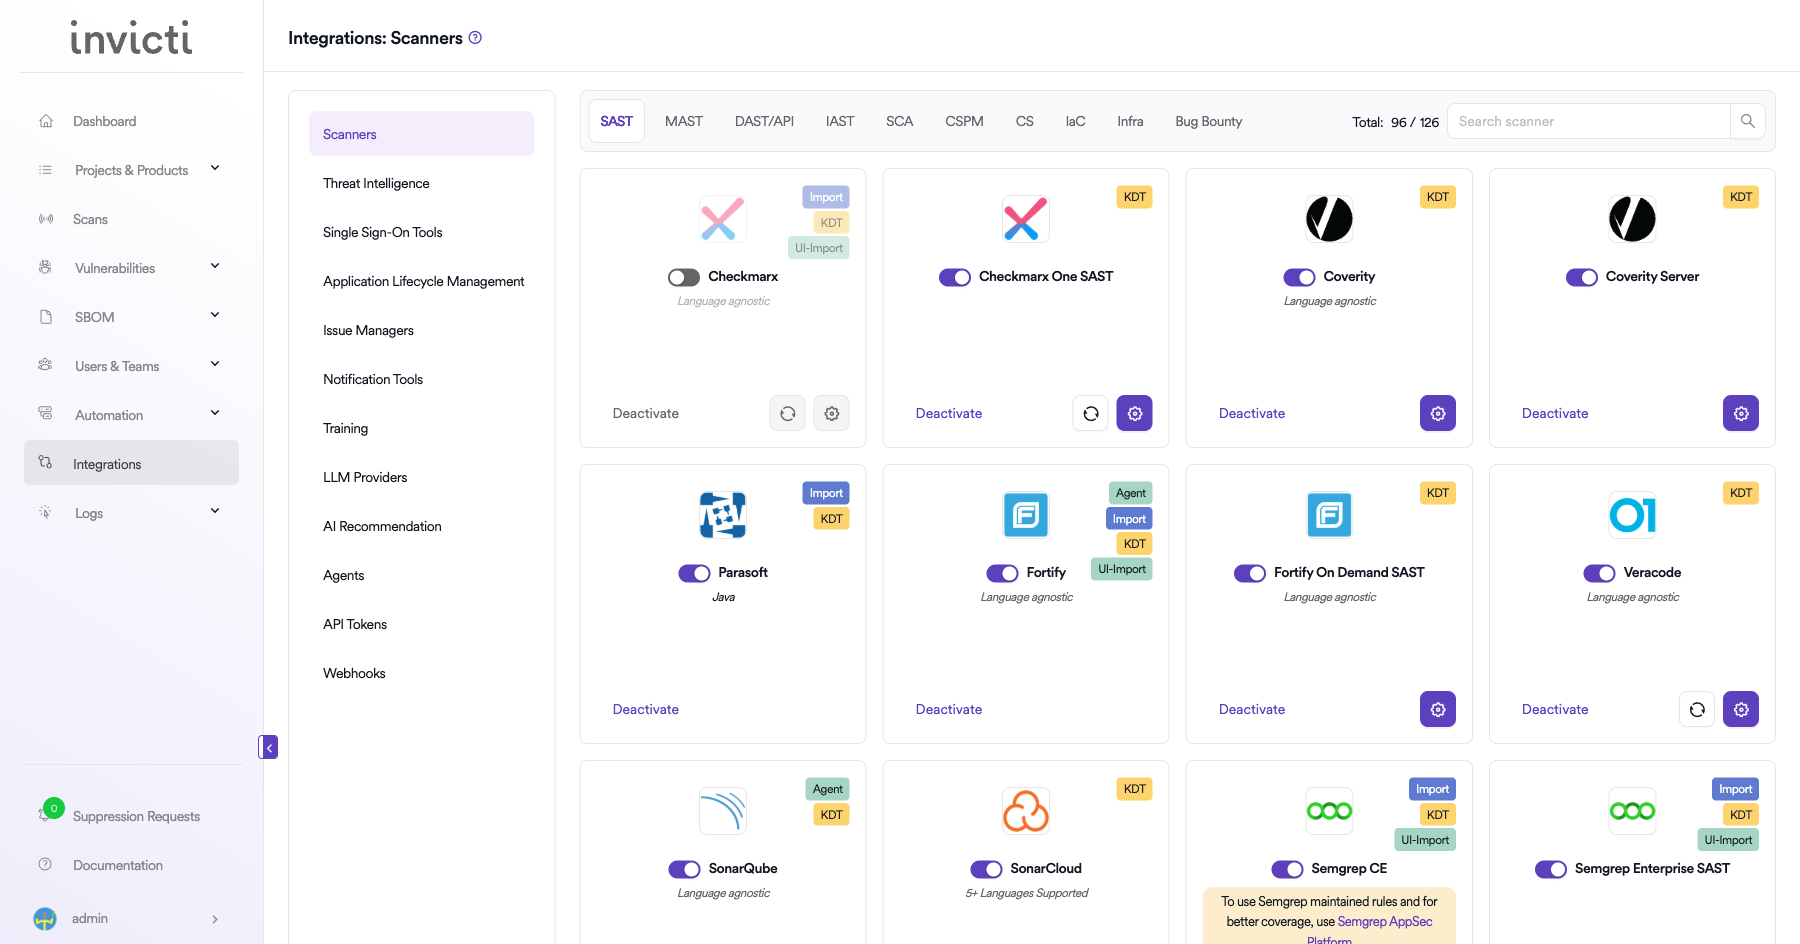
Step 2: Select the SCA Tab
On the Integrations page, you will see the Scanners section with multiple tabs. Click on the SCA tab.
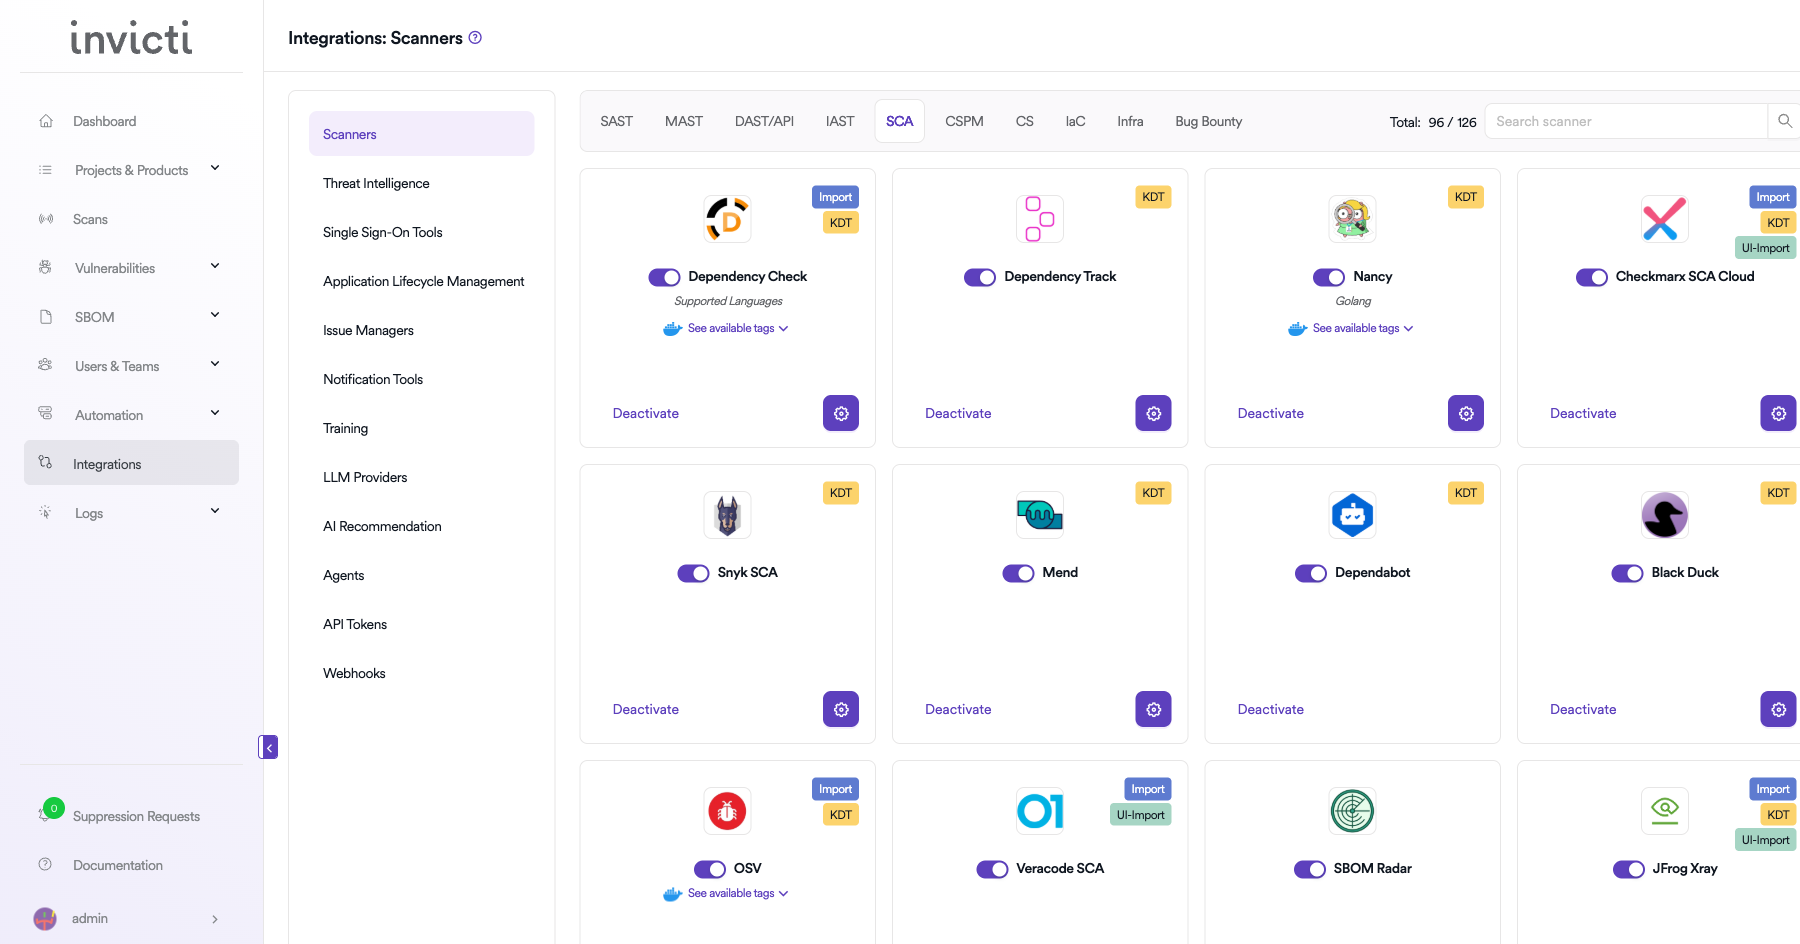
Step 3: Find and Activate OSV-Scanner
Scroll through the list of SCA scanners to find OSV-Scanner.
- If OSV-Scanner is not activated, you will see an "Activate" button. Click it to enable the integration. An activation dialog will appear where you can configure the Docker settings.
- If OSV-Scanner is already activated, you will see a toggle switch in the ON position and a "Deactivate" button, along with a gear icon for configuration.
The scan method badges on the OSV-Scanner card show Import and KDT, which means results can be imported through the Kondukto CLI tool (KDT) or the API.
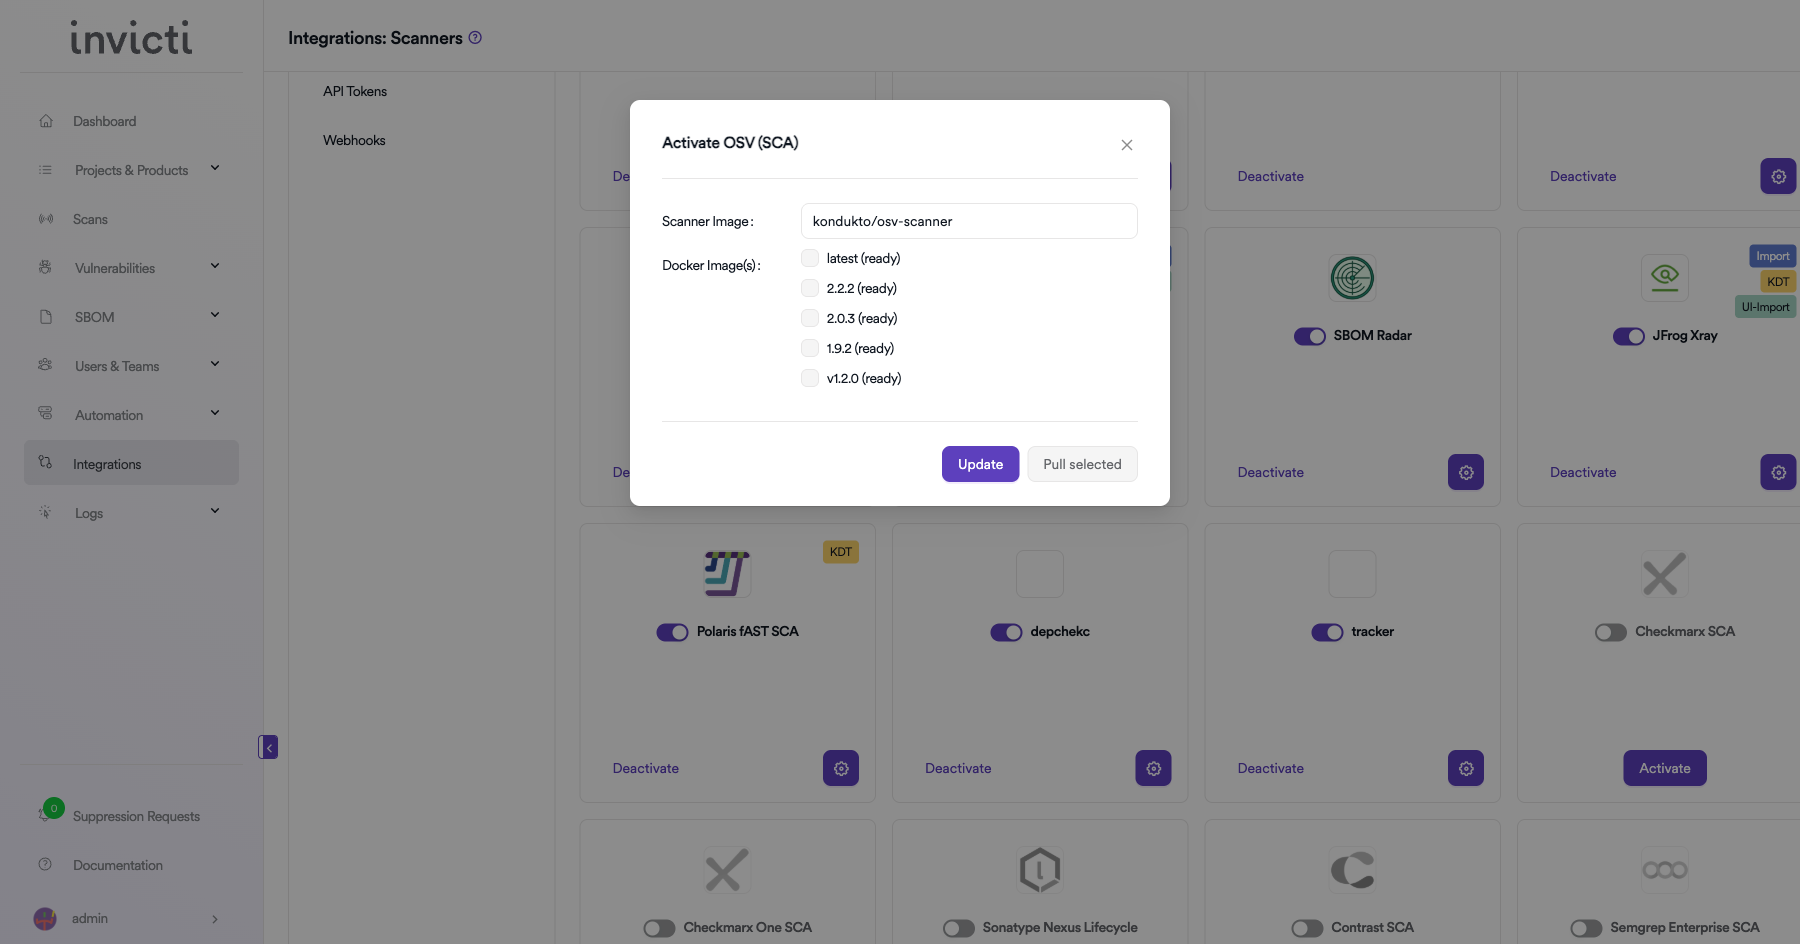
Step 4: Configure Docker Settings
Click on the gear icon on the OSV-Scanner card to open the configuration panel. Fill in the following fields:
| Field | Description | Required |
|---|---|---|
| Scanner Image | The Docker image to use for OSV-Scanner scans | Yes |
| Docker Images | Additional Docker image versions available for scanning | No |
Step 5: Import Scan Results
After configuring the Docker settings, import scan results using one of the following methods:
Method 1: Import via KDT CLI
Use the Kondukto CLI tool to trigger or import OSV-Scanner scan results:
kdt scan -p <project-name> -t osv -b <branch> -f <path-to-osv-report.json>
Method 2: Import via API
Use the Invicti AppSec API to programmatically import scan results as part of your CI/CD pipeline.
Step 6: Verify Import
After importing, verify that the scan results appear correctly:
- Check the Scans page for the newly imported scan.
- Review the Vulnerabilities tab to confirm findings were imported successfully.
- Verify severity levels and vulnerability details are accurate.
CI/CD Pipeline Example
Here is an example of integrating OSV-Scanner with the KDT CLI in a CI/CD pipeline:
# Example: GitLab CI/CD
osv_scan:
  stage: security
  image: docker:latest
  services:
    - docker:dind
  script:
    - docker run --rm
        -v $(pwd):/src
        ghcr.io/google/osv-scanner:latest
        --format json
        --output /src/osv-report.json
        /src
    - kdt scan -p my-project -t osv -b $CI_COMMIT_BRANCH -f osv-report.json
Summary
| Step | Action |
|---|---|
| 1 | Navigate to Integrations from the sidebar |
| 2 | Select the SCA tab under Scanners |
| 3 | Find OSV-Scanner and click Activate (if not already active) |
| 4 | Configure Scanner Image and Docker Images |
| 5 | Run OSV-Scanner in Docker and import results via KDT CLI or API |
| 6 | Verify imported results in the project's Scans and Vulnerabilities sections |
Need help?
Invicti Support team is ready to provide you with technical help. Go to Help Center