Package: Invicti AppSec Enterprise (on-premise, on-demand)
Snyk SCA integration
Invicti AppSec supports Snyk SCA as an SCA (Software Composition Analysis) scanner. This guide explains how to activate and configure the Snyk SCA integration.
Snyk SCA is a developer-first software composition analysis tool that helps find and fix vulnerabilities in open-source dependencies. It supports a wide range of languages and package managers, providing actionable remediation advice with upgrade and patch recommendations.
Prerequisites
Before starting the integration, ensure you have the following information from your Snyk account:
| Field | Description | Required |
|---|---|---|
| Token | API token generated from your Snyk account | Yes |
| Region | The Snyk data center region for your account (e.g., SNYK-US-01, SNYK-US-02, SNYK-EU-01, SNYK-AU-01) | Yes |
| Target Mode | Toggle to enable target-based scanning mode | No |
Get Credentials (on Snyk Side)
- Log in to your Snyk account at app.snyk.io.
- Click on your account avatar in the bottom-left corner.
- Select Account Settings.
- Under the General section, find the Auth Token field.
- Click click to show to reveal your API token, or generate a new one.
- Copy the token and save it securely.
Get credentials
- Log in to your Snyk account.
- Go to Account Settings > General.
- Locate or generate your Auth Token.
- Copy and save the token securely.
Step 1: Navigate to Integrations
From the left sidebar menu, click on Integrations.
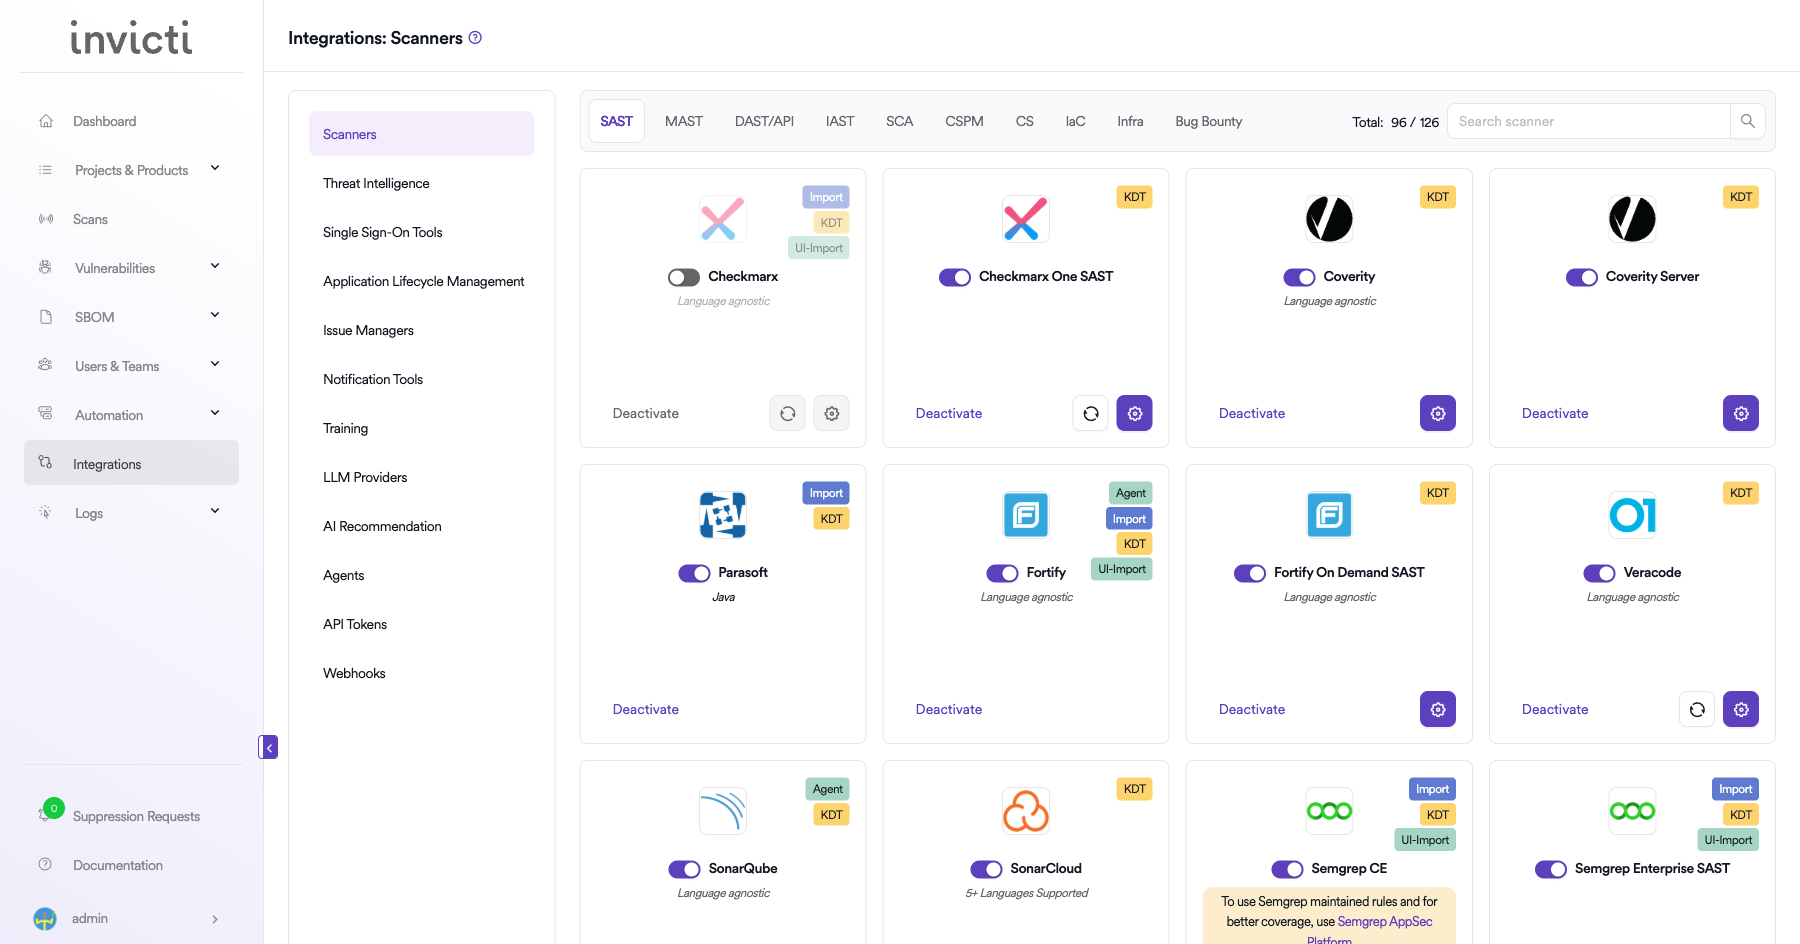
Step 2: Select the SCA Tab
On the Integrations page, you will see the Scanners section with multiple tabs. Click on the SCA tab.
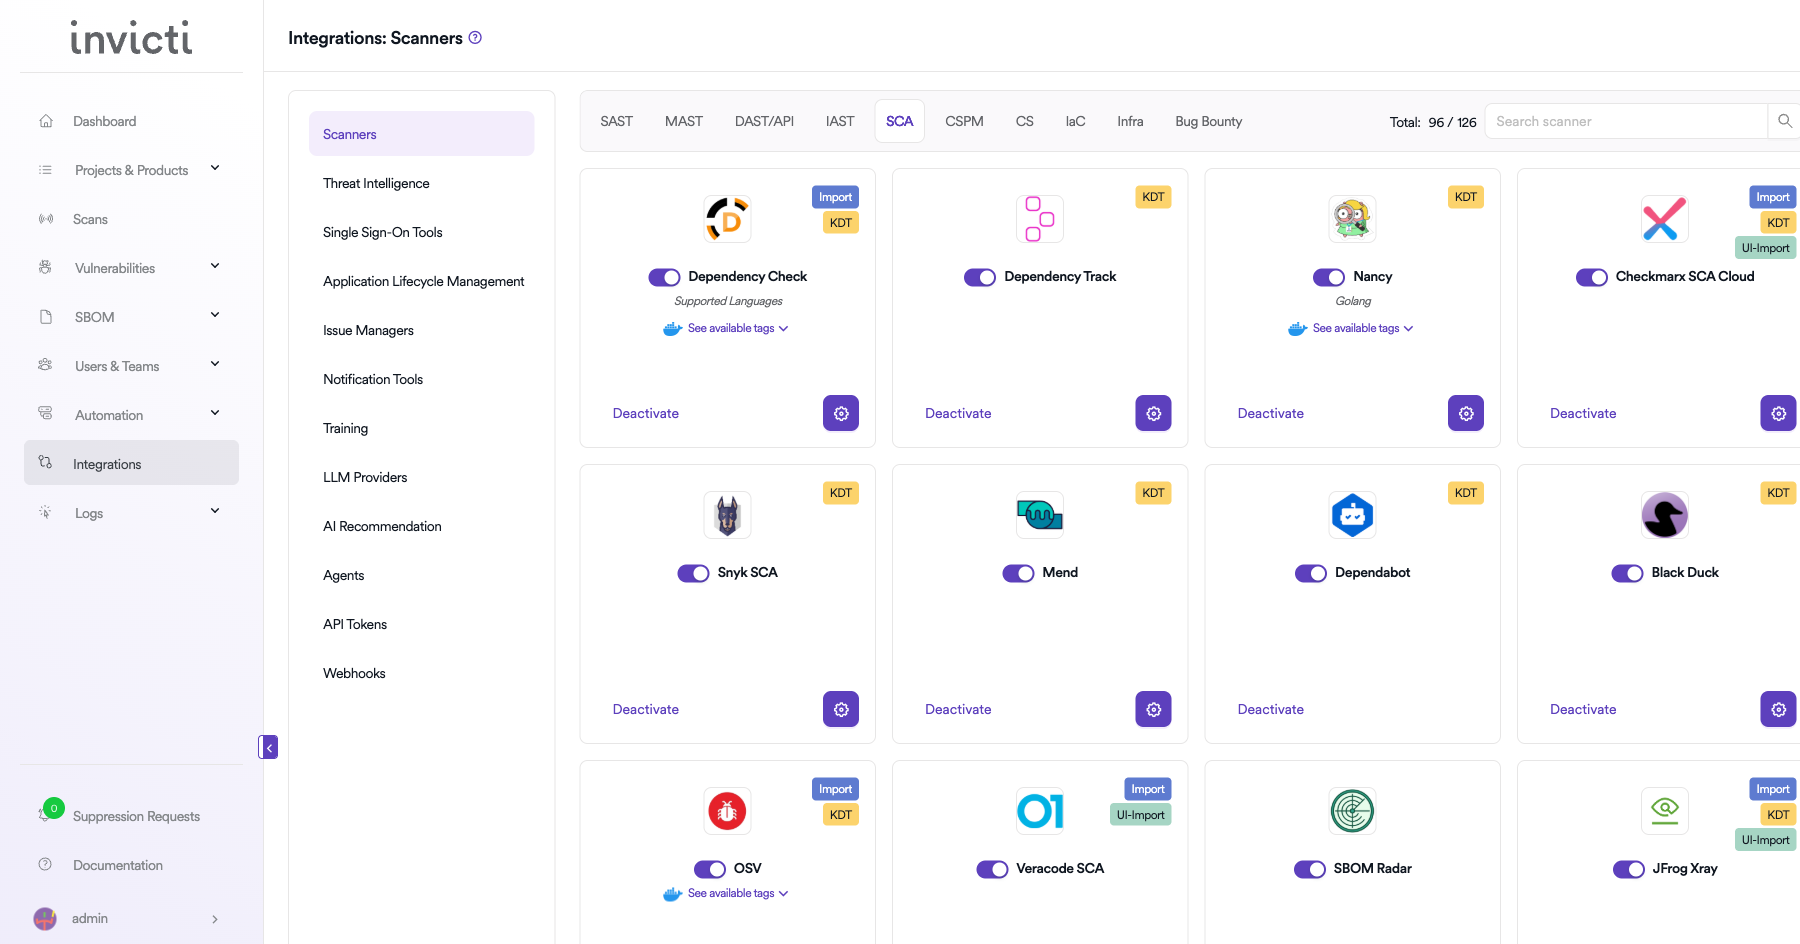
Step 3: Find and Activate Snyk SCA
Scroll through the list of SCA scanners to find Snyk SCA.
- If Snyk SCA is not activated, you will see an "Activate" button. Click it to enable the integration.
- If Snyk SCA is already activated, you will see a toggle switch in the ON position and a "Deactivate" button, along with a gear icon for configuration.
The scan method badge on the Snyk SCA card shows KDT, which means scans are triggered through the Kondukto CLI tool (KDT).
Step 4: Configure Connection Settings
Click on the gear icon on the Snyk SCA card to open the configuration panel. Fill in the required fields:
- Token: Paste the API token you generated from Snyk.
- Region: Select your Snyk data center region from the dropdown menu. Available regions include:
- SNYK-US-01 - United States (primary)
- SNYK-US-02 - United States (secondary)
- SNYK-EU-01 - Europe
- SNYK-AU-01 - Australia
- Target Mode: Toggle this switch to enable target-based scanning, which allows Snyk to scan specific targets within your organization rather than the entire project.
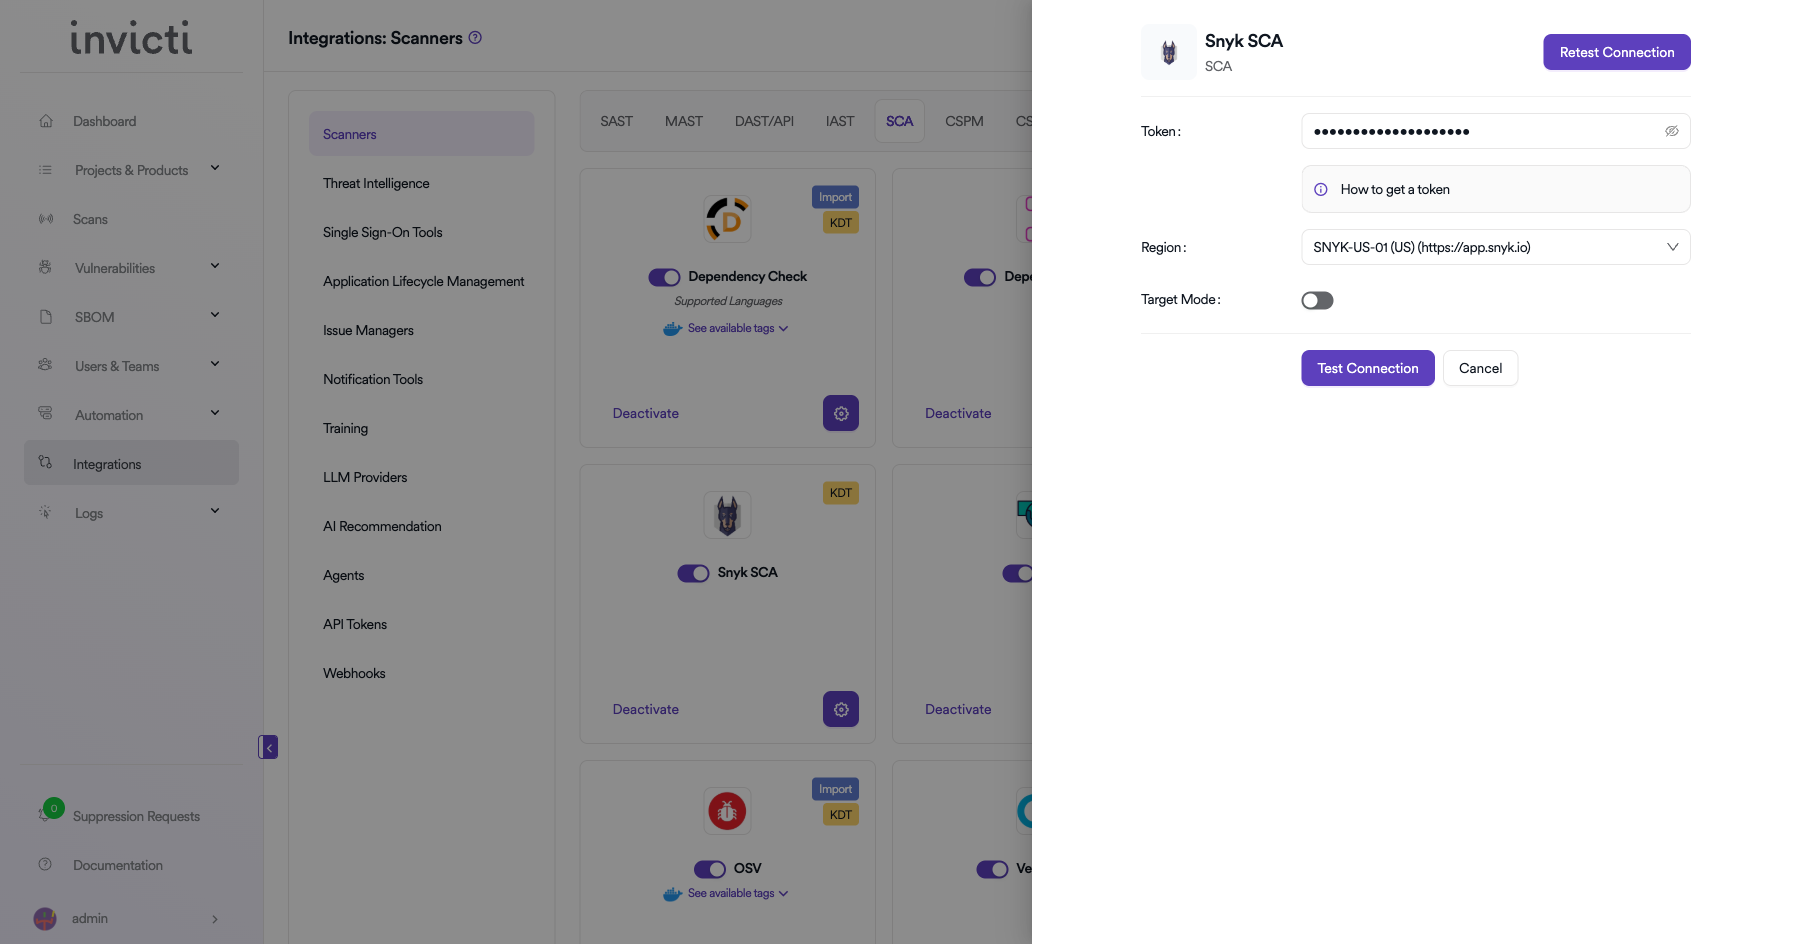
Step 5: Test the Connection
Click the "Test Connection" button at the bottom of the configuration panel to verify that the provided token and region are correct.
- If the connection is successful, the integration is ready to use.
- If the connection fails, verify your Token and ensure the correct Region is selected.
- For existing integrations, you can use the "Retest Connection" button at the top of the panel.
Step 6: Advanced Settings (Optional)
Click on "Advanced Settings" to expand additional options:
| Setting | Description | Default |
|---|---|---|
| Allow team leads to scan this instance | Permits team leads to trigger scans using this Snyk SCA instance | Off |
| Allow team leads to create new instances | Permits team leads to create additional Snyk SCA instances | Off |
After modifying advanced settings, click "Save Advanced Settings" to apply changes.
Summary
| Step | Action |
|---|---|
| 1 | Navigate to Integrations from the sidebar |
| 2 | Select the SCA tab under Scanners |
| 3 | Find Snyk SCA and click Activate (if not already active) |
| 4 | Click the gear icon and fill in Token, Region, and optionally enable Target Mode |
| 5 | Click Test Connection to verify |
| 6 | (Optional) Configure Advanced Settings for team lead permissions |
Need help?
Invicti Support team is ready to provide you with technical help. Go to Help Center