Step 2: Install and configure the Web App Server and AV service
Installing Invicti Enterprise involves two separate setup wizards and a browser-based configuration wizard:
WebAppSetup.exe- installs the Invicti Enterprise web application.AuthVerifierServiceSetup.exe- installs the Authentication Verifier Service. This wizard launches automatically at the end of the web application installer.- Invicti Enterprise Installation Wizard - opens automatically in your browser after the installers complete. Use it to configure the database, license, accounts, and agents.
This document explains how to install the web application, configure the Authentication Verifier Service, and complete the browser-based configuration wizard.
Install the Invicti Enterprise web application
- Run the
WebAppSetup.exefile. - On the End-User License Agreement step, accept the license agreement, and select Next.
- On the Ready to Install step, select Install and wait for the installation to complete.
When the web application installer finishes, the Authentication Verifier Service Setup Wizard launches automatically. Continue with the steps below.
Install the Authentication Verifier Service
This step is optional. You can skip it and install the Authentication Verifier Service later. For instructions, see the Authentication Verifier Settings document.
- On the Welcome to the Invicti Enterprise Authentication Verifier Service Setup Wizard window, select Next.
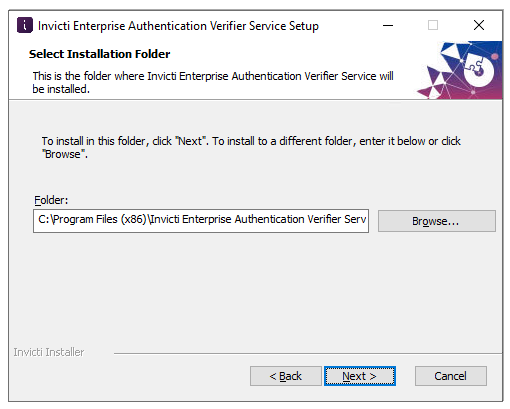
- On the Select Installation Folder step, select Next to install to the default folder. Alternatively, select Browse to choose a different location, then select Next.
- On the Ready to Install step, select Install.
- On the Completing the Invicti Enterprise Authentication Verifier Service Setup Wizard step, select Finish.
After both installers finish, the Invicti Enterprise Web Application Setup Wizard returns. Select Finish. If the Launch Invicti Enterprise Application checkbox is selected, the browser-based configuration wizard opens automatically on localhost. Continue with the steps below.
Configure the web application server using the installation wizard
The Invicti Enterprise Installation Wizard opens automatically in your browser after you complete the installer. If it doesn't open, navigate to the server URL where Invicti Enterprise is installed.
You can also install the Invicti Enterprise Web Application in silent mode. For more information, refer to the Installing Invicti Enterprise on-premises in silent mode document.
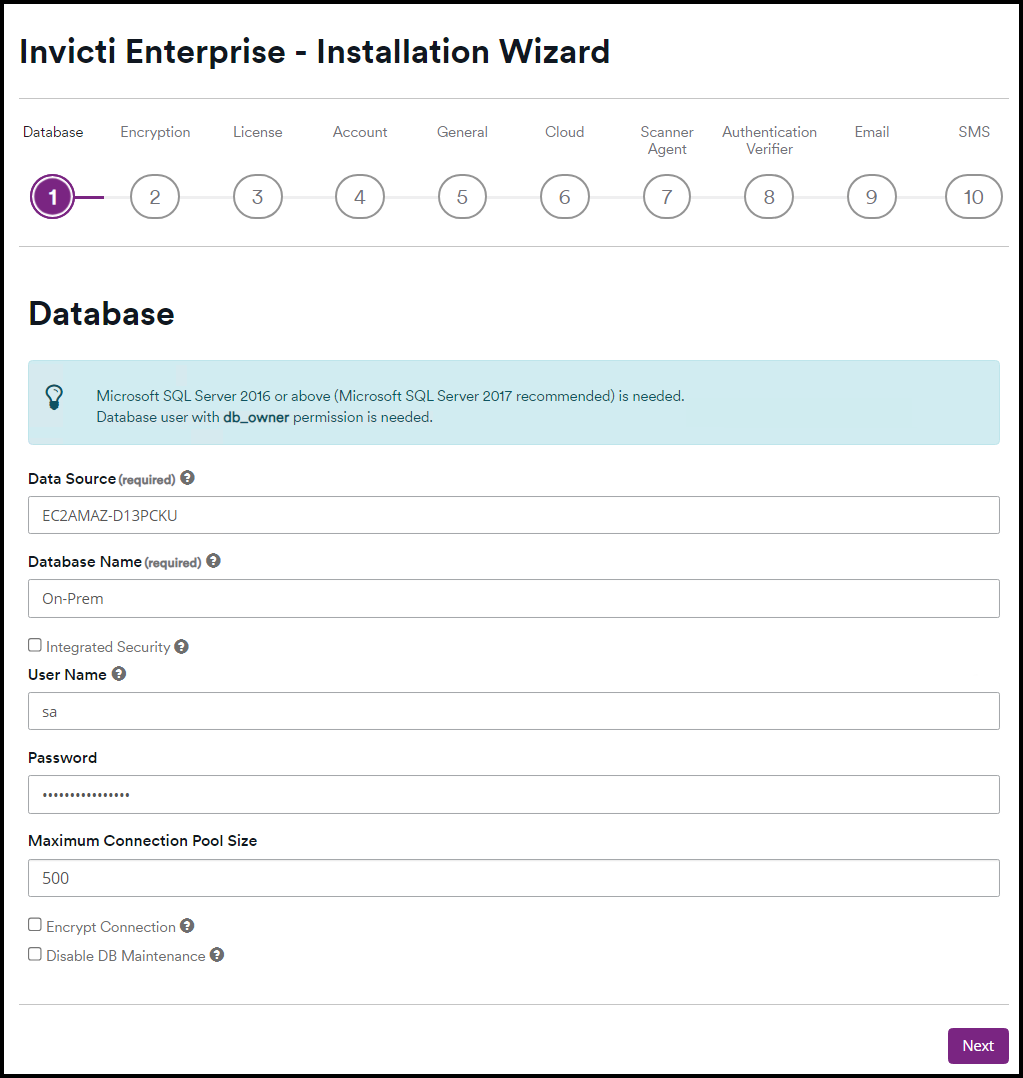
- The first step is to configure the database connection.
- Enter the following information and then click Next.
- Data Source: the name or network address instance of SQL Server to connect. Specify an instance name like ‘server/instance’ if there is an instance name. You specify this when setting up the SQL database.
- Database Name: the name of the database associated with the connection.
- User Name: database user name.
- Password: database password.
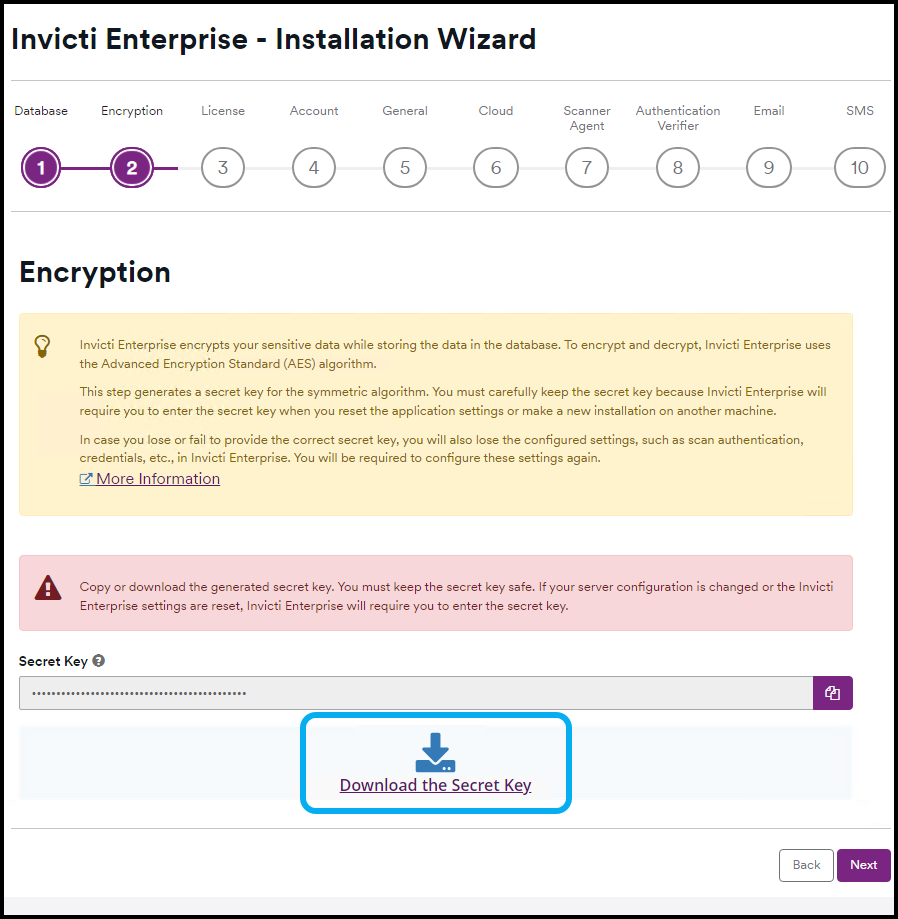
- On the Encryption page, Download the Secret Key. Then, select Next.
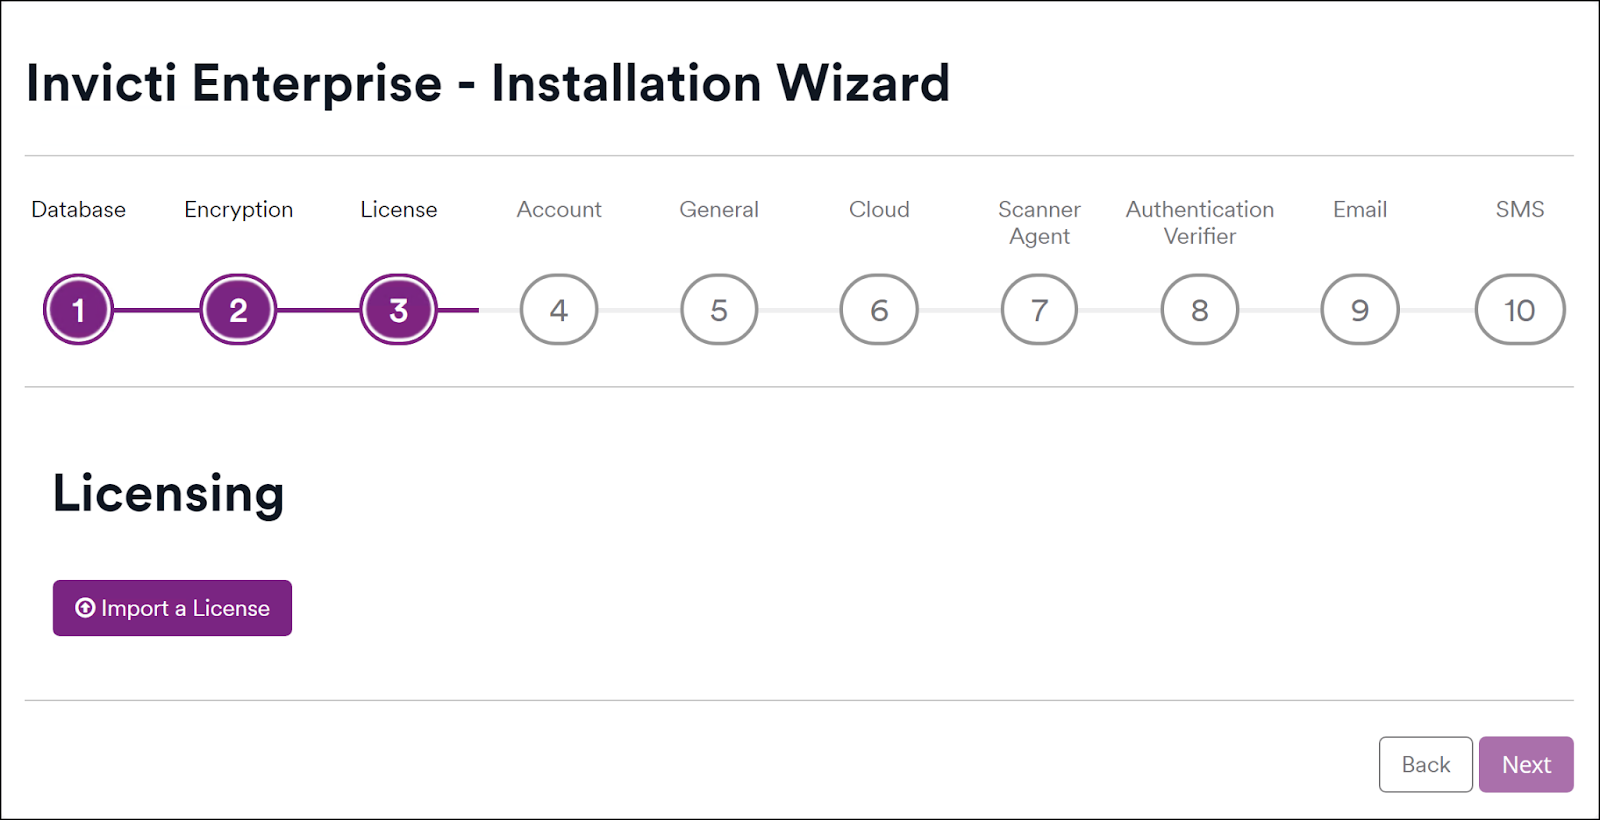
- On the License page, click Import a License and select your license (.nsc) file, then click Next.
- On the Account page, complete the fields to set up your administrator account, and agree to the Subscription Services Agreement and Privacy Policy, then select Next.
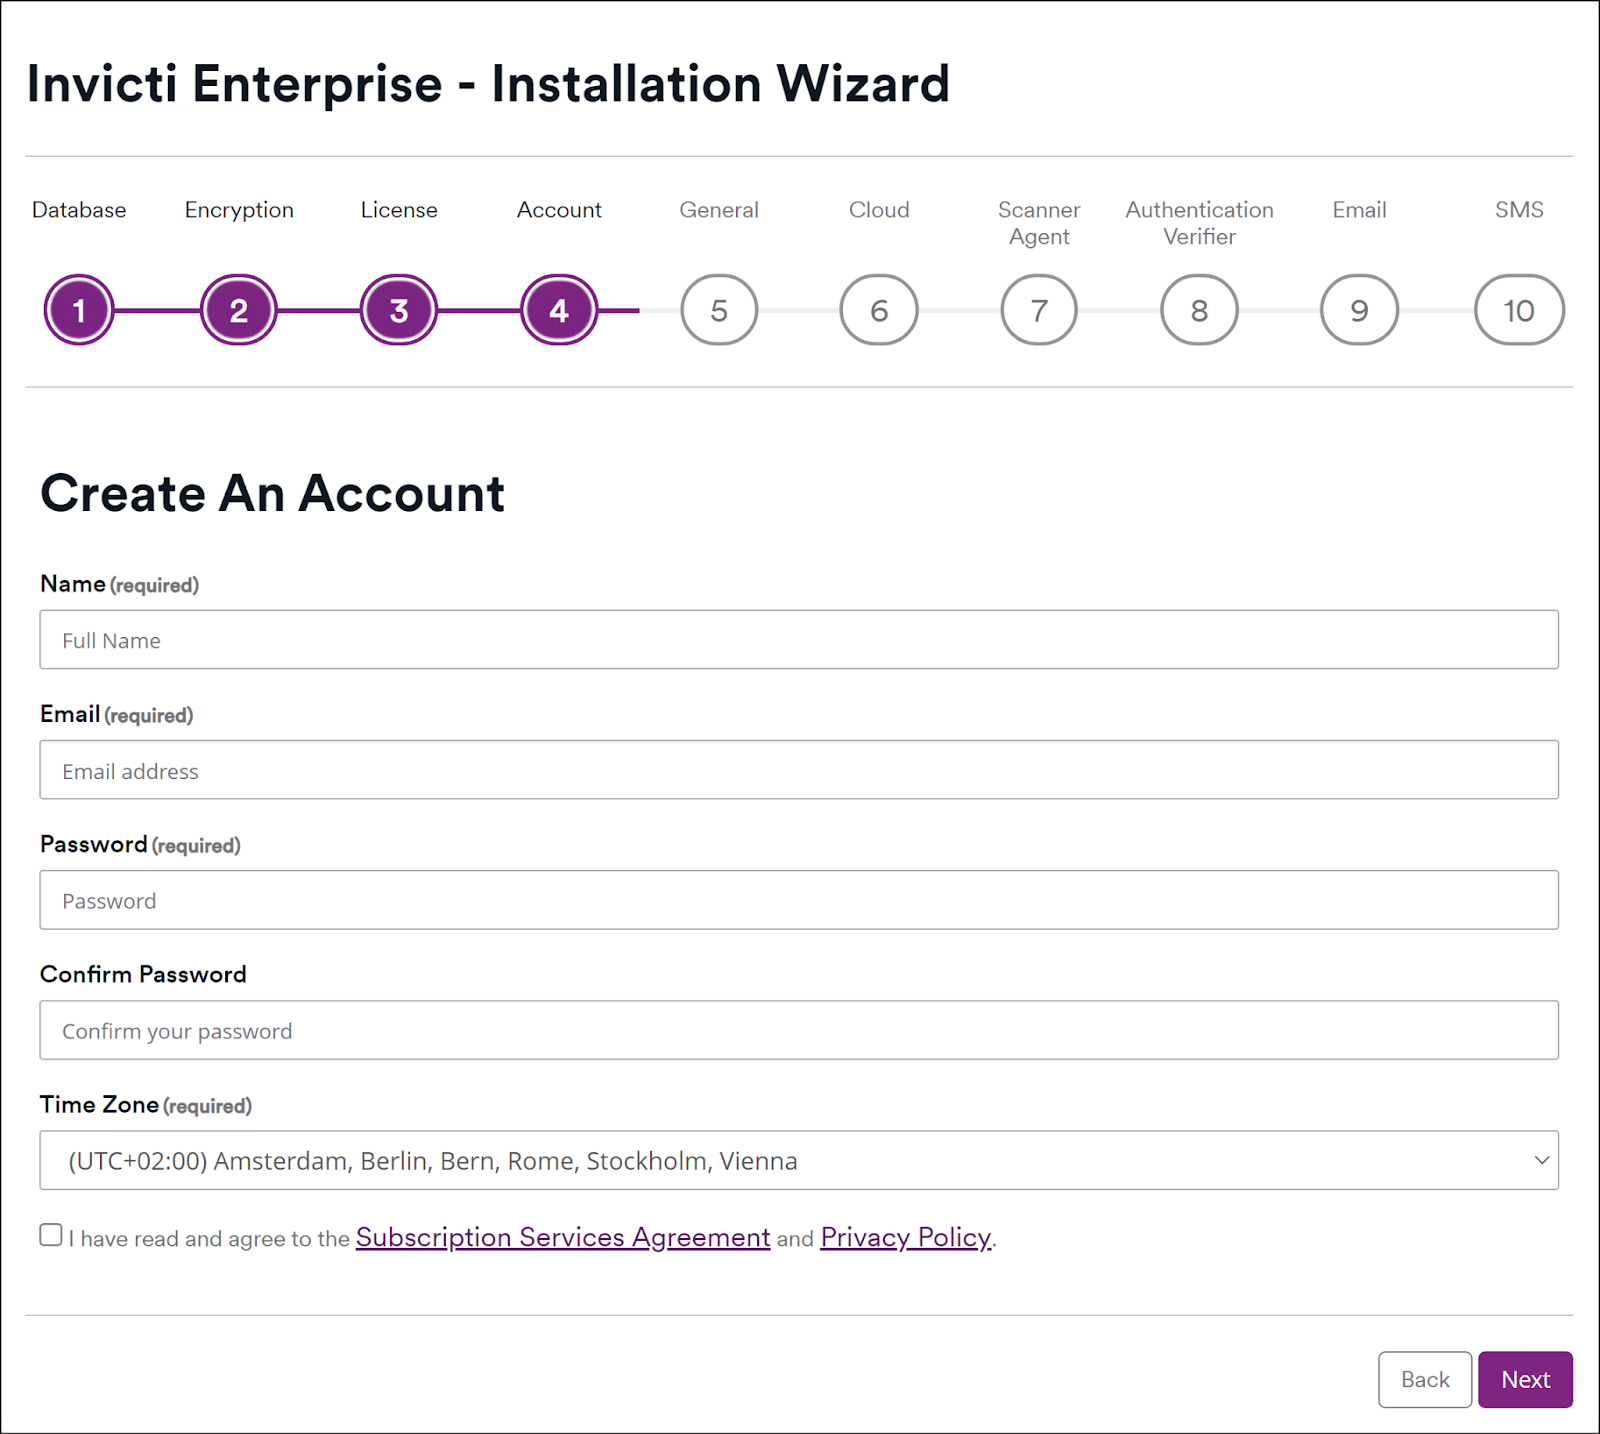
- On the General page, the fields are pre-filled with default values. You can modify them as needed. After making any changes, select Next.
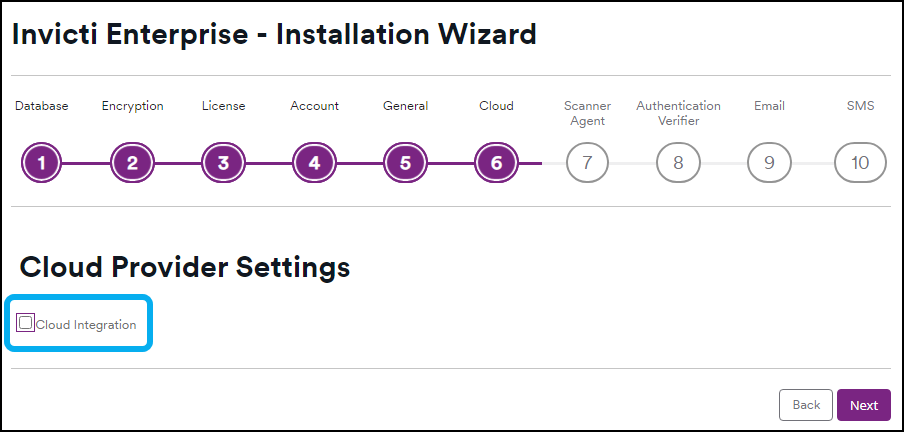
- On the Cloud page, if you use cloud providers like Amazon AWS, you can configure the settings in this step or leave it for now and configure it later (refer to the Cloud Provider Settings document.). If you don't use a cloud provider, clear the Cloud Integration checkbox and select Next.
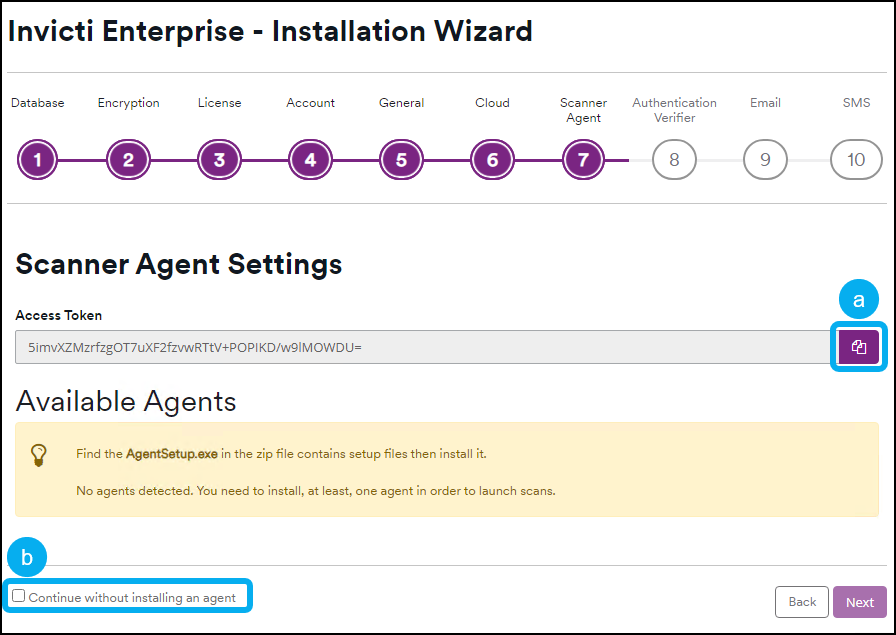
- This step focuses on the Scanner Agents. At this point, you have two options:
- Install agents: to install an agent at this step, copy the Access Token using the copy button, navigate to the Installing and configuring the agent document, and follow the steps listed there. For more information about agents, refer to Agents in Invicti Enterprise on-premises.
- Skip agent installation: if you don't want to install an agent at this point, enable the Continue without installing an agent checkbox and select Next. Move to step 9 of this guide to continue with the instructions.
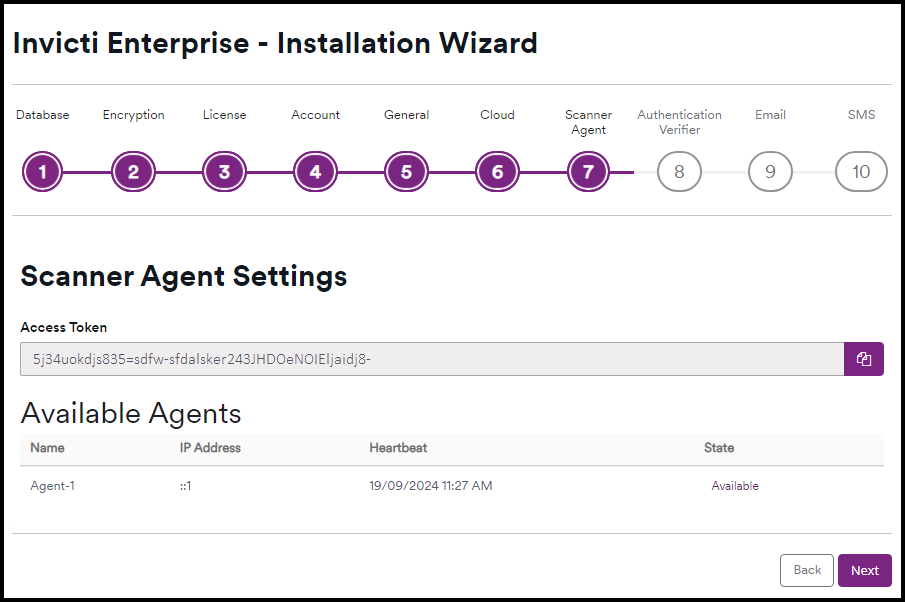
- After you have executed the
AgentSetup.exefile and followed the wizard, you have successfully installed an agent. This agent now appears on the Scanner Agent Settings page. Select Next to continue to the next step.
-
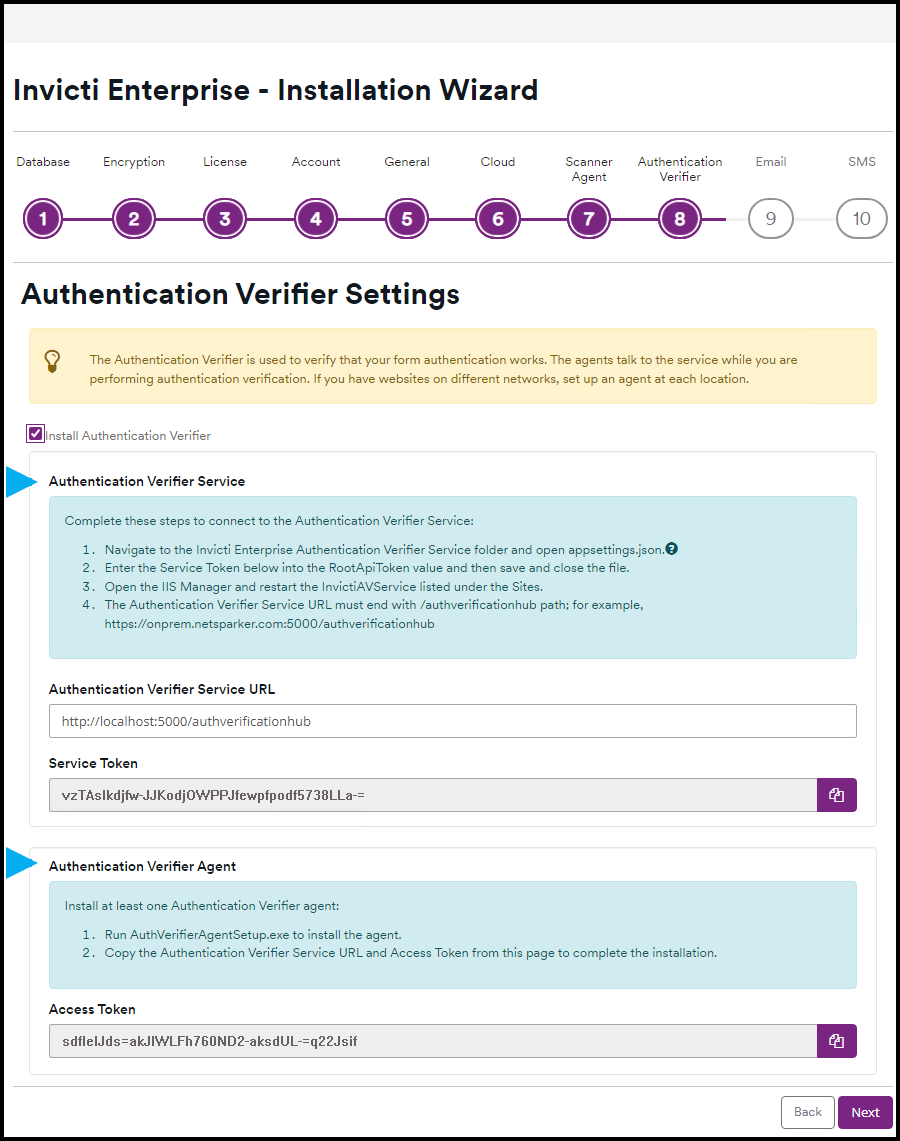
On the Authentication Verifier Settings page, choose one of the following options:
tipThe Authentication Verifier is only needed if the websites you scan use form authentication. If they don't, skip this step.
- Install now: Keep this browser window open. Open a separate window and follow Step 4 - Install and configure the Authentication Verifier Agent. When the agent installation is complete, return to this browser window and select Next.
- Skip: Select Next to continue. You can install the Authentication Verifier Agent later from the Authentication Verifier settings page (Settings > Authentication Verifier).
- On the Email and SMS pages, enable the Enable email/SMS Notifications checkboxes to configure the settings. These let you inform users instantly about the status of a web application security scan, or when specific vulnerabilities are identified on the web applications you are scanning. For more information, refer to the Managing notifications document.
You can skip these two steps by clearing the Enable email Notifications and Enable SMS Notifications checkboxes.
To send new user invitations or other email notifications, you need to configure SMTP settings, and a Twilio account is required to receive SMS notifications.
- Select Finish to complete the installation wizard.
The Invicti Enterprise user interface now opens on the Global Dashboard page with a Data Sharing Permission prompt. Either enable the checkbox to agree to share anonymous user data, or close the prompt to disagree.
You may need to configure a proxy for the Invicti Enterprise web application.
Change the installation folder for the Invicti Enterprise web application
The installer doesn't provide an option to select the folder location; however, you can change the location once the installation is complete. To do this, follow these steps:
- Copy the installation folder (
C:\Program Files (x86)\Invicti Enterprise Web Application) to the target disk. - Open IIS.
- From Sites, select NetsparkerCloud.
- Select Advanced Settings.
- Replace the physical path with the new path.
Next steps
- Step 3: Install the Invicti Enterprise Scanner Agent
- Step 4: Install and configure the Authentication Verifier Agent
- Step 5: Install the Invicti Enterprise IAST Bridge
Need help?
Invicti Support team is ready to provide you with technical help. Go to Help Center