Step 4: Install and configure the authentication verifier agent
The Invicti Enterprise Authentication Verifier Agent is installed using a wizard. This document guides you through the installation process.
The Authentication Verifier Agent communicates with the Authentication Verifier Service to verify logins. While you can install the agent without the service, it only functions correctly if the Authentication Verifier Service is installed first. For more details, refer to the Authentication Verifier Settings document.
How to install the Invicti Enterprise Authentication Verifier
-
Run the
AuthVerifierAgentSetup.exefile. -
On the Welcome to the Invicti Enterprise Authentication Verifier Agent Setup Wizard window, select Next.
-
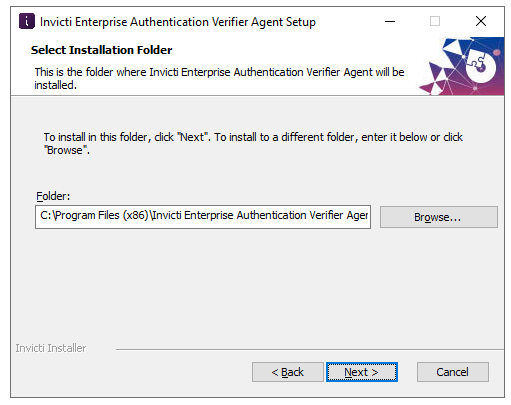
Select Browse if you want to install the Authentication Verifier to a different folder than the default folder. Then, select Next.
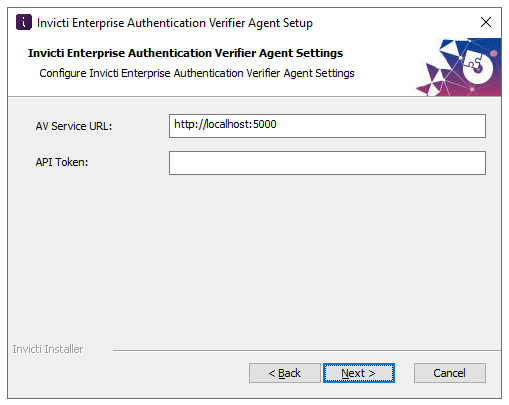
- On the Authentication Verifier Agent Settings step, fill in the following information. Then, select Next:
- AV Service URL: the AV Service URL field is already completed. (It should point to the WebApp URL).
- API Token: enter the API token, which you can find in API Settings Overview.
- Select Install to install the agent.
For information about installing multiple verifier agents, refer to the Installing multiple authentication verifier agents document.
- Select Finish to complete the installation.
The Agent Type is Standard, which is fine if your Target Agent Mode is set to Internal. If you want to use the auth verifier for a Target with Agent Mode Cloud, you need an auth verifier agent that is set to Cloud. Refer to our document about installing multiple authentication verifier agents on the same operating system.
Need help?
Invicti Support team is ready to provide you with technical help. Go to Help Center