Package: Invicti AppSec Core (on-demand), Invicti AppSec Enterprise (on-premise, on-demand)
Akto DAST/API Integration
Akto is an API security platform that provides automated API discovery, testing, and vulnerability detection. This integration allows Invicti AppSec to connect to Akto and import API security findings.
Prerequisites
| Field | Description |
|---|---|
| API Token | An API token generated from your Akto account |
Get an API Token (on Akto Side)
- Log in to your Akto dashboard.
- Navigate to Settings in the left sidebar.
- Select Integrations or API Tokens.
- Click Generate Token.
- Enter a name for the token and copy it immediately — it may be shown only once.
Step 1: Navigate to Integrations
From the left sidebar menu, click on Integrations.
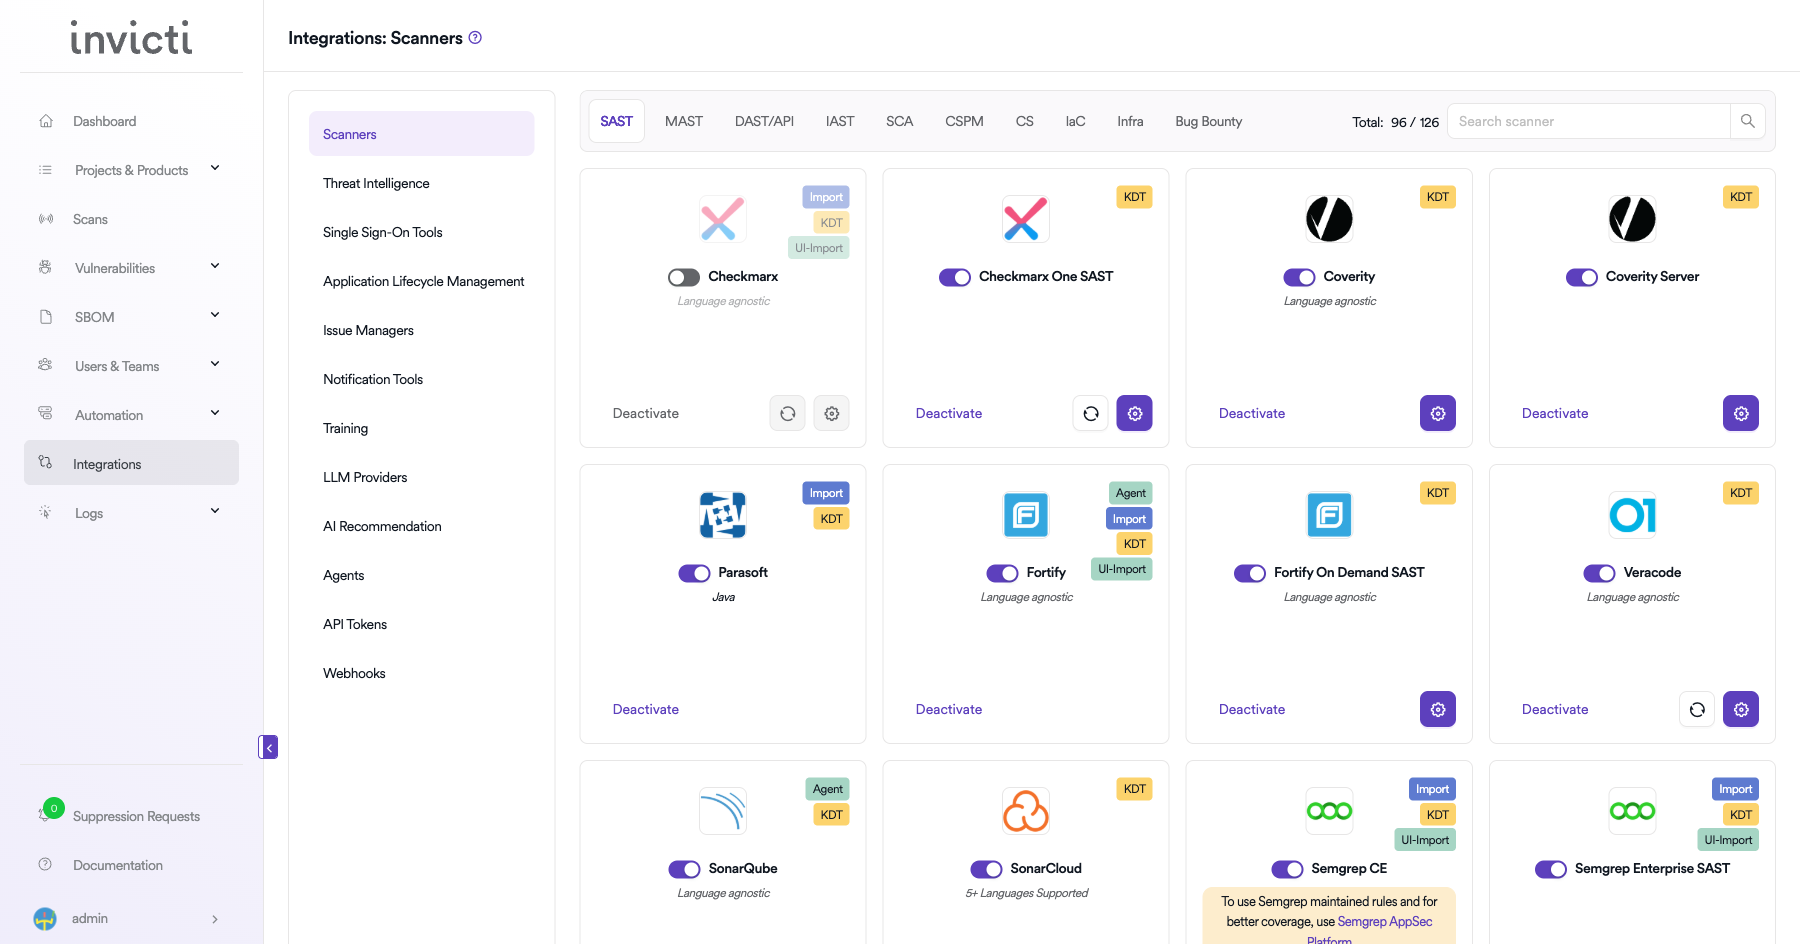
Step 2: Select the DAST/API Tab
On the Integrations > Scanners page, click on the DAST/API tab.
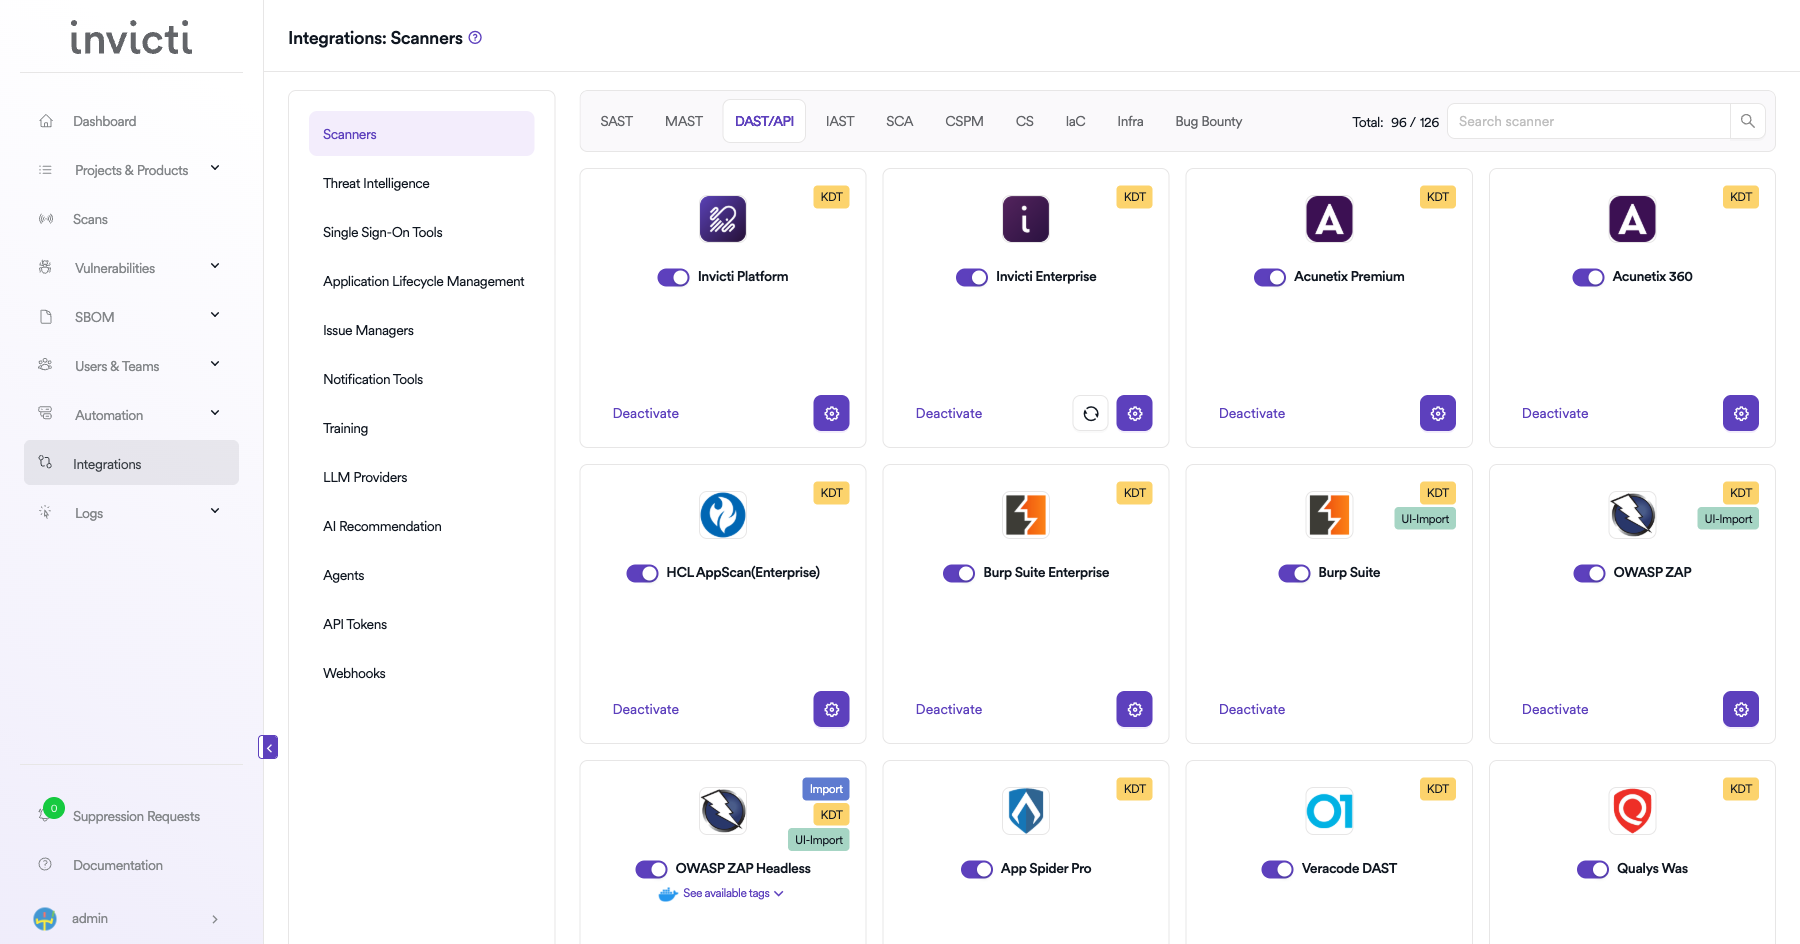
Step 3: Find and Activate Akto
Scroll through the list of DAST/API scanners to find Akto.
- If Akto is not activated, you will see an "Activate" button. Click it to enable the integration.
The scan method badge on the Akto card shows KDT, which means scans are triggered through the Kondukto CLI tool (KDT).
Step 4: Configure Connection Settings
Click on the gear icon on the Akto card to open the configuration panel. Fill in the required fields:
- Token: Paste the API token generated from your Akto account.
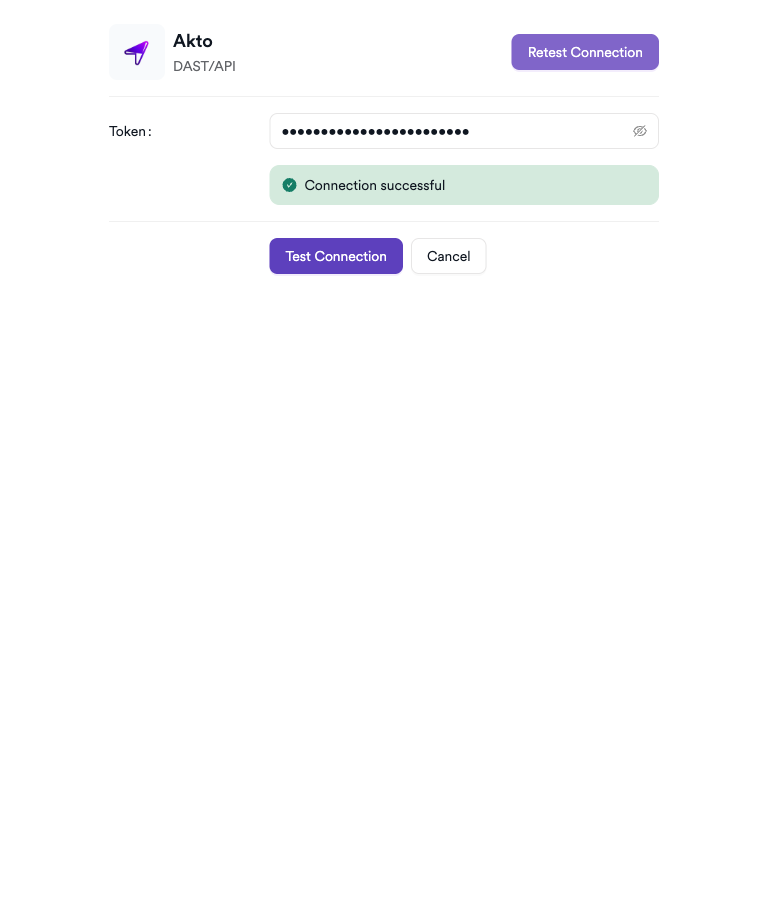
Step 5: Test the Connection
Click Test Connection. A green Connection successful message confirms the integration is working.
Summary
| Step | Action |
|---|---|
| 1 | Navigate to Integrations from the sidebar |
| 2 | Select the DAST/API tab |
| 3 | Activate Akto |
| 4 | Enter API Token |
| 5 | Test the connection |
Create a Scan
Navigate to Project Scanners
- Open a project in Invicti AppSec.
- Go to Settings > Scanners.
- Click Add Scanner.
Add Akto Scanner
- Select DAST/API as the scanner type.
- Choose Akto from the scanner list.
- Click Add to open the scan configuration drawer.
Scan Configuration Fields
| Field | Description | Required |
|---|---|---|
| Environment | Select the environment for the scan | No |
| Bind To | Akto project to bind to | Yes |
| Branch | Source code branch associated with this scan | No |
| Meta Data | Additional metadata for the scan | No |
| Scan Tag | Tag to identify the scan | No |
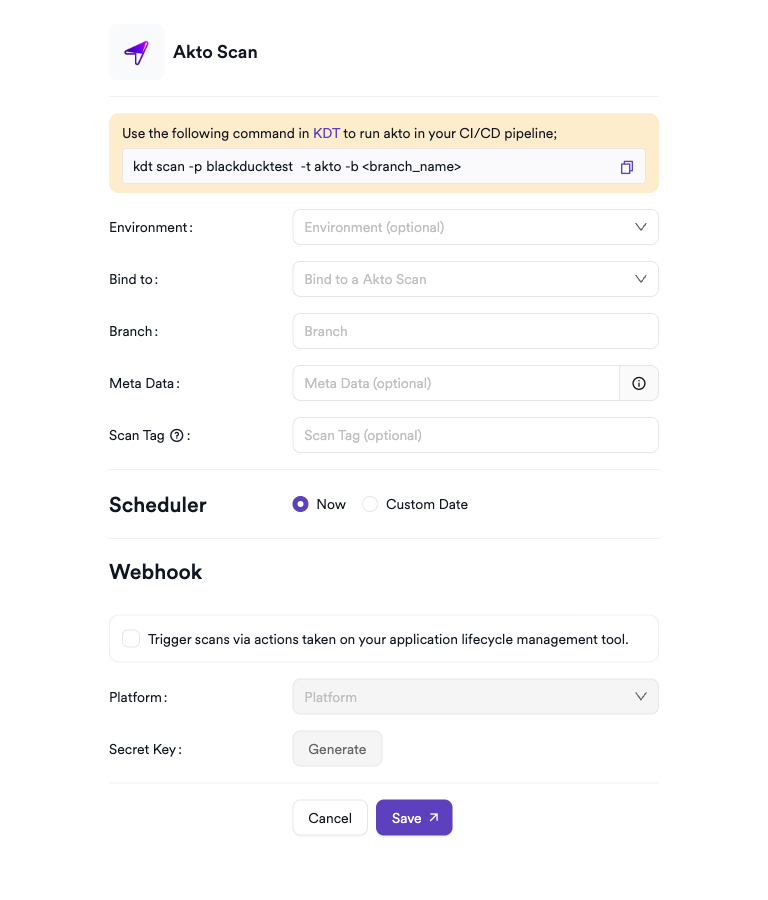
Scheduler
Enable the Scheduler toggle to run scans on a recurring schedule.
Webhook (Optional)
Add a webhook URL to receive scan completion notifications.
KDT Command
kdt scan -p <project_name> -t akto -b <branch_name>
Troubleshooting
Connection Fails
| Issue | Resolution |
|---|---|
| Invalid API token | Regenerate the token from Akto settings and update the integration |
| Wrong dashboard URL | Verify the Akto dashboard URL including the protocol (https://) |
| Token permissions | Ensure the token has sufficient permissions for API testing and result retrieval |
| Network access | Ensure Invicti AppSec can reach the Akto instance on port 443 |
Scan Issues
| Issue | Resolution |
|---|---|
| No collections found | Verify the service account has access to the target API collections in Akto |
| Test suite not listed | Ensure test suites are configured in Akto before triggering scans |
| Empty results | Confirm the Akto test run completed and results are available |
| API not discovered | Ensure traffic replay or API spec import is configured in Akto |
Best Practices
- Use a service account API token rather than a personal user token.
- Rotate the API token periodically and update the integration.
- Ensure API collections are kept up to date in Akto by integrating with your traffic mirroring setup.
- Use test suites tailored to OWASP API Security Top 10 vulnerabilities.
- Schedule scans after API traffic capture to ensure collections are current.
Limitations
- Akto requires API traffic or spec import to discover endpoints; it cannot discover APIs without this setup.
- Test results are only as comprehensive as the API collection coverage.
- Some advanced Akto features (e.g., custom test scripts) must be configured in the Akto dashboard.
- Concurrent testing capacity depends on your Akto subscription plan.
Need help?
Invicti Support team is ready to provide you with technical help. Go to Help Center