Package: Invicti AppSec Core (on-demand), Invicti AppSec Enterprise (on-premise, on-demand)
Burp Suite Integration
Burp Suite (Professional/Community Edition) is a widely used web application security testing tool by PortSwigger. This integration allows Invicti AppSec to import scan results from Burp Suite via file upload (UI Import) or run scans through the Invicti KDT agent.
Burp Suite is a UI Import / KDT-based integration in Invicti AppSec. No external API credentials or server connection are required. Results are imported from exported Burp Suite XML reports, or scans are triggered via the KDT agent.
Prerequisites
| Requirement | Description |
|---|---|
| Burp Suite scan report | An XML export from Burp Suite Professional or Community Edition |
| Invicti Agent or KDT | Required only for KDT-based scan execution |
No API token or server URL is needed for this integration.
Step 1: Navigate to Integrations
From the left sidebar menu, click on Integrations.
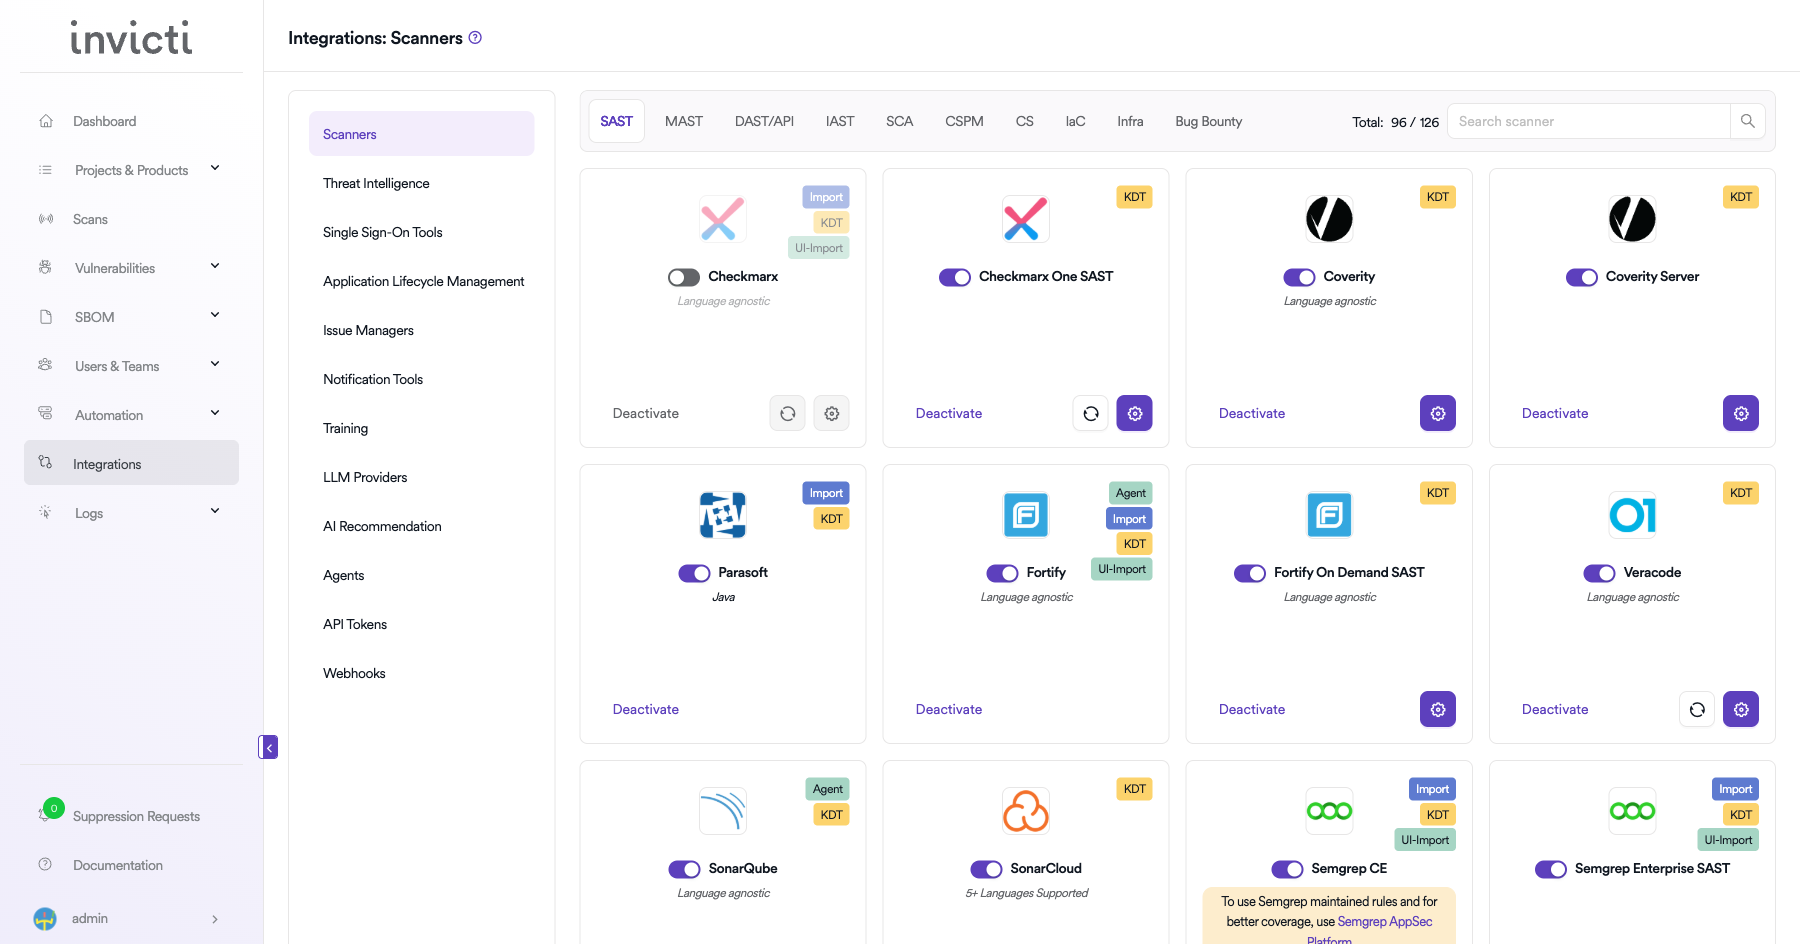
Step 2: Select the DAST/API Tab
On the Integrations > Scanners page, click on the DAST/API tab.
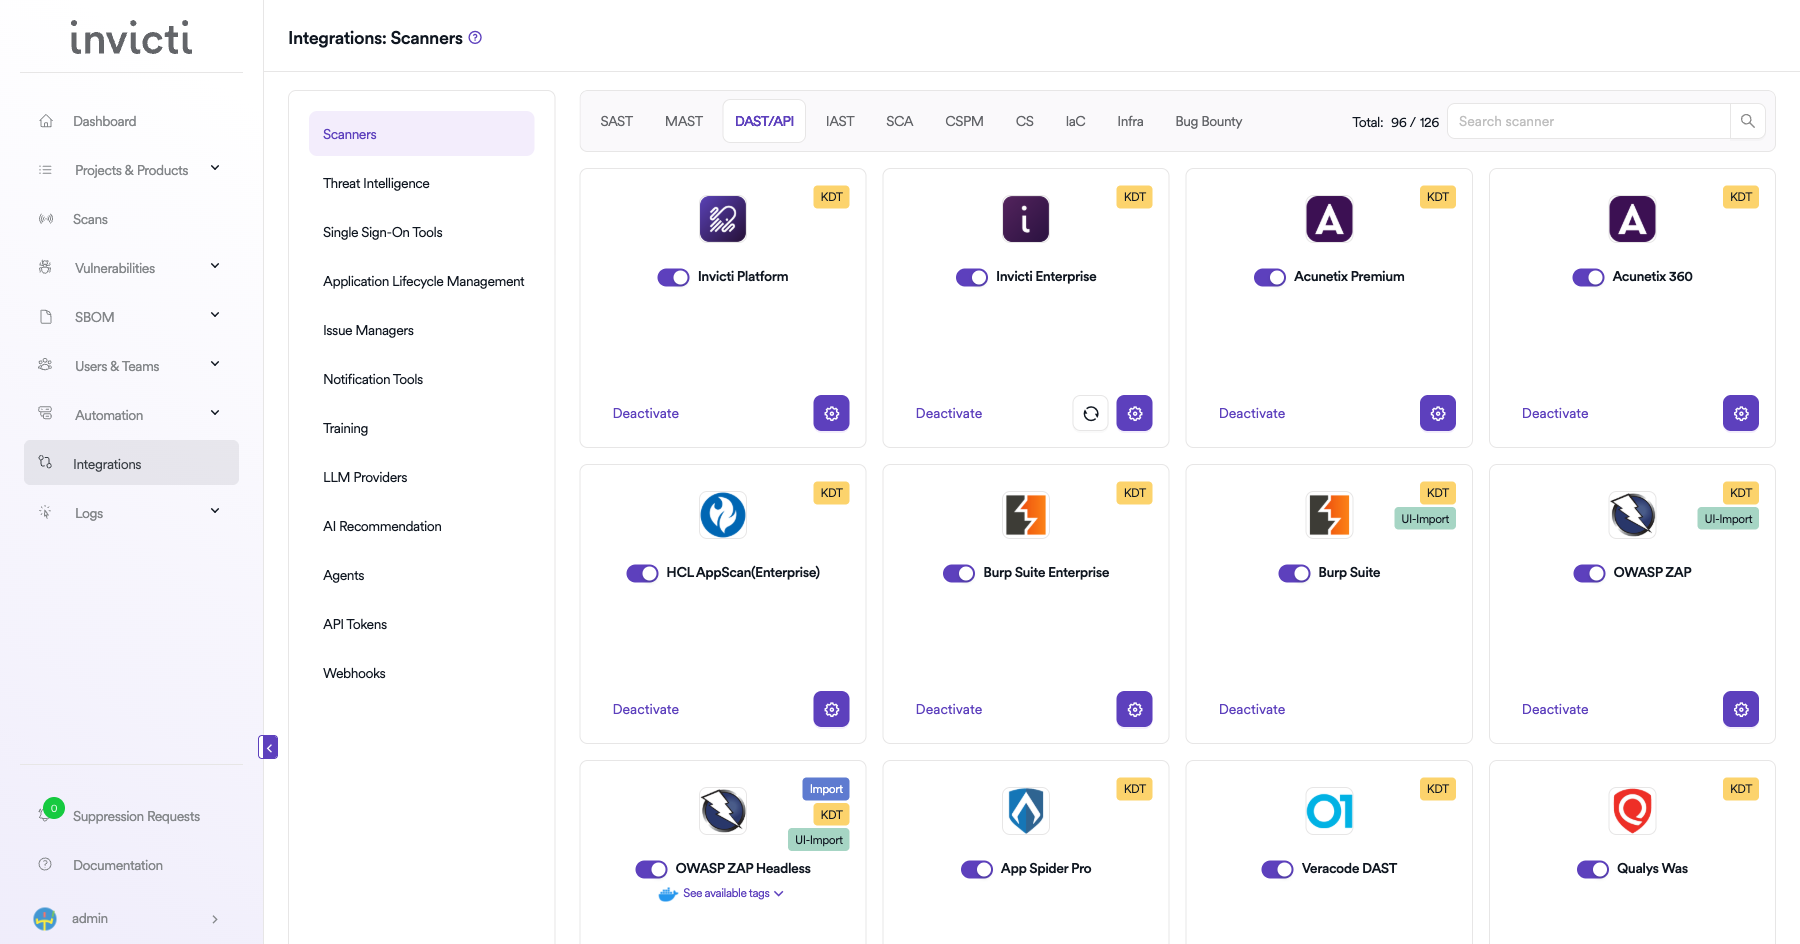
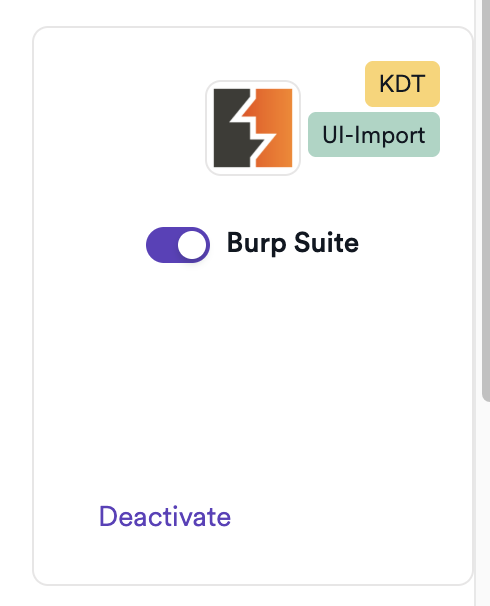
Step 3: Find and Activate Burp Suite
Locate the Burp Suite card. You will see the KDT and UI-Import badges on the card.
Click the toggle or Activate button to enable it. No connection settings are required.
Summary
| Step | Action |
|---|---|
| 1 | Navigate to Integrations from the sidebar |
| 2 | Select the DAST/API tab |
| 3 | Activate Burp Suite (no credentials needed) |
Import Results (UI Import)
Export from Burp Suite
- In Burp Suite, go to the Target tab or Issues tab.
- Right-click and select Report issues.
- Choose XML format and save the file.
Import into Invicti AppSec
- Open a project in Invicti AppSec.
- Go to Imports.
- Select Burp Suite as the scanner type.
- Upload the exported XML file.
Create a Scan (KDT)
Navigate to Project Scanners
- Open a project in Invicti AppSec.
- Go to Settings > Scanners.
- Click Add.
Add Burp Suite Scanner
- Select DAST/API as the scanner type.
- Choose Burp Suite from the scanner list.
- Click Add to open the scan configuration form.
Scan Configuration Fields
| Field | Description | Required |
|---|---|---|
| Environment | Select the environment for the scan | No |
| Branch | Source code branch associated with this scan | No |
| Meta Data | Additional metadata for the scan | No |
| Scan Tag | Tag to identify the scan | No |
Scheduler
Enable the Scheduler toggle to run scans on a recurring schedule.
Webhook (Optional)
Add a webhook URL to receive scan completion notifications.
KDT Command
kdt scan -p <project_name> -t burpsuite -b <branch_name>
Troubleshooting
Import Issues
| Issue | Resolution |
|---|---|
| Import fails | Ensure the file is a valid Burp Suite XML export (not HTML or PDF) |
| No findings imported | Verify the Burp Suite scan completed with results before exporting |
| Wrong scanner selected | Confirm you selected Burp Suite (not Burp Suite Enterprise) during import |
KDT Issues
| Issue | Resolution |
|---|---|
| Agent/KDT not available | Ensure the Invicti agent or KDT is installed and connected |
| Target not reachable | Verify the target URL is accessible from the agent host network |
Best Practices
- Export scan results in XML format from Burp Suite for compatibility.
- Use Burp Suite Professional for more comprehensive scan coverage compared to Community Edition.
- When using KDT, ensure the agent host has network access to the target application.
- For CI/CD pipelines, use the KDT command to automate scan execution and result import.
Limitations
- Burp Suite Community Edition has limited automated scanning capabilities; Professional Edition is recommended for comprehensive coverage.
- UI Import is a one-time manual operation; use KDT for automated recurring scans.
- Imported results reflect the state of the scan at the time of export; real-time status is not available.
Need help?
Invicti Support team is ready to provide you with technical help. Go to Help Center