Integrating Invicti Standard with Shortcut
Shortcut (formerly Clubhouse) is a project management platform specifically designed for software development. Shortcut helps bring teams of all sizes together to build better products, from project planning to project creation.
This document explains how to configure Invicti Standard to send a detected vulnerability to Shortcut for enhanced agile software development project management.
For further information, see Configuring the User Interface for Custom Send To Actions in Invicti Standard and Configuring Auto Send To Actions in Invicti Standard and What Systems Does Invicti Integrate With? external documentation.
Shortcut Fields
The table lists and describes the Shortcut fields in the Send To Actions tab.
| Button/Section/Field | Description |
|---|---|
| Add | Select to add an integration. |
| Delete | Select to delete the integration and clear all fields. |
| Configure Send To | Select to configure the integration using the Settings Wizard instead of doing it manually. |
| Create Sample Issue | Once all relevant fields have been configured, click to create a sample issue. |
| Action | This section contains general fields about the Send To Action. |
| Display Name | This is the name of the configuration that will be shown on menus. |
| Mandatory | This section contains fields that must be completed. |
| API Token | The API token. |
| Project ID | This is the ID of the project to which the issue belongs. |
| Story Type | This is the issue's story type. The options are: Feature, Chore, Bug |
| Vulnerability | This section contains fields with vulnerability details. |
| Body Template | The template file to be used while rendering issue contents. |
| Title | The string to be used while formatting the vulnerability title |
| Optional | This section contains optional fields. |
| Epic ID | This is the epic identifier. |
| State ID | This is the workflow state identifier that the Story is in. |
| Requester ID | This the member identifier of the person who requested the issue. |
| Owner IDs | This is a comma-separated list of member identifiers of those who own the issue. |
| Follower IDs | This is a comma-separated list of member identifiers of those who follow the issue. |
| Due Days | This is the number of days between the date the issue was created to the date it's due. |
| Labels | This is a comma-separated list of labels. |
How to Integrate Invicti Standard with Shortcut
Follow these steps to configure the Shortcut integration in Invicti Standard:
- Open Invicti Standard.
- From the Home tab on the ribbon, select Options > Send To Actions.
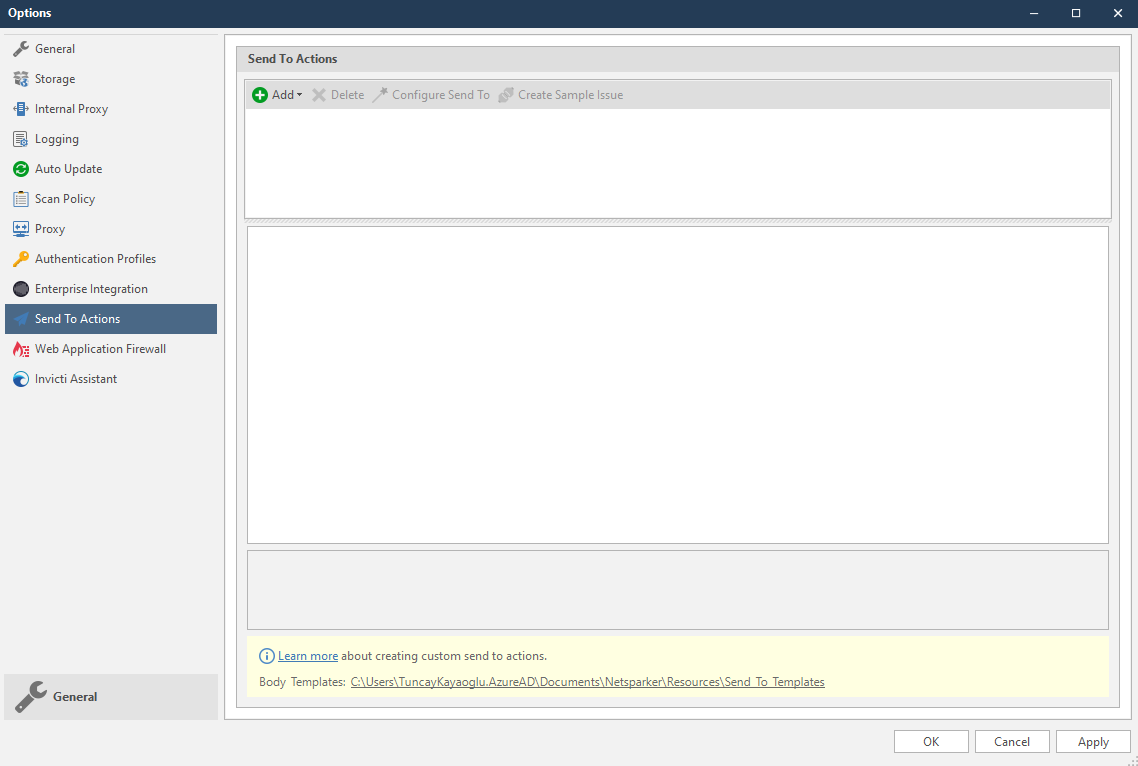
- From the Add drop-down, select Shortcut.
- In the Mandatory section, complete the connection details:
- API Token
- Project ID
- Story Type
- In the Vulnerability section, you can specify the Body Template and Title Format.
Body templates are stored in %userprofile%\Documents\Invicti\Resources\Send To Templates. If you use your own custom templates, store them in this location.
- In the Optional settings you can specify:
- Epic ID
- State ID
- Requester ID
- Owner IDs
- Follower IDs
- Due Days
- Labels
- Select Create Sample Issue to confirm that Invicti Standard can connect to the configured system and create a sample issue. In the Send To Action dialog, click the Issue number link to open the issue in the default browser.
- Select Apply or OK to save the integration.
How to Delete the Shortcut Integration
- Open Invicti Standard.
- From the Home tab on the ribbon, select Options > Send to Actions.
- Select Shortcut.
- Select Delete.
How to Export Reported Vulnerabilities to Projects in Shortcut
Please ensure that you have first configured Shortcut integration. See How to Integrate Invicti Standard with Shortcut.
- Open Invicti Standard.
- From the ribbon, select the File tab. Local Scans are displayed. Double-click the relevant scan to display its results.
- In the Issues panel, right-click the vulnerability and select Send To Shortcut. (Alternatively, from the ribbon, select the Vulnerability tab, then Send To Shortcut.) A confirmation message and link are displayed at the bottom of the screen.
Need help?
Invicti Support team is ready to provide you with technical help. Go to Help Center